


This one was so much fun to put together. I needed something a little easier for today’s page. We’ve had on and off thunderstorms for the past few days and it’s wreaking a little bit of havok on my head.
Whenever I’m having a day where my brain is not feeling 100%, I try to rely on things where I’m not making a ton of important decisions. I’ll grab a box of whatever, and just stick stuff down. Whether it’s stickers, washi tape, photos—whatever. I just pull out what I’ve got and go from there.
Today was no different.
Technique of the Day
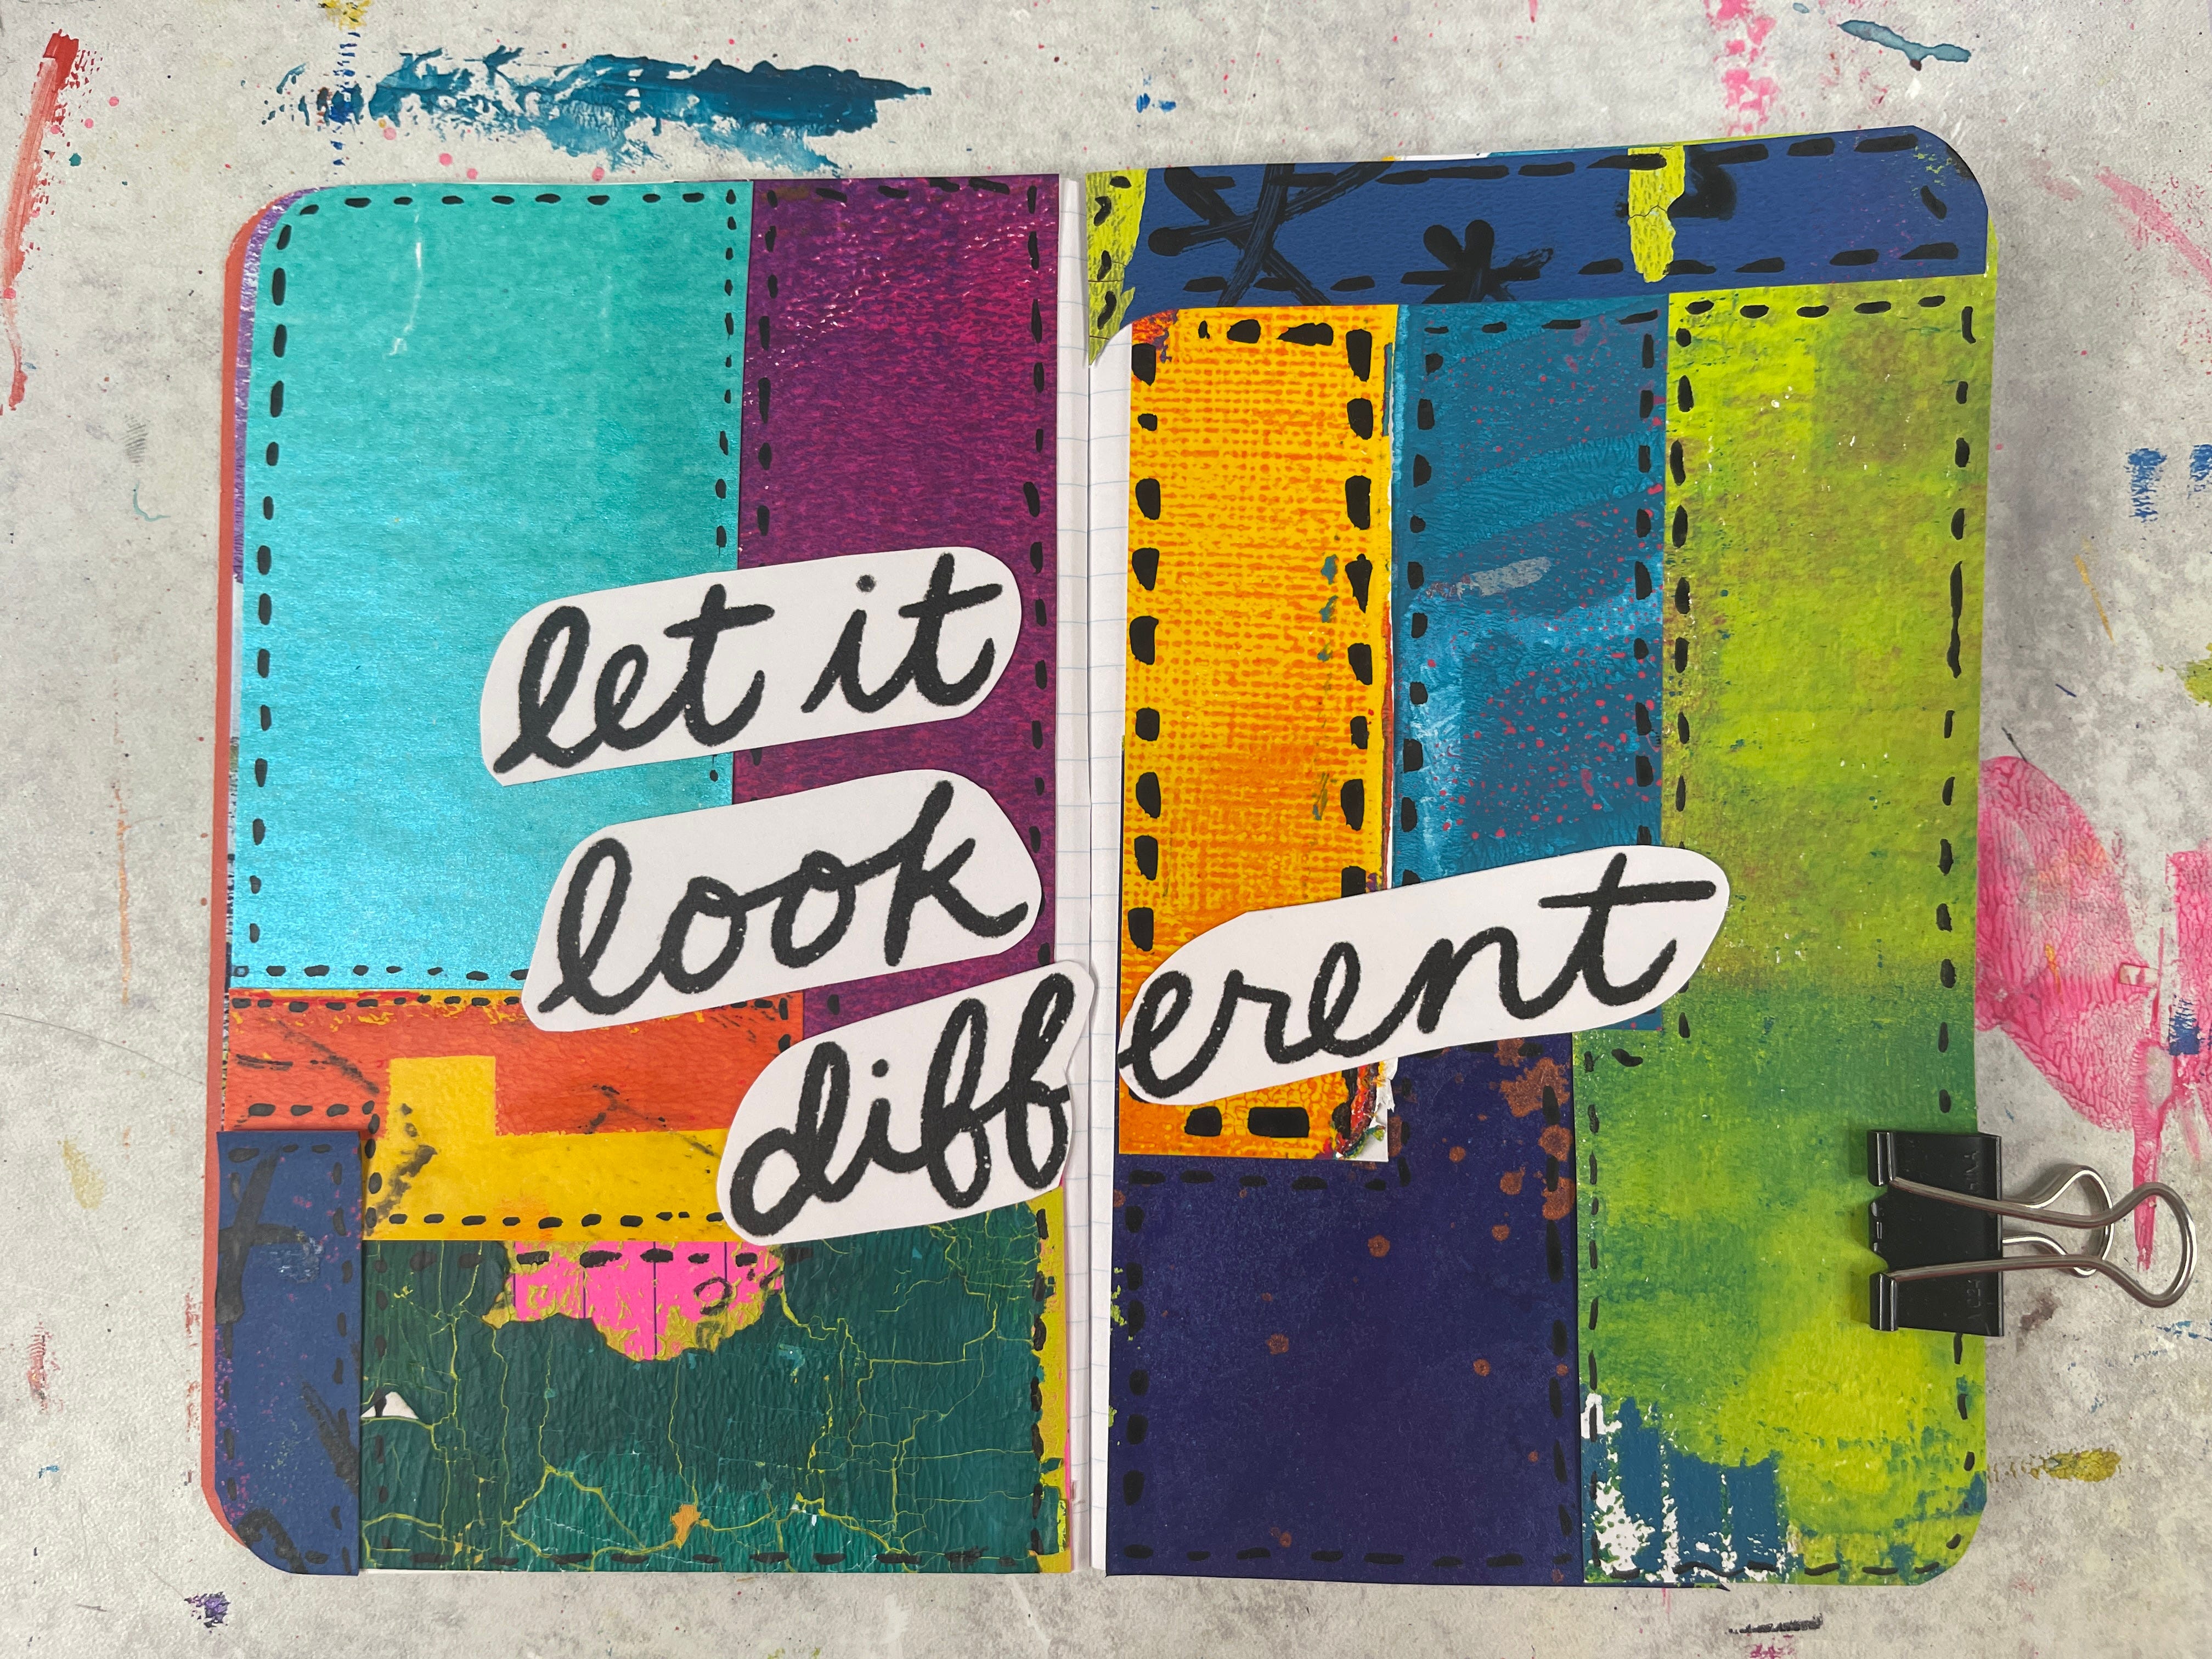
I’ve got a small box of gel print scraps in one of my larger desk drawers. I pulled that out, and started picking out a few scraps that looked like they might go together.
One by one, I added the little bits to the notebook page. In addition to the gel print scraps, I grabbed this postcard from Brandi Kincaid, cut it out, and put it on top of the page.
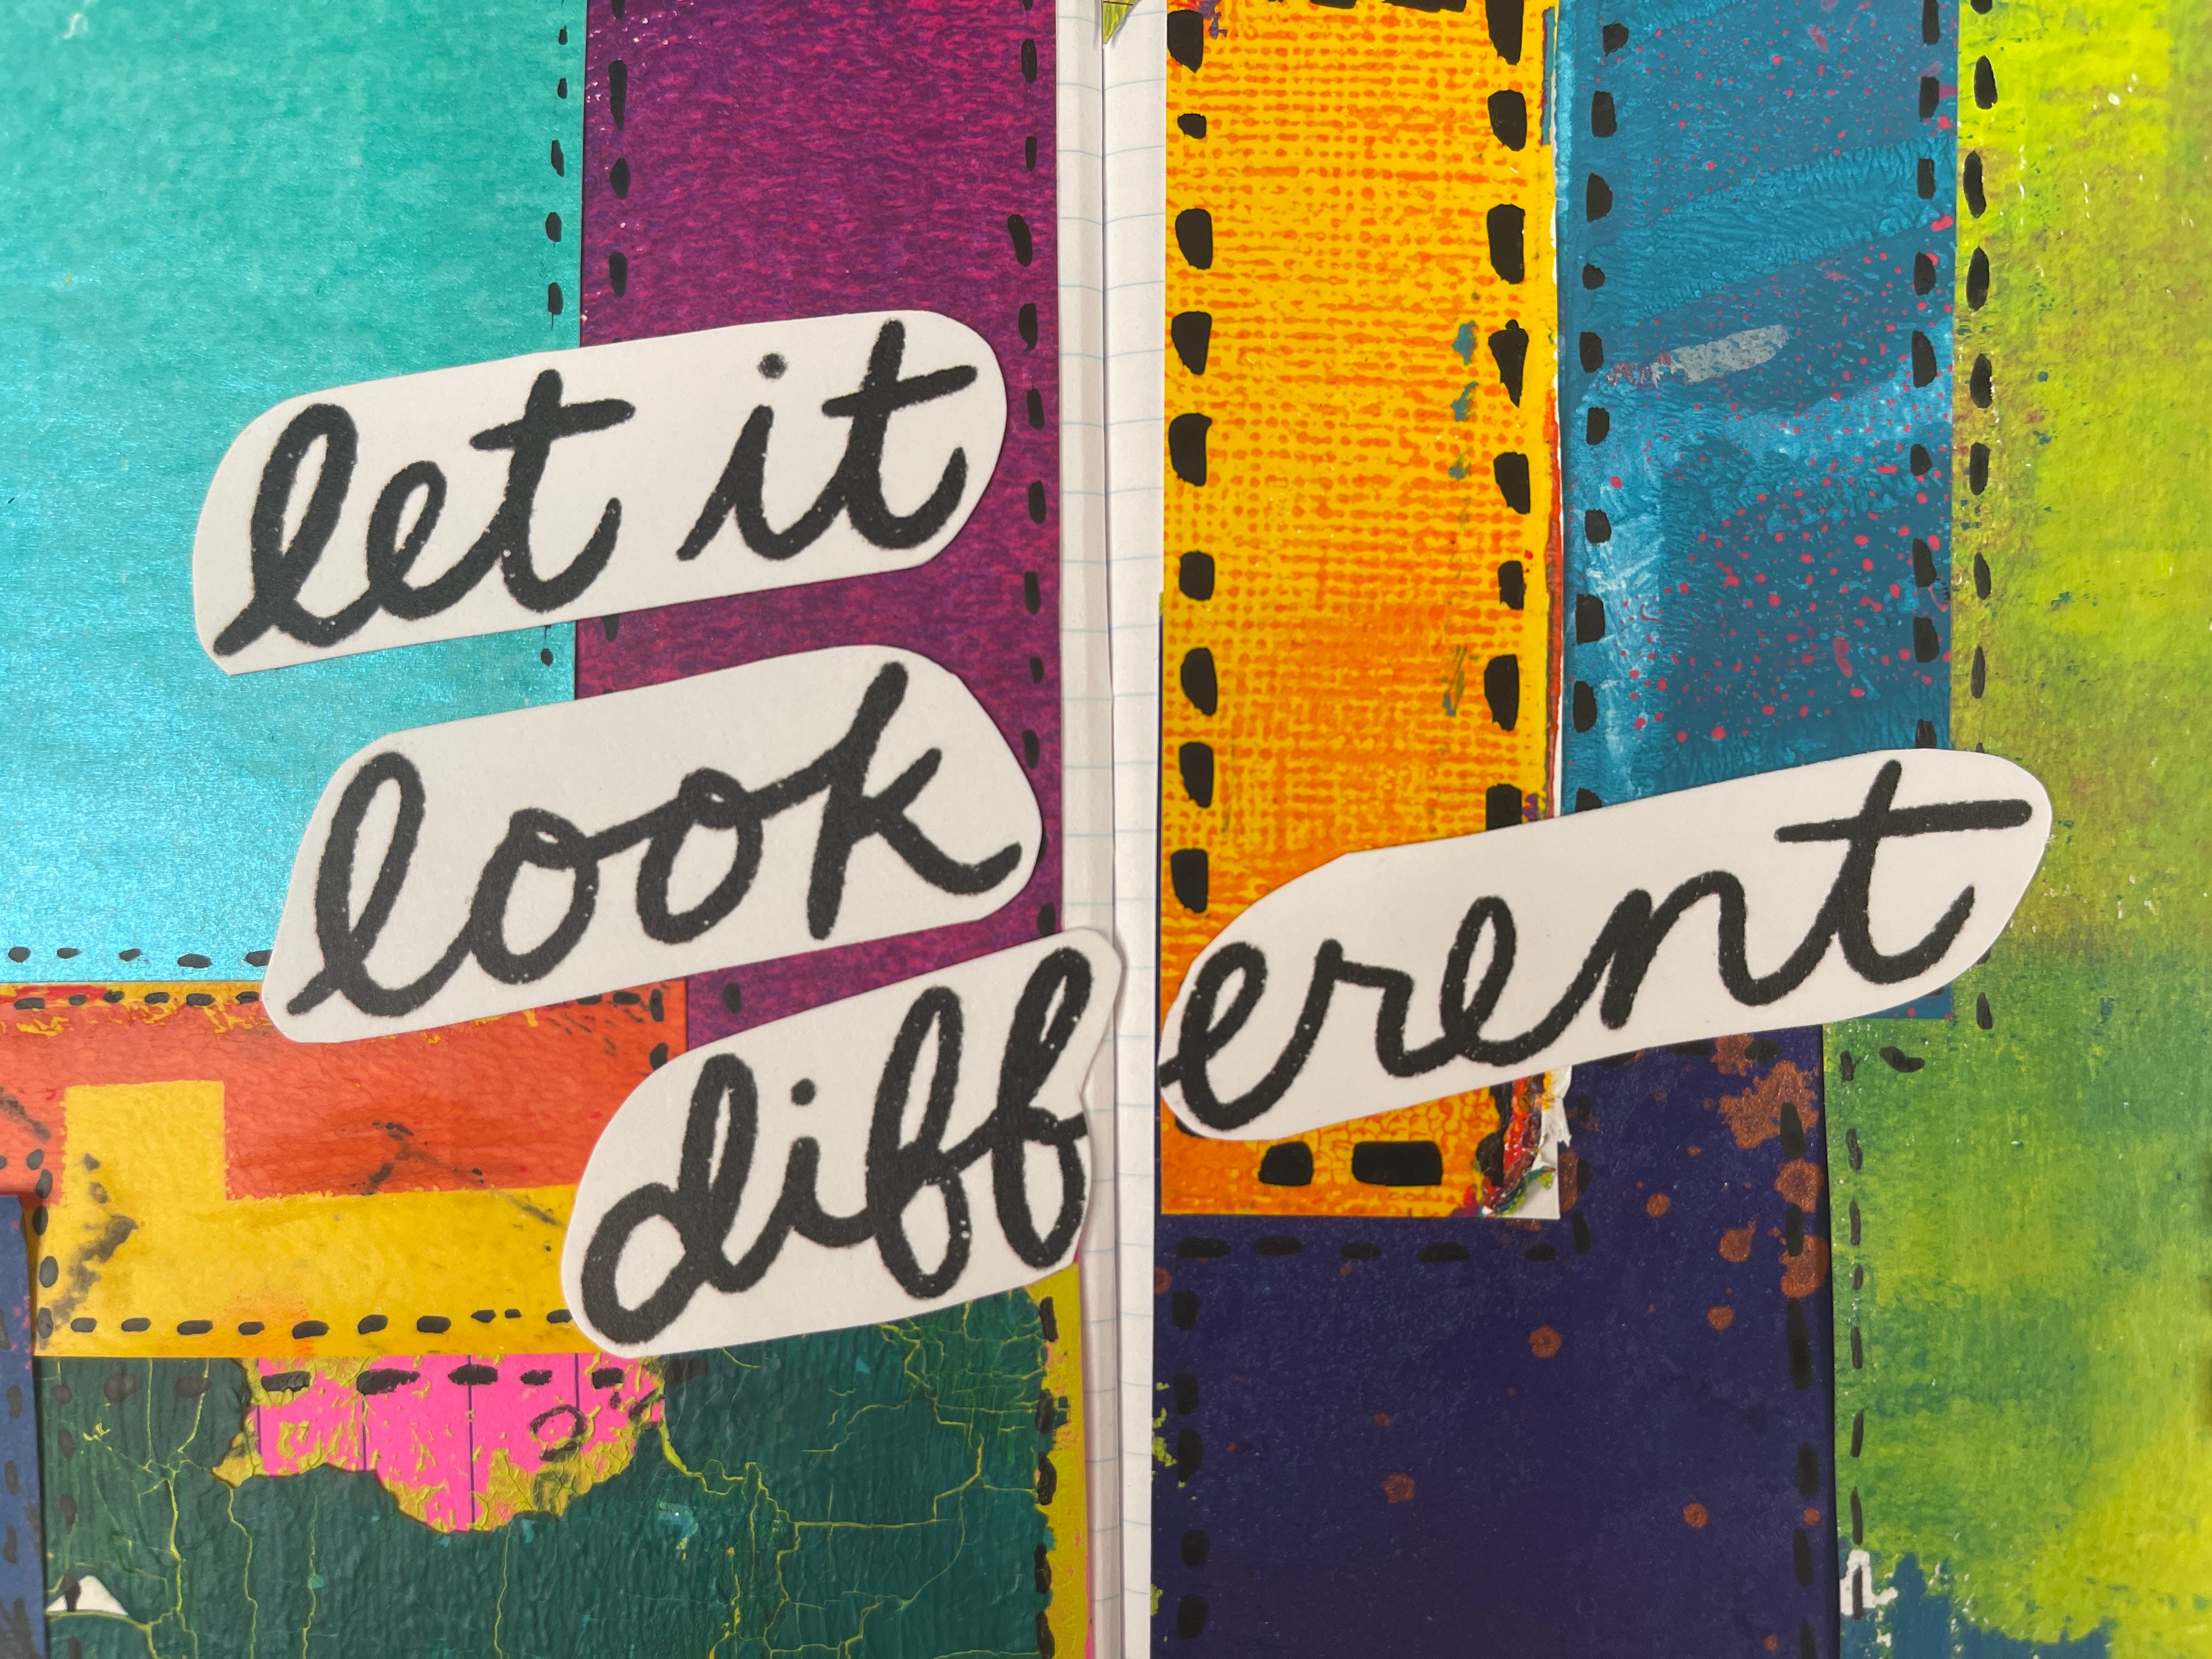
Before I glued it down, I realized that the page itself needed something else to bring just a bit more visual interest. So I grabbed my Sharpie Creative marker and put some faux stitching on the outer edges of the scraps. Some of the stitches are thick—some are thin—it doesn’t really matter, I just wanted some more marks on there.
As we know, I am a sucker for bright colors with black marks.
Supply List
Markers: Sharpie Creative Markers
Heat Gun: Ranger
Trimmer: Tonic Studios
Gel Plate: Gelli Arts 8x10, 5x7, 3x5
This post may have affiliate links.
Tips & Creative Wisdom
Faux Stitching = Instant Depth
A black marker and a few wonky lines can do a lot of visual heavy lifting. Use whatever permanent pens/markers you’ve got on hand to doodle on top of acrylic paint.
Pro Tip: Use faux stitching or doodled borders when a page feels unfinished but you’re not in the mood to fuss with more collage or layers.
**If you’d like to unsubscribe from these Daily Pages emails, but continue to get other emails, click here and learn how to update your settings to best suit your needs.

