Stamping 101 | The Basics
Stamping 101
The Basics
I’ve had stamps for as long as I have been scrapbooking/crafting. It wasn’t until a few years ago (thanks Studio Calico) that I really got into incorporating stamps into my everyday style. I am so in love the typographic look you get with a crisp black ink and a bold text stamp, but I also love pulling out different inks and playing around with colors and techniques.
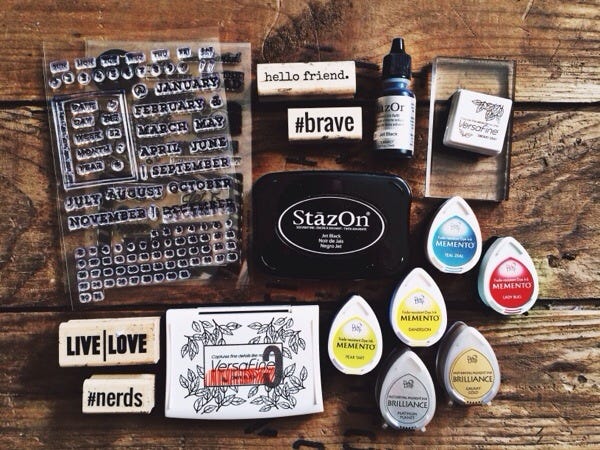
A lot of stamping is personal preference -- there is definitely not a hard and fast way to do anything. My best advice to beginners (or those looking to get back into stamping) is practice, practice, practice. Try different stamps, different inks, different papers and see what works best for you. Here’s a little bit about stamps, inks, and some FAQs.
Different Types of Stamps
There are a couple of different types of stamps available, traditional wood-mount stamps and clear polyphotomer stamps dominate the offerings. They are both generally used in the same way, with a few exceptions outlined below.
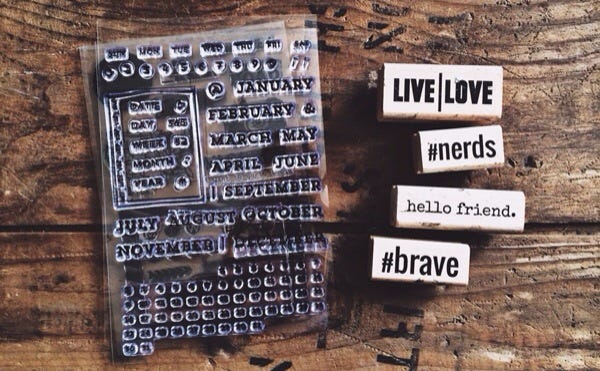
What makes the stamps different? Why choose wood mount over clear stamps or vice versa? It (as always) depends on what you want to do with them.
Wood Mount Stamps: The original stamp. Deep etched rubber mounted on a wooden block. Wood mount stamps are more expensive, but will last indefinitely when taken care of properly. If you’re going to use a stamp over and over again, or if you want a stamp with super fine detail work, a wood mount rubber stamp is your best bet.
Clear Stamps: The 21st century alternative to wood mount rubber stamps. Clear stamps are made from a polyphotomer base, and allow you to see right through the image to your project. You will need an acrylic block to mount clear stamps Clear stamps are much more economical and usually come in sets with multiple stamps in one package. Clear stamps tend to wear over time, but with proper care, they can last several years or more.
Cling Mount Stamps: Cling stamps are a hybrid between rubber and clear stamps. They are basically a wood mount rubber stamp, without the wood mount. You will need an acrylic block to mount and use cling stamps.
Different Types of Inks
There are several different types of inks, Dye Ink and Pigment Ink being the two main categories, with several different hybrid and specialty inks also available. Most ink pads have re-inkers available, so you don’t have to toss your favorite ink pad when it dries up, just add a little bit of ink and you’re good to go.
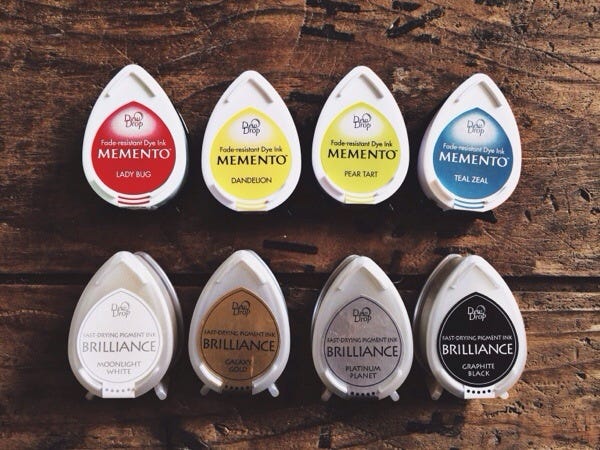
The following is a general overview of ink -- the qualities of specific inks may vary, so make sure to check the packaging for any additional features.
Dye Ink
Water-based ink
Dries quickly
Offers crisp image on most paper
Works by soaking the ink into the paper fibers -- so it will bleed on fibrous papers
Does not need to be heat set with an embossing gun to dry
Most are not waterproof, which means you can’t color stamped images with paint, pens or other water-based mediums as the ink will run
Can be used on matte, glossy, and vellum paper (glossy and vellum paper will have longer drying time)
More transparent than pigment ink
Colors may fade over time
Pigment Ink
Pigment/Glycerine based
Dries slowly over time
Works by the ink sitting on top of paper instead of soaking into the fibers themselves
Ink usually needs to be heat set with an embossing gun to dry permanently
Great for heat embossing (more on that in a later post)
Once heat set, ink is waterproof and can be colored with paint, pens, or other water-based mediums
Can be used on matte paper
Not good for glossy or vellum paper unless heat set with an embossing gun
More vivid color that does not fade over time.
Hybrid & Specialty Inks
StazOn: Super permanent ink. It can be used on any non-pourous surface -- paper, transparencies, photos, etc. It’s an acid-free, archival, ink that dries super fast. One of my absolute favorite inks.
VersaFine: Oil-based yet water-soluble. It is opaque like pigment ink, but dries very quickly. It is acid-free, waterproof, and fade-resistant, It works great for stamping outlines and then using watercolors or markers over the top without bleeding. It is perfect for any-text based stamps It is by far the best ink for detailed stamps.
Brilliance: Comes in metallic and pearlescent colors, this is a fast-drying pigment ink perfect for glossy paper, photos, and scrapbook pages. I recommend a quick heat set for glossy papers.
Chalk Ink: Chalk inks are a hybrid ink, in between dye and pigment that dry to a chalky finish and are waterproof when heat set.
Versamark/Embossing Ink: Pigment inks are great for embossing, but Versamark is an ink designed specifically to use with heat embossing. It gives a watermark-type look if used alone, and stays wet until it is heat set with an embossing gun, making it perfect for use with embossing powders.
Alcohol Ink: Not usually used directly stamping, alcohol inks are alcohol based, and used primarily for blending and other art. They are sold in dropper bottles rather than stamp pad and can be used on virtually any surface and is permanent once heat set.
How to Stamp
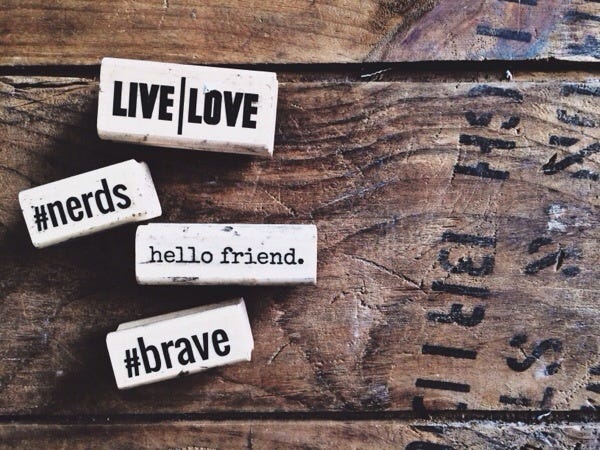
Wood Mount: Place the stamp on a flat surface, rubber side up; Clear: Attach the clear stamp to an acrylic block big enough to hold the entire image
Ink the surface of the stamp using the ink of your choice. Make sure to cover the design completely with ink
Grab the stamp (image side down) and press it firmly onto the paper where you want your image to appear
Do your best not to move the stamp after you have pressed it down. Any movement will result in a blurry image
Lift the stamp from the paper, using one hand to hold the paper down for an easier release
Clean your stamp and put it away for next time
Starter Recommendations + My Must Haves
Are you just starting out? Do you want to know how to build your ink collection without breaking the bank? Here are a few of my MUST HAVE supplies, and my advice for growing a collection that will suit your needs.
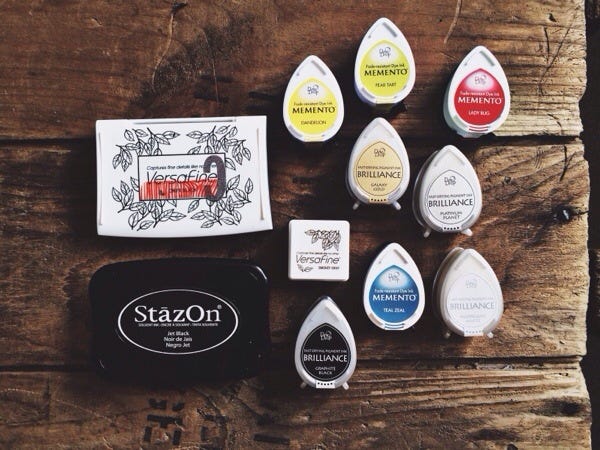
The following are the supplies I use on an everyday basis. These are my go-to inks, and if I had to start my collection over from scratch -- this would be where I begin.
VersaFine - Black Onyx + reinker
StazOn - Jet Black + reinker
Memento - Dew Drops (whatever colors appeal to you). I love these because they’re tiny, portable, and having a range of colors won’t break the bank. It’s a great way to build your color palette over time. My favorites are Dandelion, Pear Tart, Teal Zeal, and Grey Flannel.
Brilliance - Dew Drops (whatever colors appeal to you). My favorites are Galaxy Gold, Platinum Planet, Starlight Silver and Moonlight White,
Baby Wipes - How I clean my stamps.
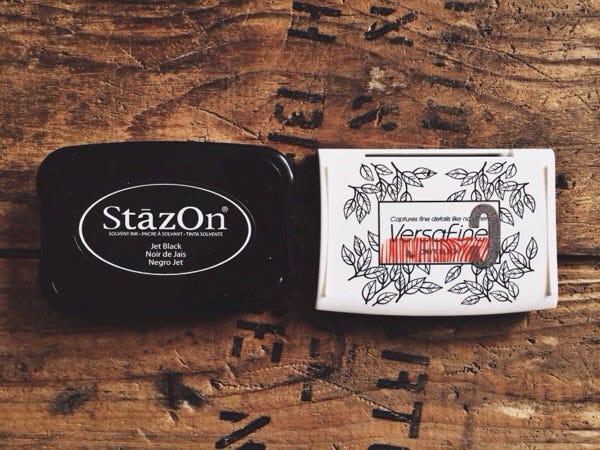
These two ink pads come with me everywhere. They are in my ‘must-have’ craft bag at all times. Between the Versafine for perfect detailing, and the Staz-On for photos and transparencies, I do 95% of my stamping with these two pads.
FAQs
How do you get clear stamped images?
I use Versafine on most of my stamped images. It’s by far the best ink for getting crisp images, especially when the stamp has a bit of detail to it. But just like anything else, practice is your best friend. Each stamp has its own unique feel, and the more you use it, the more you’ll learn how much ink to put on, how hard to press on the paper, and at what angle to push down. Play around and see what works best for you.
What ink can be used on photos?
I highly recommend StazOn. It’s easy, it’s fast drying, it’s permanent, and it doesn’t need to be heat set. You can use any pigment ink, but you will need to dry it with a heat gun or it will smudge.
What white ink do you recommend?
Personal preference is StazOn Opaque (which I’ve ordered for the store) and Brilliance Moonlight White. This is probably one of the most subjective questions I’ve ever come across, and everyone is going to have their own favorite.
What ink can be used to stamp images before coloring, so that the image does not get muddled?
I recommend StazOn. Again, it’s easy, fast drying, permanent, and it doesn’t need to be heat set before adding color to the top. You can use pigment ink, but again it needs to be heat set before adding color.
My clear stamps come out splotchy when I use them, is there an easy way to fix this?
Yes! Sometimes clear stamps have an oil residue left on them from the manufacturing process, which can result in gapped coverage and splotchy images. The easiest way to fix this is to grab StazOn ink and some scrap paper. Use the StazOn ink to stamp the image several times and then clean the stamp and use normally. The chemical composition of the StazOn ink helps to remove that oily residue and get your stamps working as they were intended.

