K & B do Maine: A Memorabilia Mini-Album
I love mini-albums. This week I was looking through some of my older mini-albums while packing up a few to send to a trade show. It made me think about how much I cherish my mini-albums. More than any other memory-keeping project -- scrapbooks, project-life, art journals -- I love my mini-albums. I love the beginning, the middle, and the end. I love capturing the details of a story in a mini-album
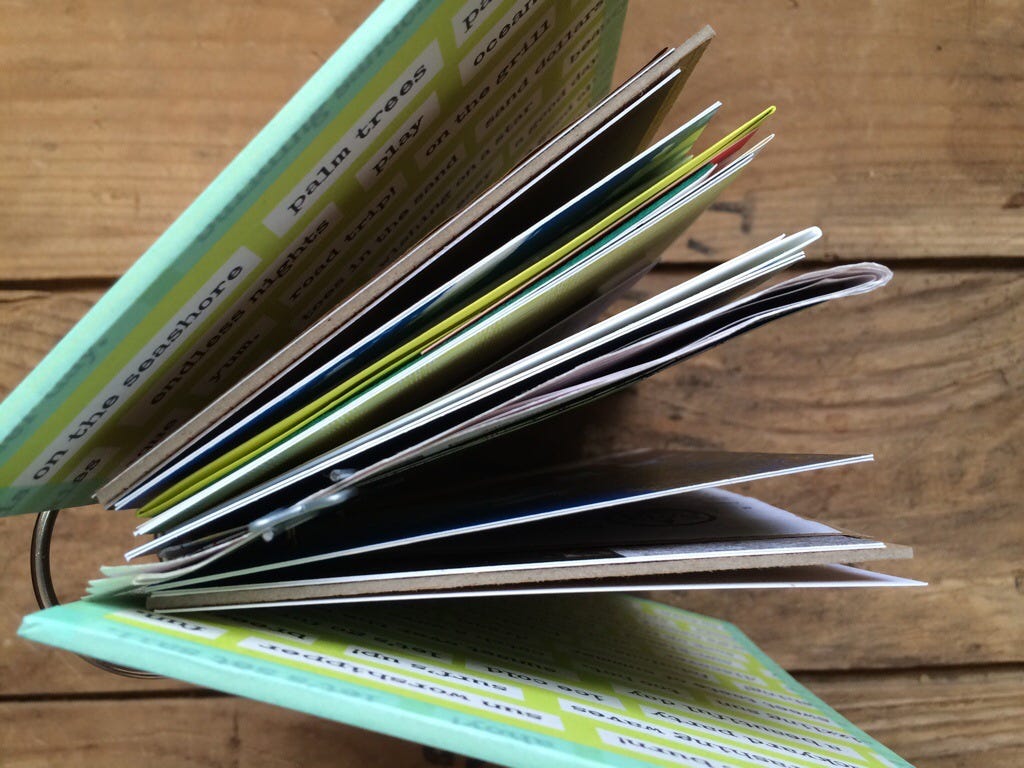
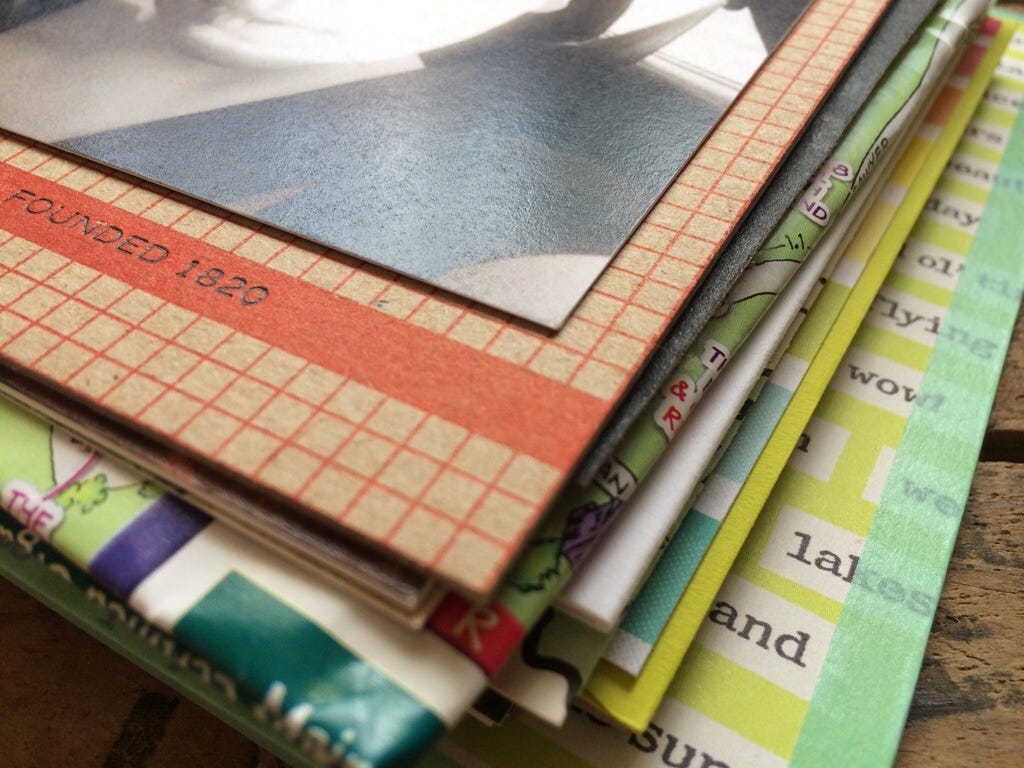
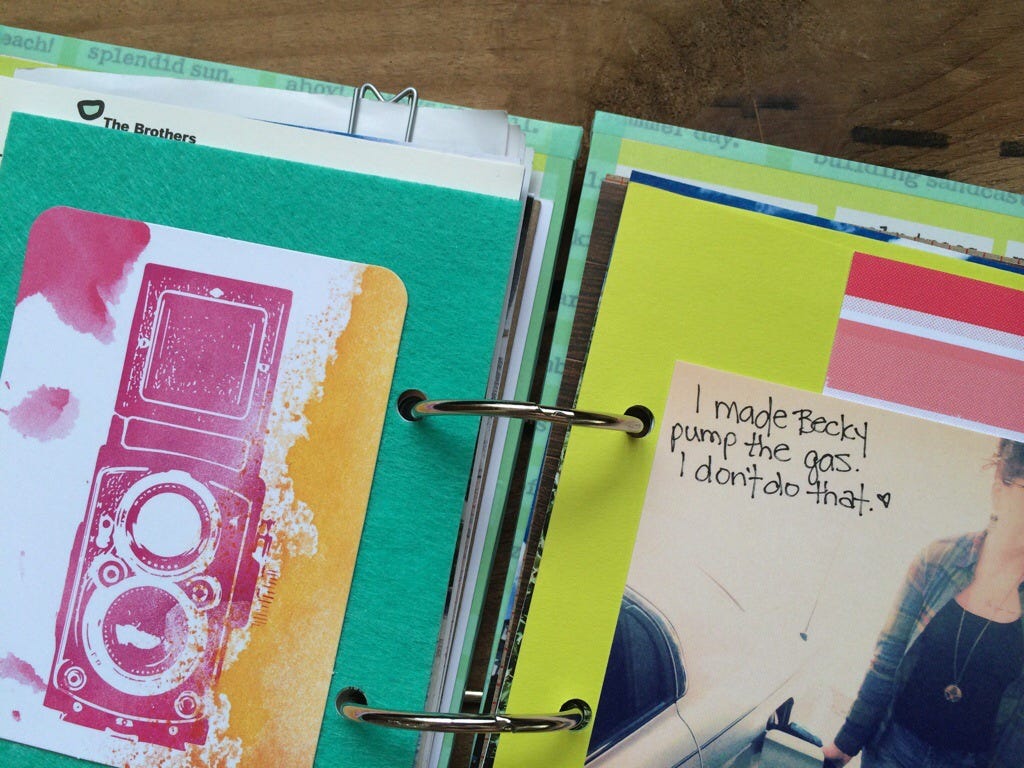
Today I'm sharing a few photos from a DIY Memorabilia Mini-Album. The topic: a ladies weekend in New England with my BFF Becky. Throughout the trip I picked up bits of paper memorabilia wherever we went. I grabbed maps, postcards, receipts, etc. These documents told an important part of the story. They were artifacts of our adventure, and I wanted to use them throughout my album. Whenever I have a mix of memorabilia and photographs for a mini-album, my favorite method is binder ring album.
Why Binder-Ring Albums?
You can make it out of anything you want. The only thing you actually need is a hole punch and some binder rings.
Add as much or as little as you want.
Change the pages around at will.
No page protectors -- great place to use bulky embellishments.
Envelopes are perfect -- for extra photos, more memorabilia, or hidden journaling
Tips for Creating Binder-Ring Albums
Create a template page out of cardboard. Measure and punch the holes on the template. Then use the template to punch holes in everything else.
Sturdy covers help the book stand up to wear and tear. Use cardboard, chipboard, or wood for your covers. Make the covers the same size as your largest inside page.
Photo Only Pages! I love photo only pages in these album (there are several in this album). When making photo only pages, cardstock prints hold up a thousand times better than regular photographic prints. I use Persnickety Prints for cardstock prints.
Memorabilia too large? Fold it up. In the album below I added a map of a ferry trip that we took, the map itself was too big but I folded it down to 4x6 and stuck it in the album.
Add texture. This is a very touchy-feely album. In this album I created a page out of felt, made a page using a letterpress card, and used real wood embellishments.
Use a kit! Either create your own by picking out a few sheets of patterned paper and a couple of embellishments or grab a pre-made kit at a scrapbook kit shop. In this album I used a kit from Studio Calico.
These albums are perfect for long weekends, micro-adventures, or anything with little stories strung together to create a greater narrative. It's especially great if you have a bunch of photographs and a bunch of memorabilia that you want to stick in one place. All of the special little moments together in one book.
Confession: one more reason I love these albums is they don't require too much journaling. I tend to get caught up on the words, and with this I can let the photos and the memorabilia guide the narrative and only add a few words when required.
PS -- I also created another mini-book about this trip. A pre-made journal & supplies I brought on the trip and filled with instax photos and journaling throughout our adventures. The two albums have similarities, and they tell the same story, but each album has a unique style and various themes running throughout that the resulting story has a richness and depth that could never be achieved with just a single album.


