Project Life 2014: January
This is my story.
I love documenting my everyday life; here's how I'm doing it in 2014.
This is my 'right-now' scrapbook. For the past few years I've been documenting my everyday life using a modified version of Becky Higgins' Project Life memory-keeping system. My goal for this project is to document the important (to me) stories and photos in one place. My format is open-ended, I have no plans for a specific amount of pages, in chronological order. To house my Project Life for 2014, I'll be using a 6x8 album with various page protectors.
January Pages
Click on each of the pictures for a clearer view.

Here We Go California
Moment: Road trip from Utah to California for CHA with the Freckled Fawn girls.
Favorite Part: The overlapping Amy Tangerine alphabet stickers in the 'California' card. They're partially transparent and layer beautifully. It's also a huge package that I'll never run out of. I hate running out of letters.
Tip: Add something 3-D to a page, it can really make the rest of the flat elements really pop.
Supplies: Amy Tangerine Plus One PL kit, Alpha Stickers, Washi Tape, Clothespins, Puffy Stickers.

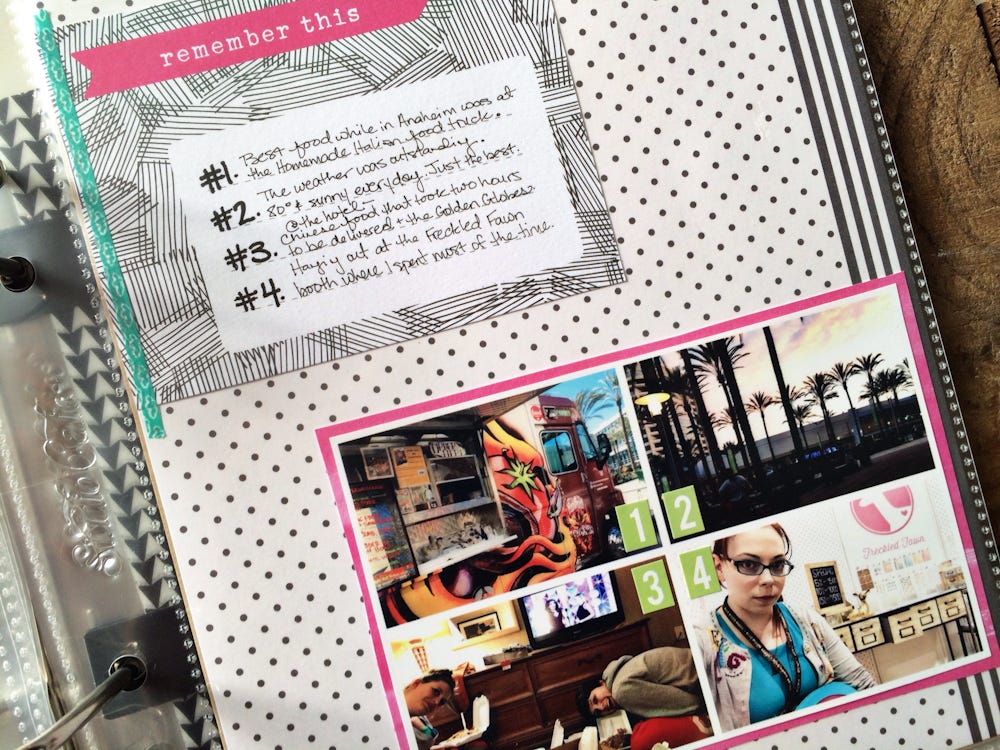
CHA Anaheim
Moment: At the Craft and Hobby Association Trade show in Anaheim, California.
Favorite Part: The entire thing. Super nerd alert -- the ever amazing Amy Tangerine took that photo of me (while in her booth with baby Jack strapped to her chest) so I thought it was super fitting to scrap that photo using Amy Tangerine products. Also I really like the frame card on the bottom with the washi tape outline.
Tip: Add in full pages to your album, especially if you have a large photo/photo collage that would be awkward in a small sized pocket.
Supplies: Amy Tangerine Plus One PL kit, Alpha Stickers, Washi Tape, 6x6 Paper Pad; Studio Calico Green alphabet stickers.

Journaling close-up.

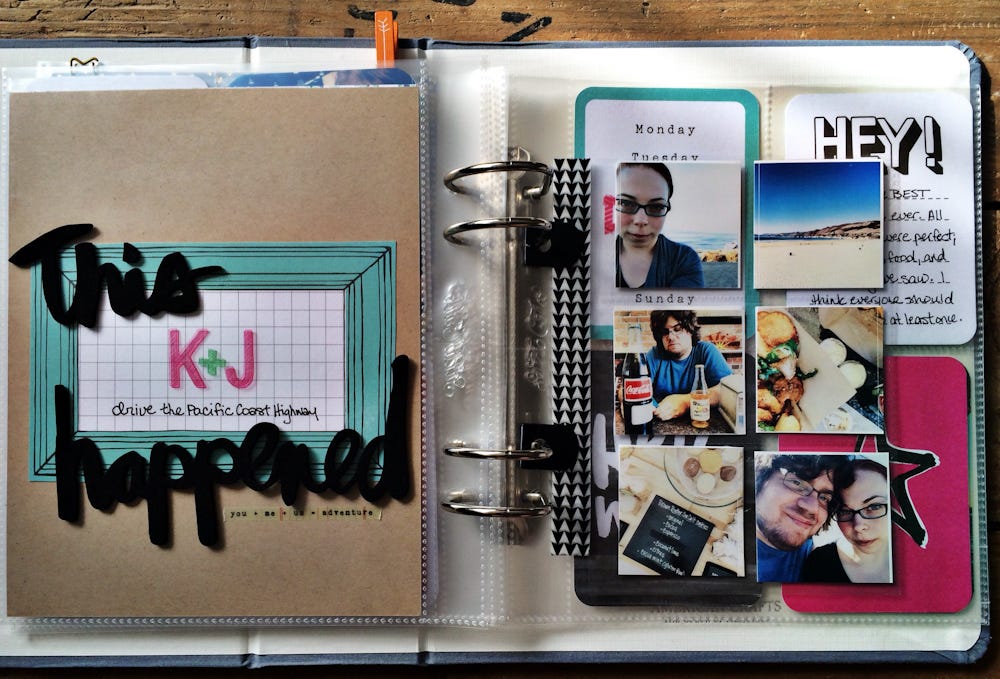
This Happened
Moment: J and I rented a car in LA and took a road trip up the Pacific Coast Highway.
Favorite Part: I love the script thickers on the frame. I'm in love with Kal Barteski right now, she is both an amazing artist and a super inspirational human. Obviously the photo insert is pretty awesome, but more on that in the next picture.
Tip: Create title pages throughout your book. I like to think of them as Chapter titles in my storybook.
Supplies: Amy Tangerine Plus One PL kit, Script Thickers, Alpha Stickers, 6x6 Paper Pad; Studio Calico typewriter stickers, Basic Grey Attach-me stickers, Coin Page Protector

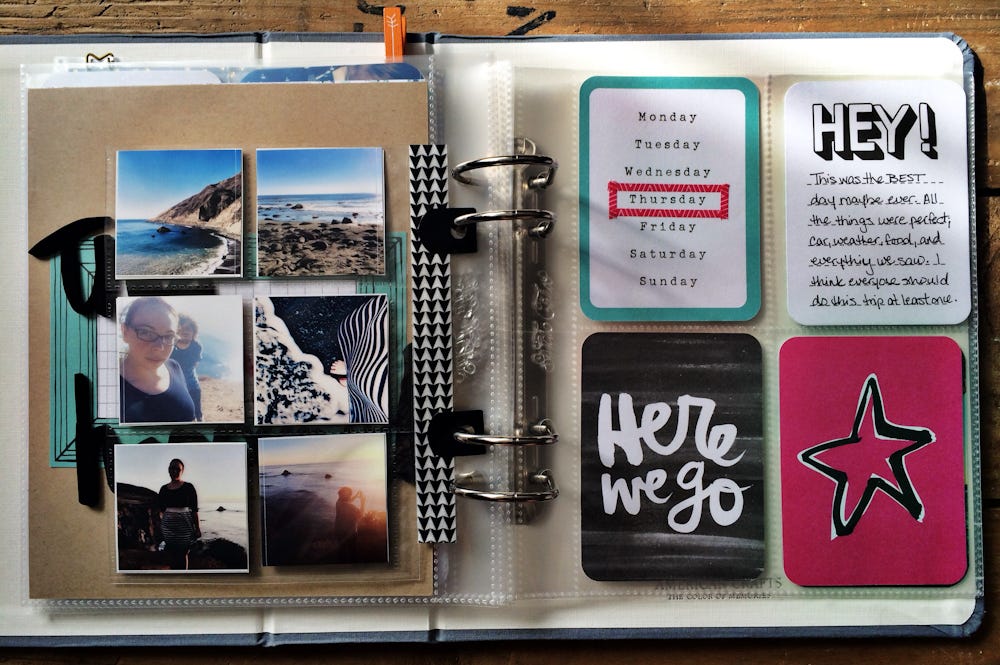
This Happened (backside)
Moment: J and I rented a car in LA and took a road trip up the Pacific Coast Highway.
Favorite Part: The photo page insert with the coin/slide page protector! The pockets are 2x2 and work perfectly when you want to show off a bunch of pictures at once.
Tip: My amazing friend Kam rocks the coin/slide page protectors, she has more examples of how to use them throughout your Project Life album here.
Supplies: Amy Tangerine Plus One PL kit, Washi Tape, Basic Grey Attach-me stickers, Coin Page Protector

K& J do SF
Moment: J and I spent the last days of our west coast trip in San Francisco & Berkeley.
Favorite Part: The four pictures in the bottom left. I used PicStitch to create a 4x6 collage with 4 - 2x3 photos and then I cut it in half to fit into 2 - 3x4 pockets.
Tip: Lots of photos. Sometimes the answer is just -- use all the pictures and let the words be in the background.
Supplies: Amy Tangerine Plus One PL kit, Alpha Stickers, Washi Tape, Puffy Stickers, Script Thickers, Studio Calico typewriter stickers, Label Stickers.

So Happy to be Home
Moment: Finally home after a long time away.
Favorite Part: The uppermost left card. I picked out an Amy Tangerine PL card with a watercolor design and then I layered the AT watercolor rub-ons right on top. The colors overlapped so perfectly .
Tip: When things are slow, pick out one or two favorite moments and document those.
Supplies: Currently List Journaling Card, Amy Tangerine Plus One PL kit, Alpha Stickers, 6x6 Paper Pad, Rub-ons, Studio Calico typewriter stickers, Label Stickers.

Birthday Girl
Moment: My 28th birthday <3
Favorite Part: The little strip on the bottom right page. I cut a sheet from the 6x6 paper pad and used the mini-cards to add extra journaling space.
Tip: Lots of photos. Sometimes the answer is just -- use all the pictures and let the words be in the background.
Supplies: Currently mini stamp, Amy Tangerine Plus One PL kit, Alpha Stickers, 6x6 Paper Pad, Rub-ons, Washi Tape, Puffy Stickers, Script Thickers, Studio Calico typewriter stickers, Label Stickers, Inspire Lovely January Calendar.
Album Supplies:
Studio Calico Handbook (will be in the shop late Feb), 4 to a sheet Page Protectors, 3 to a sheet Page Protectors; Sakura Microperm pen, Tonic paper trimmer, Selphy cp900 photo printer.
FAQs
Each month I'll be answering and sharing questions about my approach to everyday scrapbooking and the modified Project LifeTM system that I'm using. Most of these questions come from instagram, and a few emails. If you have a question, please leave it in the comments below and I'll add it to next month's list.
Where do you get your pictures printed?
For this project, I print most of my pictures at home using my Selphy cp900 photo printer. I love that I can print two 3x4 photos on a 4x6 print directly from my phone. It saves me so much time.
What pens do you use for journaling?
I love Sakura pens. I use the microperm pen for most of my journaling, especially my photos and any slick surfaces. I also use Sakura Micron, Sharpie pens, and any pen I find with a super fine point
How do you start? What is your general process?
I start by jotting down an outline of the topic I want to cover in my spread. I ask myself: what's the topic? what pictures do I have? what journaling do I want? do I have any memorabilia? Next I look at my outline and pull some supplies that fit in with my outline. I try to keep my supplies to a minimum, or else I get overwhelmed by possibility and it takes forever to complete.
How did you choose the 8x6 size?
My album last year was almost all 12x12 pages. I really enjoyed it a lot, but it took up a large chunk of my creating time. I felt like this year I wanted to dedicate a little bit more space in my album to special days -- which usually fall in the middle of regular weeks and I find it a lot easier to do with the smaller pages. It reads more like a storybook this way, instead of a weekly analysis. For me anyway. It's definitely a personal decision. I also like that it's more portable this way. I can pull all my supplies and work in the living room, or in a hotel room and not make a complete mess out of everything.
How do you know when you're finished?
I mostly know when its 'not done'. I'm a st0ryteller first, so I try to make sure any details that I want added to the story are put onto the page, and then I have a little bit of fun and add some design elements here and there. If I'm not sure if I'm finished -- or what comes next, I'll leave it overnight and give it a second look in the morning. Sleep always helps refresh my mind.
Do you write anything on the backs of the cards?
Not usually. This is my most public book, so there isn't usually any secret or hidden journaling. I will add envelopes, tabs, or mini insert pages if I want to add a bit more information without starting an entirely new spread.
Where can I purchase the products that you use?
I keep an online shop where readers can purchase my most loved and used supplies and help support me in the process. Most of the supplies that I use in my Project Life 2014 album will be in the shop. In addition to the supplies in my shop, I also use the OhDeerMe and Studio Calico kits.


