Gifting Travel Journals & Tips on Embellishing for Others

Holiday Handmade Blog Hop
Hi hi Friends! This weekend I'm blog-hopping with an awesome group of ladies, sharing lots of handmade holiday projects, perfect for putting together and wrapping up for that perfect person on your gift list.

Today I'm sharing a gift I made for my little sister. She recently moved to Chicago and I wanted to make her a travel/moving journal so that she had a place to document this important time in her life. Because moving/travel can be such a stressful time, I wanted to create a gift that was simple for her to use, but still gave her enough room to add in the memories she wanted to keep. In today's tutorial, I'll be sharing how I decorated and embellished the inside of this mixed-paper album in order to make it work as a gift for someone else.

While I created this journal out of patterned papers, envelopes, and other random paper bits and bound it together (using the Bind-It-All tool), these albums can be put together with any binding machine, a set of binder rings, or pick up one in a shop, but that's for another tutorial. Today's focus is on embellishing a travel/moving journal for someone else.
Decorating a gift album/journal for someone else can be a little bit overwhelming, even if it's for someone you know and love. Will this fit their style? How much room do I give them to journal/add pictures/etc? You don't want to go overboard with the embellishments, but you do want it to be a 'grab & go' project so that your loved one can use it during a busy and stressful time. They'll be super glad that you gave them this gift to help them document an important milestone or adventure.
In this project I used:
rukristin BASICS Numbers Clear Stamps
rukristin Chicago Wooden Stamp
rukristin Organization Stamp Set
6x6 Patterned Paper
Tab Stickers
Black Ink
Pre-made mixed paper album

How to Embellish a Gift Journal for Someone Else
The first step is to break up the journal into segments:
Front Cover
Inside Pages
Back Cover
I prefer to work on the inside pages first, and then move on to the covers, and because all the pages in a mixed-paper album are different patterns, sizes, and textures, I'll be going through the album spread by spread commenting on the choices I made with my stamping and embellishing.

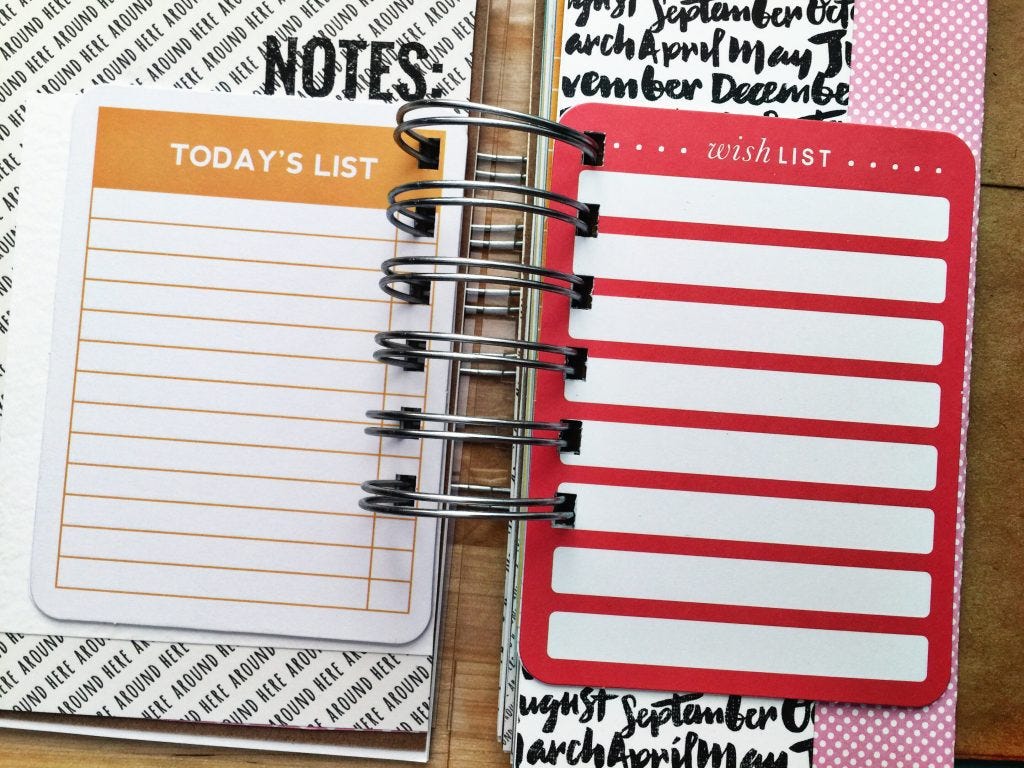
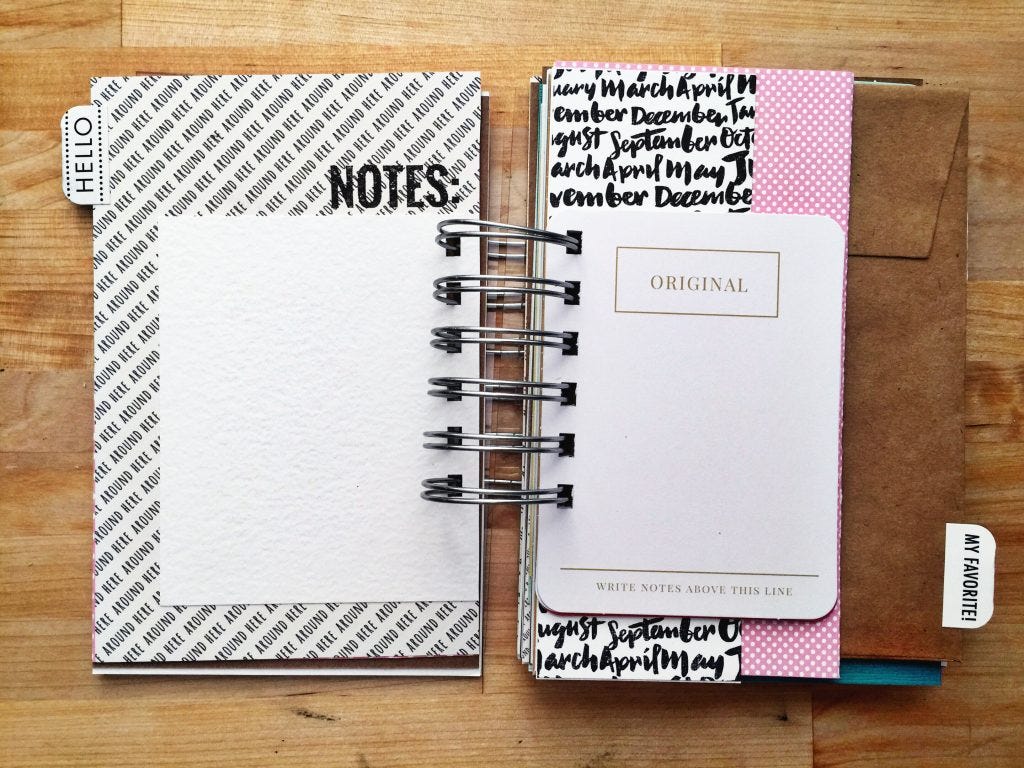
Throughout the album, I flipped the different size pages around to see where I would want to place my stamped images. I tried to place the stamps in areas that would be visible even when flipping through multiple pages. I did a lot of stamping along the tops and bottoms of the pages, as well as along the edges of the larger pages.

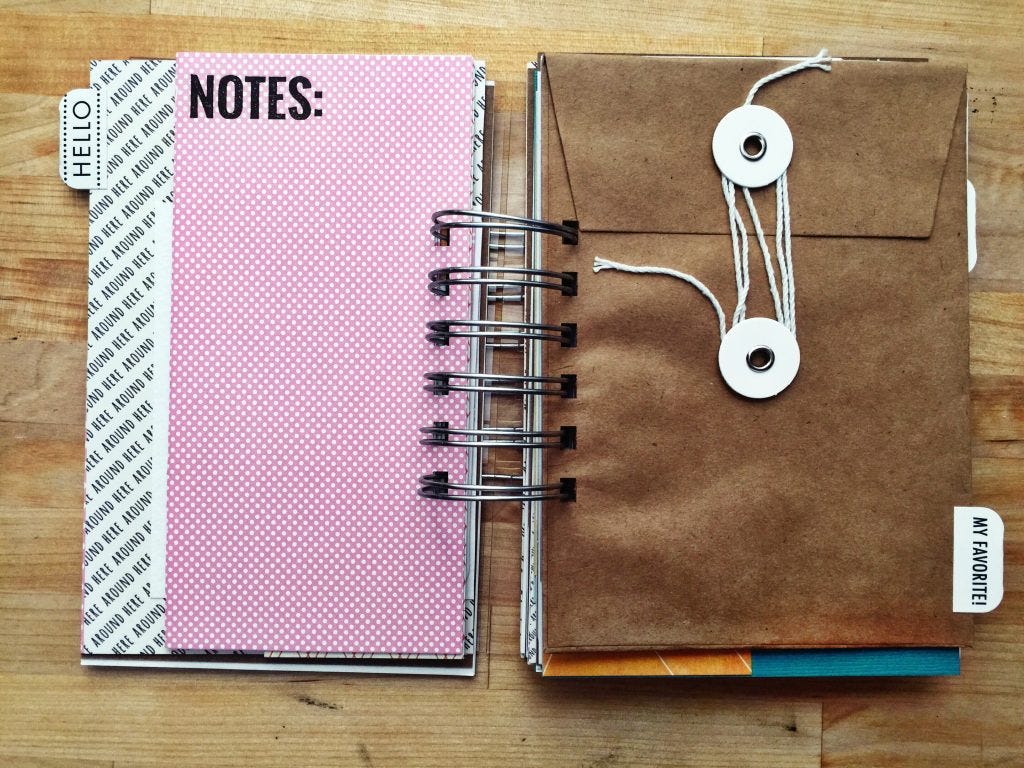
One of my favorite things about mixed-paper albums is the different ways in which to store memories. This book has a single kraft envelope. It's perfect for storing any bits of paper that might have been collected throughout the journey. Because there was only a single envelope, and I wasn't sure how my sister was going to use it, I left it blank. Remember that choosing to leave things blank is also a design decision, and sometimes its the best one you can make.

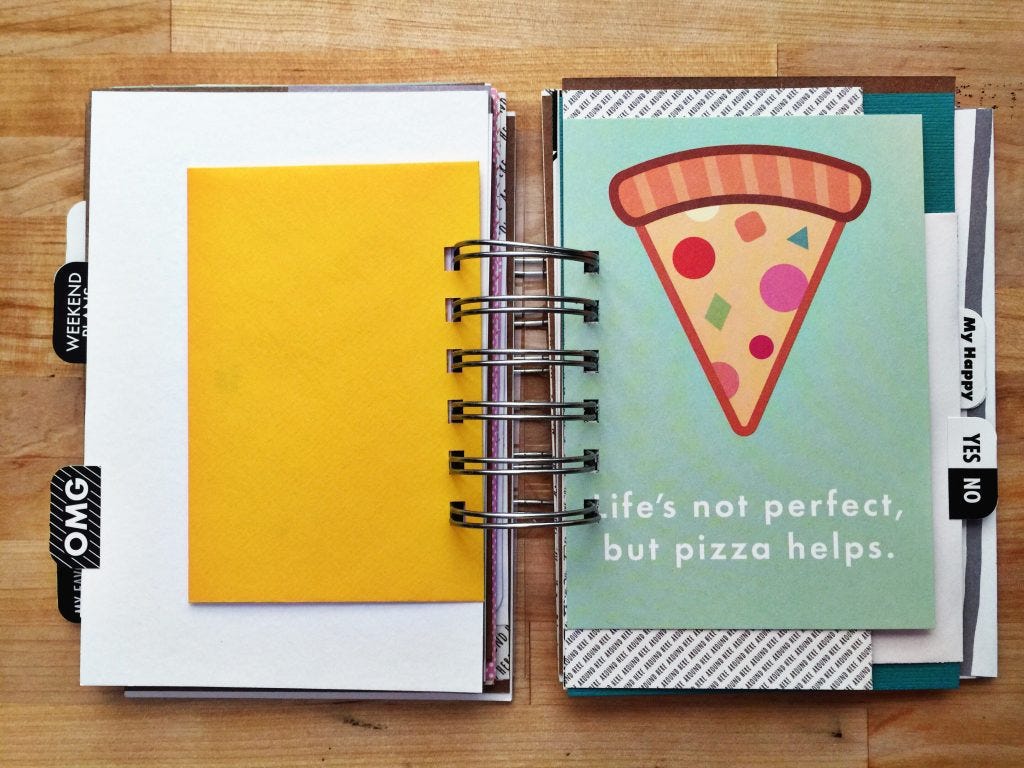
Here's another great example of the perfect pages to leave without much embellishing. Because most of the album is filled with small patterns and solid colors, this pizza print really stands out on its own. To add extra embellishing to this spread would pull away from the print itself. Tip to keep in mind: let your focal point stand out. If there's something super cool in a journal -- leave it alone and let it be cool, you have the rest of the journal (and the small patterns and solid colors) to embellish further.

Throughout the album my embellishments were super minimalist. I stamped using the BASICS Numbers Clear Stamps, Chicago Wooden Stamp and Organization Stamp Set and black ink. The only other embellishment I used throughout the inside pages of the album were tab stickers. I picked out a couple tab stickers and stuck them on various pages throughout the album. After pulling off my favorites, I added the rest of the sticker sheet to the album itself so that my sister could use up the rest of them.

Thank you so much for joining me today!

