Art Journaling Thursday | Scrapbooking + Art Journaling from Start to Finish

I'm a scrapbooker. I've always been a scrapbooker. I always will be a scrapbooker.
I also love crafting. I'm not great at fine art, but I love color and texture and using art supplies in my crafting projects. Because scrapbooking is in my blood, my crafting projects tend to take on a very scrapbook-like persona -- especially my art journal pages.
For years that would frustrate the hell out of me. I couldn't ever make art journal pages that look like other people's art journaling pages. My art journaling pages would just look like scrapbook pages.
But then I kind of just got over myself and thought -- if art journaling is supposed to be an artistic expression of who you are, and I am a scrapbooker, then maybe my art journaling pages should look like scrapbook pages. After that, art journaling got a lot easier. I still struggle at times, but hell -- it wouldn't be fun if it wasn't difficult.
Today I'm sharing step-by-step photos of my latest art journaling page. Those of you who might be traditional scrapbookers can see exactly how I translate my scrapbooking techniques over to art journaling, and those of you who might be art journalers can see how scrapbooking with art journaling techniques is easy.
Also, (silently screaming with excitement) I'm using two of my new BASICS stamp line on this page, the alpha set and the relationships set. You can pick them up in the rukristin shop and I'll be sharing lots more projects here and on instagram using the hashtag #rukristinstamps.

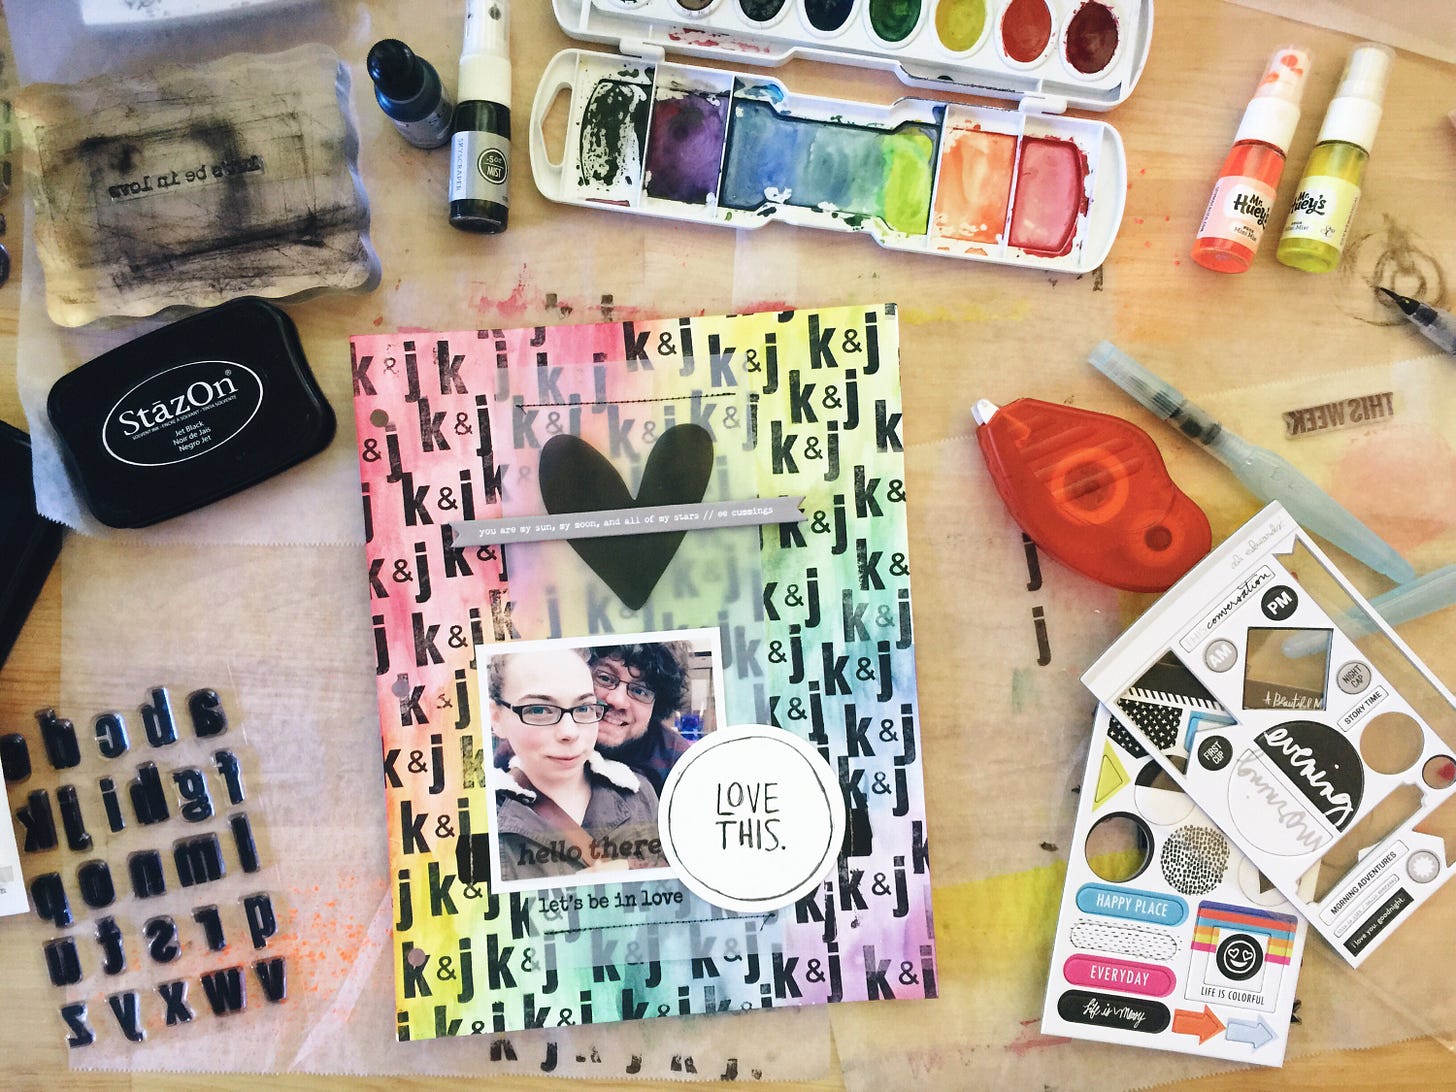
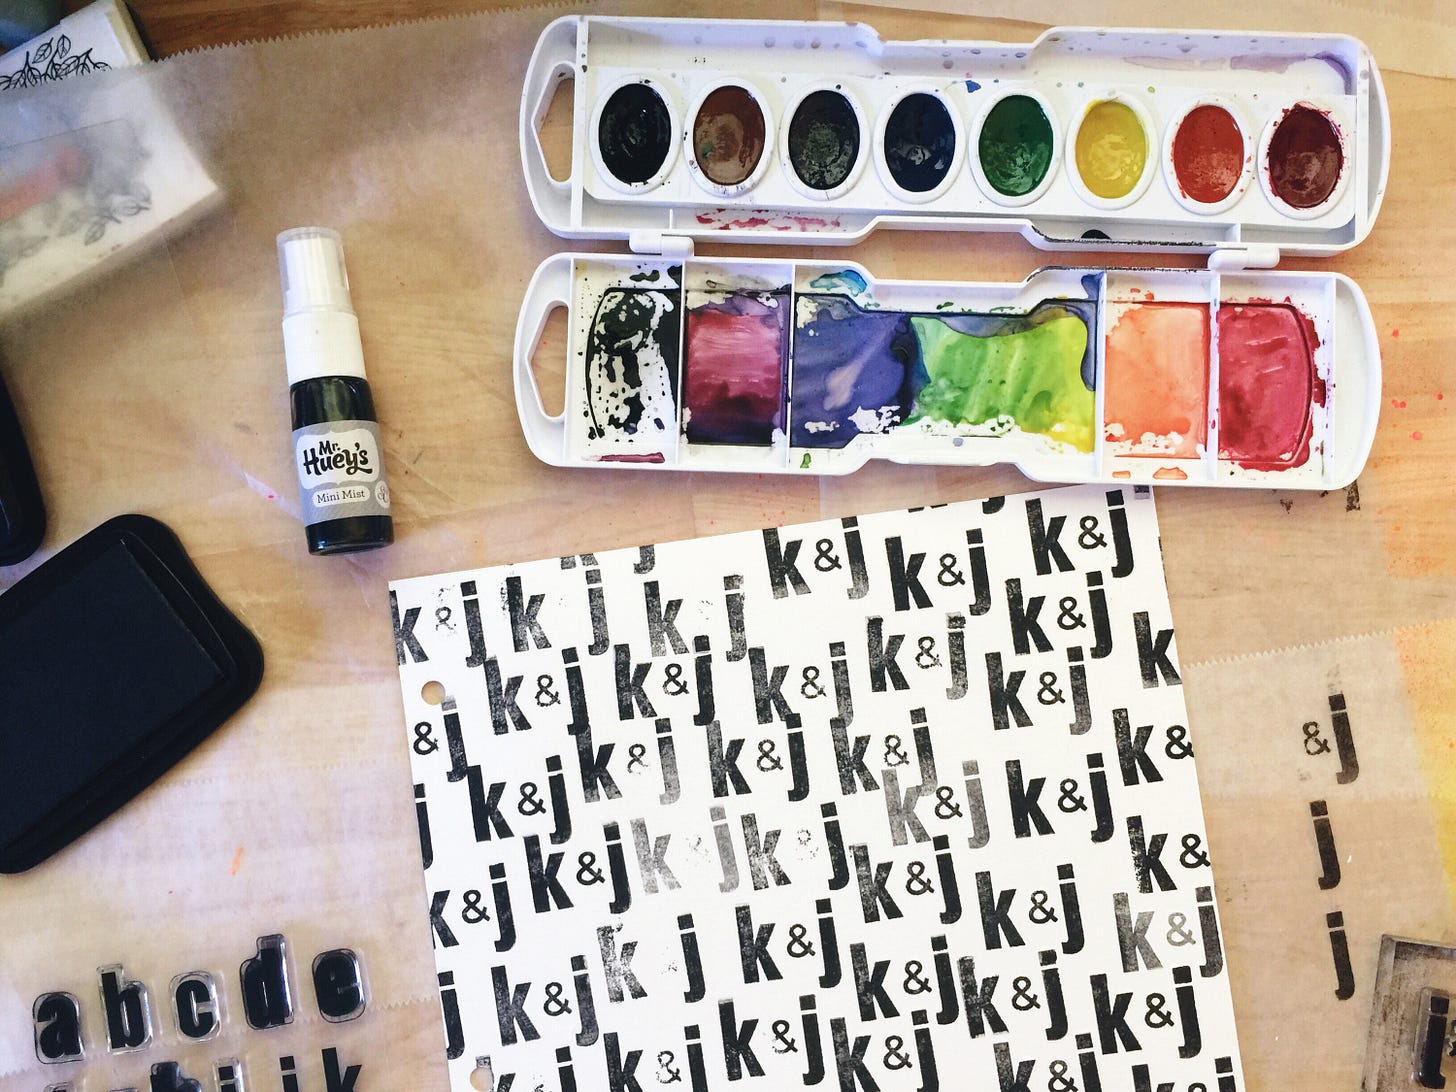
Step One: Using the K and the J from the alpha set and the tiny ampersand from the relationships set I stamped the background of an entire sheet of watercolor paper. I used black StazOn ink, like I do on all (most) of my art journal pages, so that my stamping won't smudge when I add color to the page.

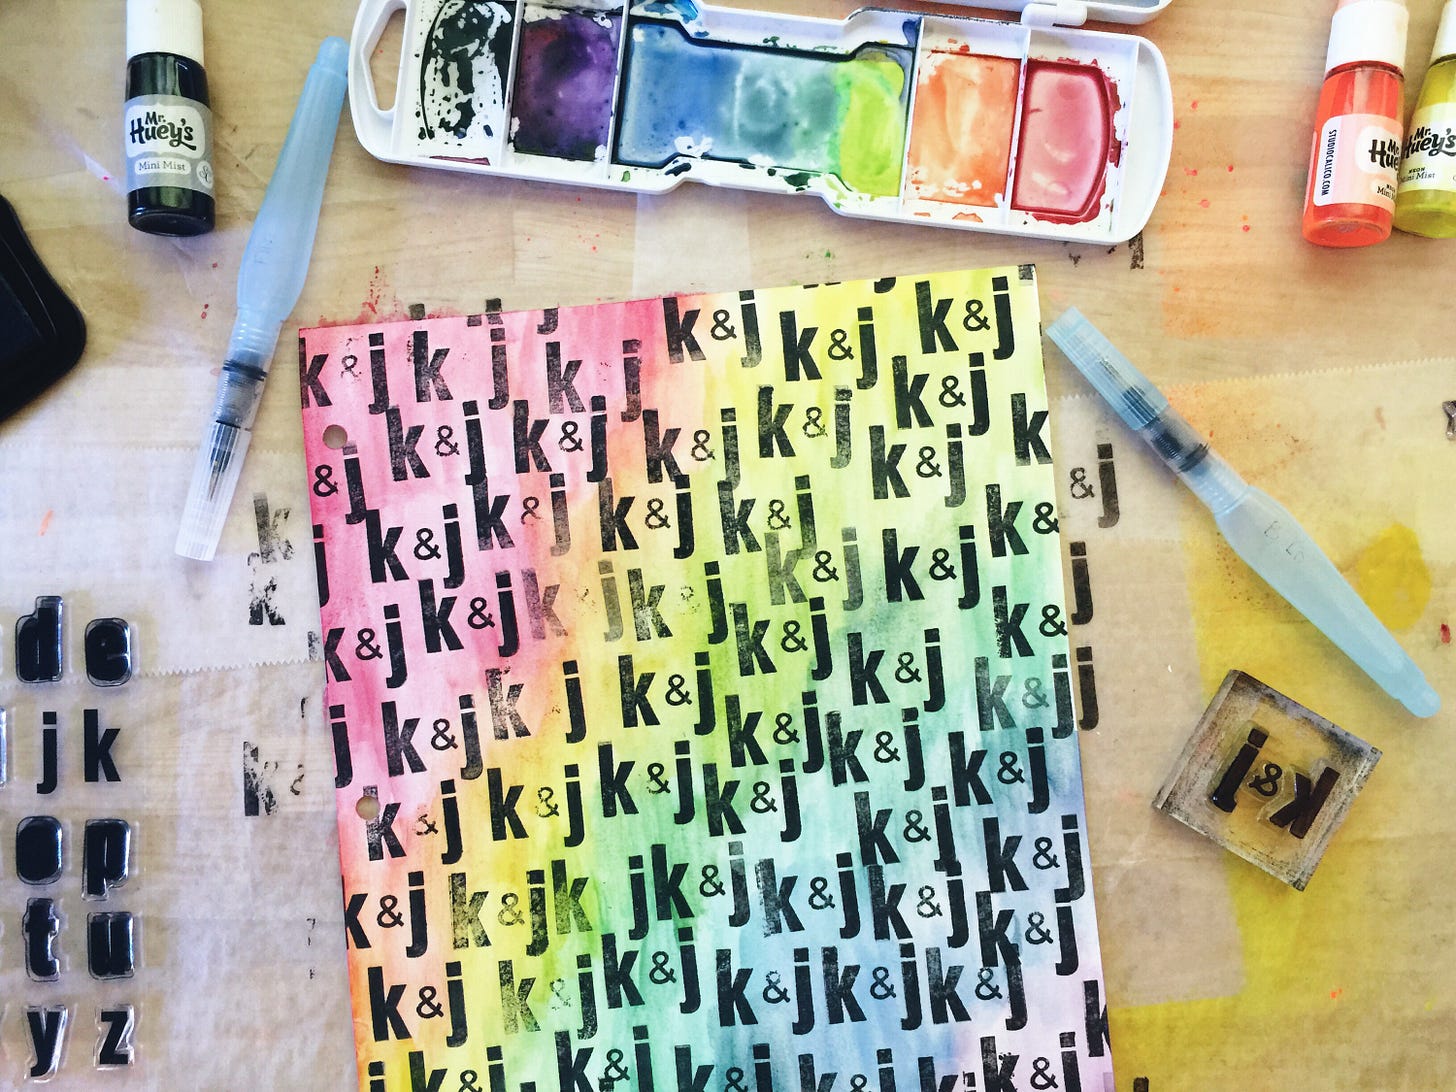
Step Two: I pulled out my basic set of watercolor paints and my watercolor brushes.

Step Three: I used the watercolors to paint a rainbow-esque background. I started in the upper left corner with red and moved down into the lower right hand corner with the purple. Its imperfect and I love it.

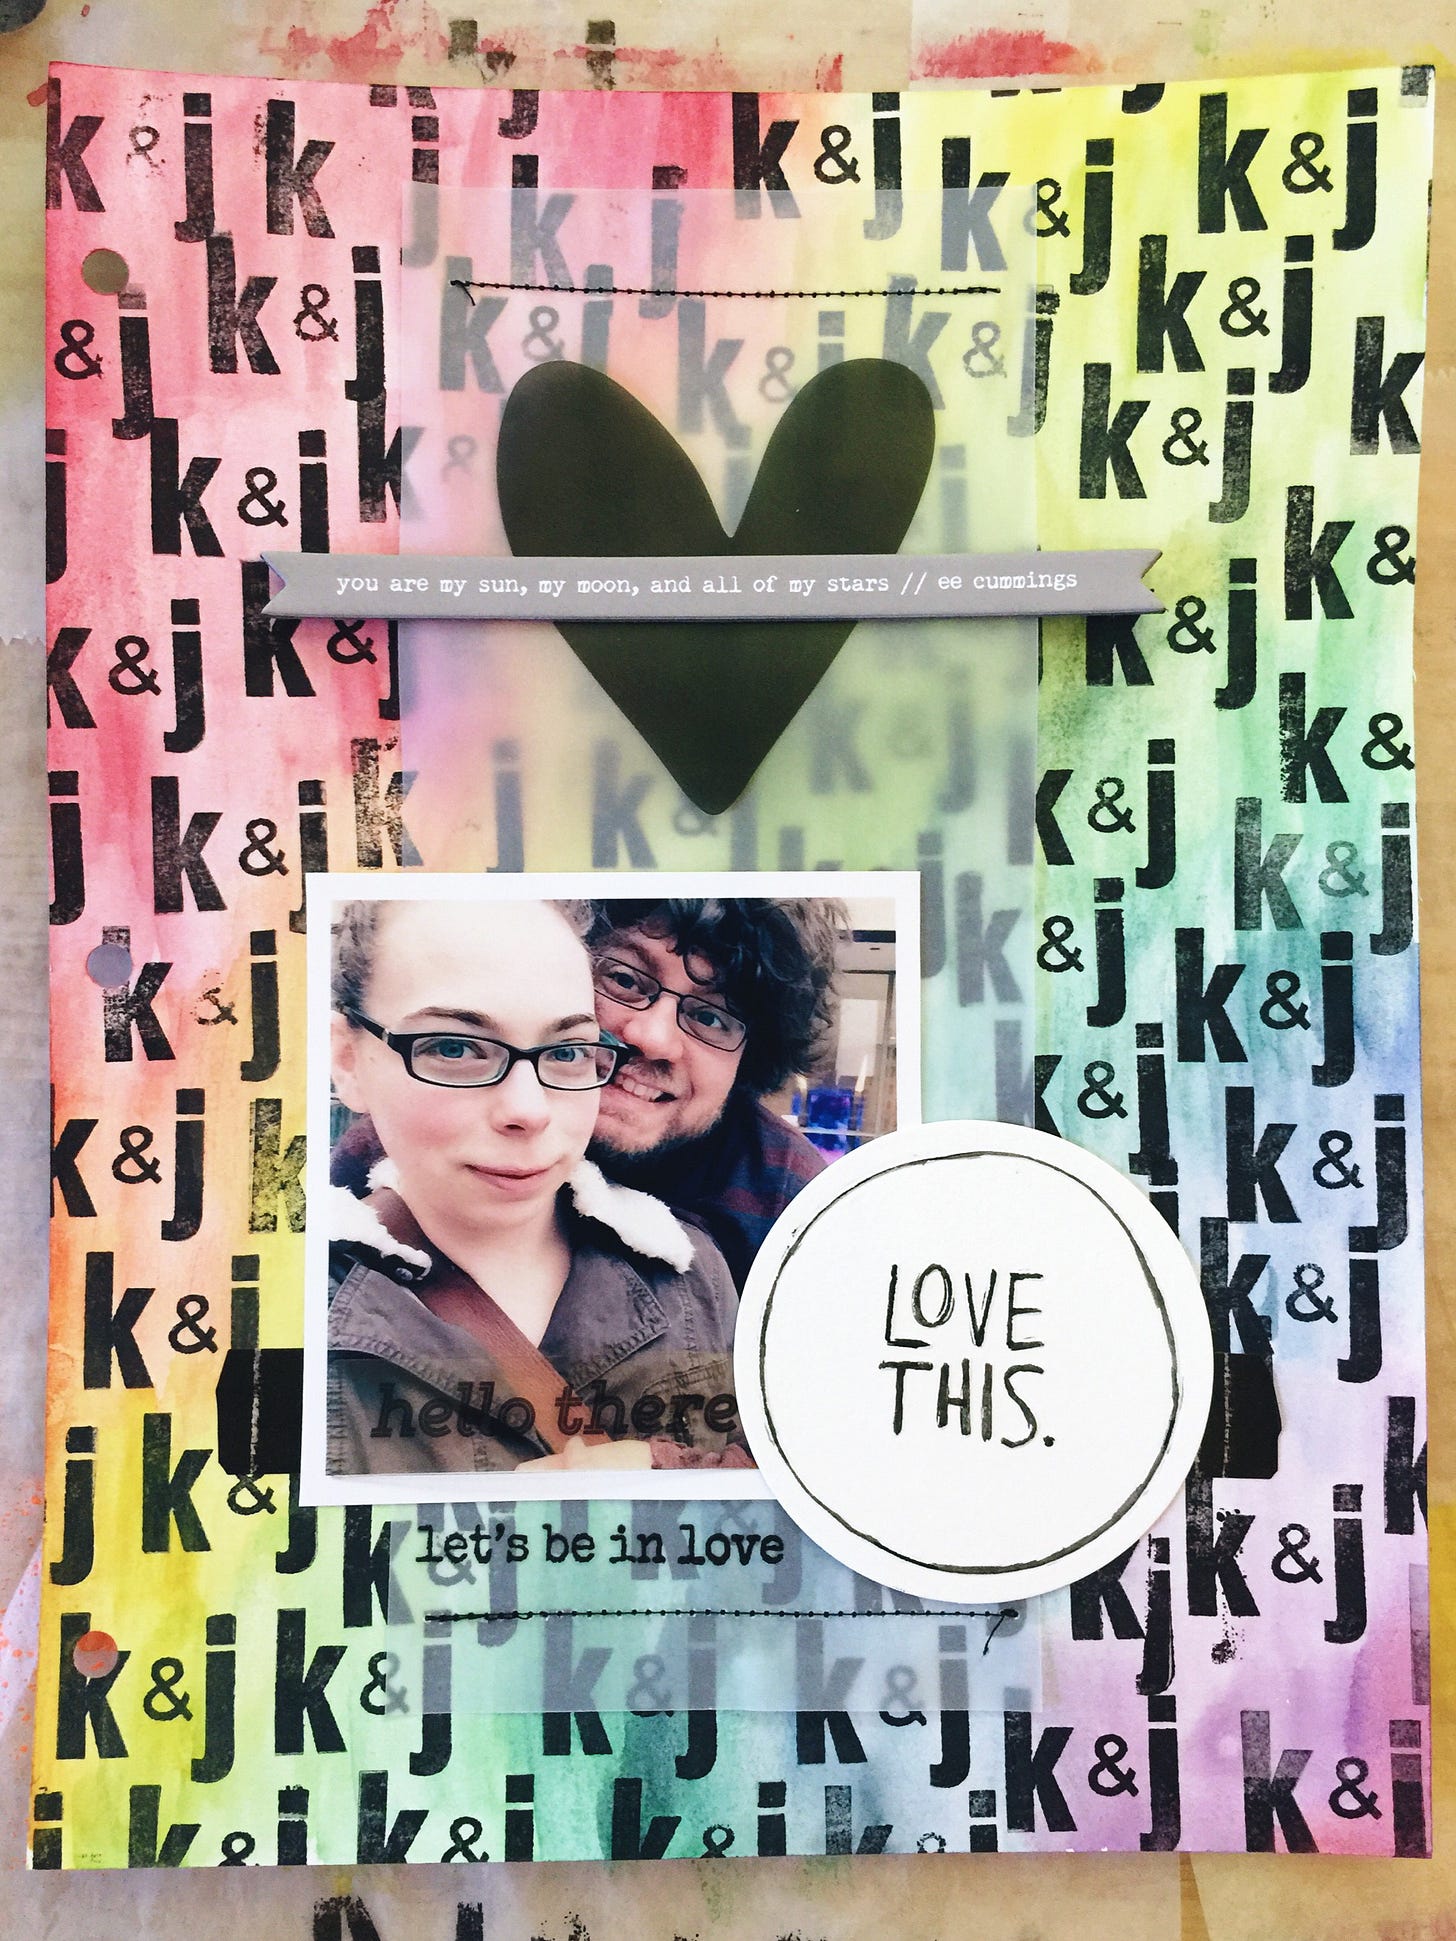
Step Four: I sewed a sheet of vellum to the watercolor paper and added a strip of washi tape from an older Messy Box kit near the bottom.

Step Five: I added my 4x4 photo and a white letterpress coaster (that I watercolored) from the Ali Edwards Little Things story kit.

Step Six: I finished off the page with a 'let's be in love' stamped sentiment under the photo, and a black vellum heart with a chipboard sticker across the top half of the vellum.

Art Journaling Thursday is inspired by the Get Messy Art Journaling community. Over the next few weeks, I'll be sharing my art journaling pages here on the blog and on my instagram account along with several other of the Get Messy ladies. Head over to the Get Messy blog for lots more art journaling inspiration.

