

DIY Stitched Neon Art-Journal Mini-Album Scrapbook

I love papercrafting mini-books. There's just something about taking sheets of paper and putting them together to create a space to tell a story. Today I'm sharing how to make a DIY stamped and stitched neon art-journal. I used this album to hold some of my favorite black and white photos. The best part? This whole album is made from scratch.
The Radiant Neon line of Imagine Crafts/Tsukineko mixed media inks are my favorite colored inks right now. I keep them on-hand at all times, because I'm always adding a pop of color here or there. As a mixed media ink, it's perfect for use on any porous surface. It dries quickly (as far as pigment inks go), and is fade resistant, which is especially important when working with neon inks.
Step-by-Step
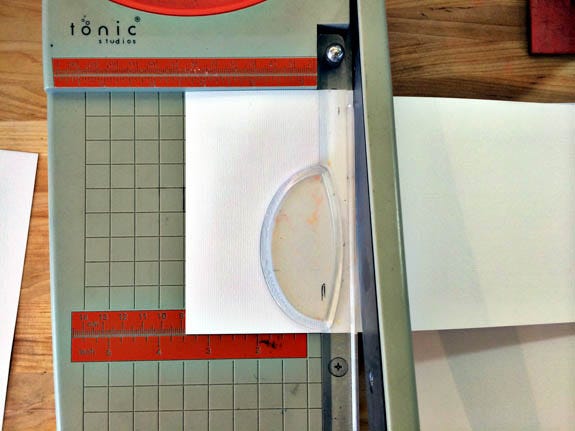
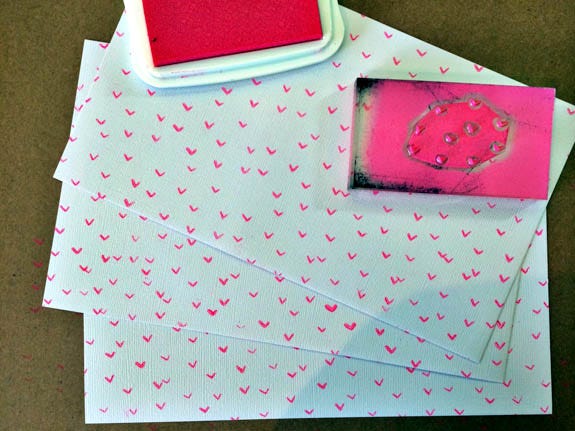
1. Cut three matching 8.5"x5" sheets of smooth white cardstock.
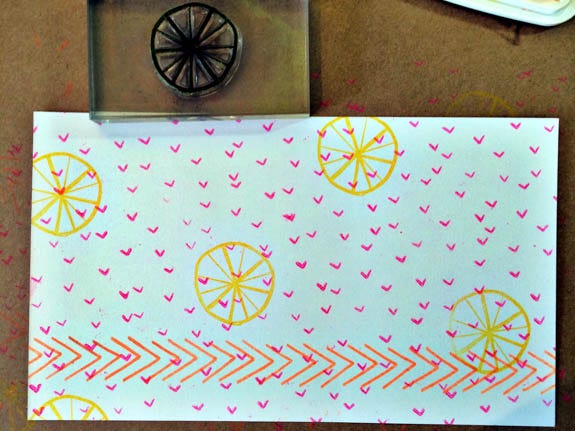
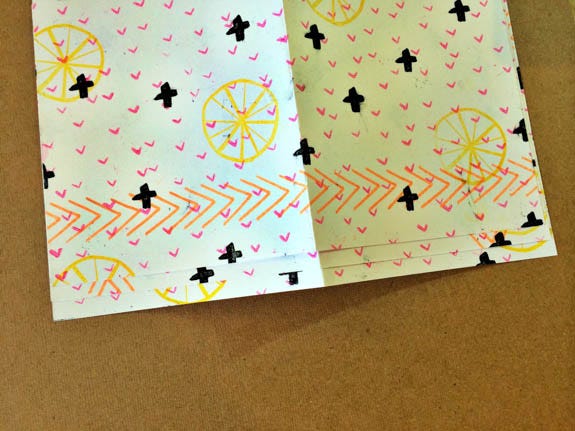
2. Start creating the background with the smallest stamp pattern. Stamp the smallest pattern (carrot marks) using Radiant Neon Ink in Electric Pink. Stamp the entire surface, covering the front and back of each of the three sheets of cardstock.
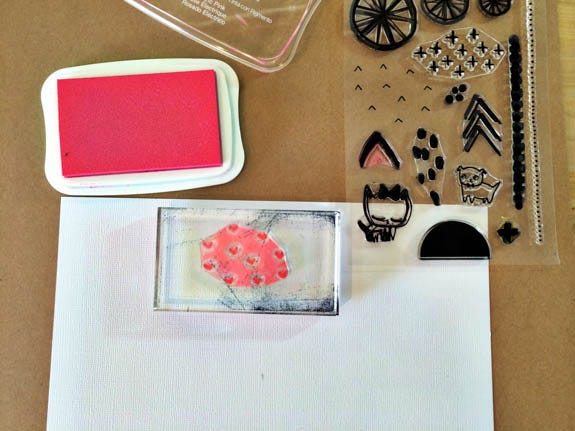
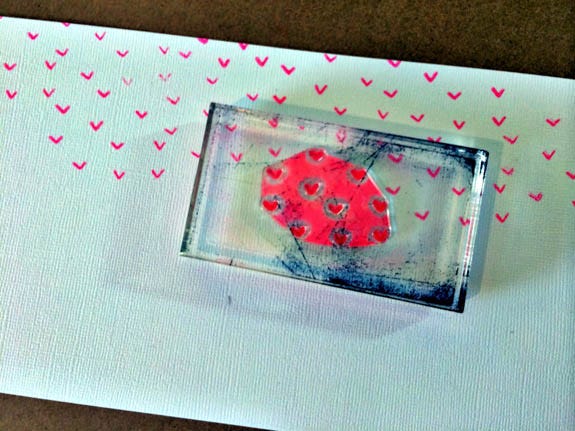
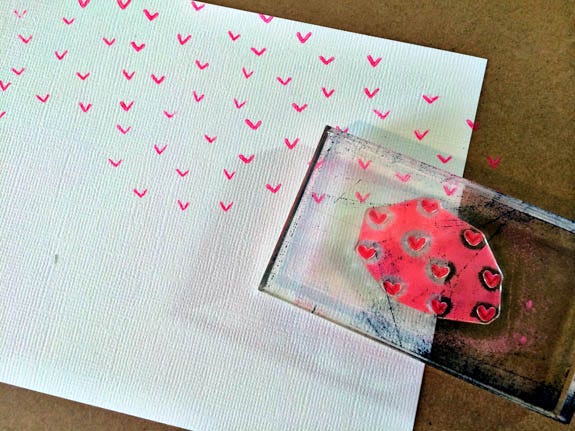
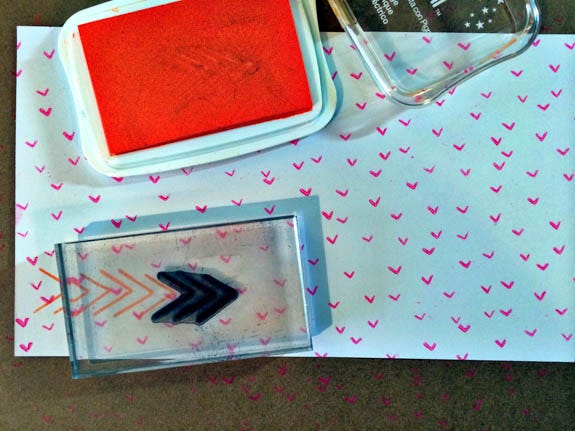
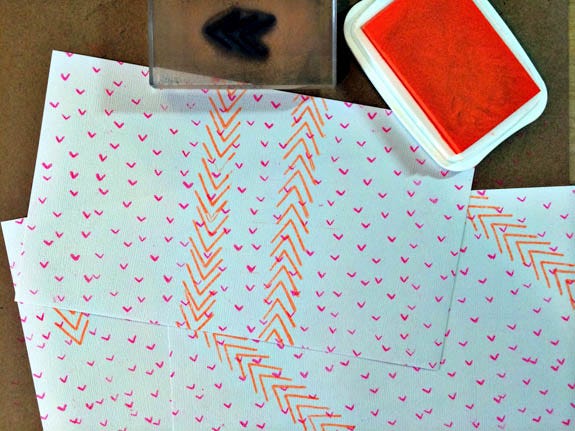
3. Next, stamp the medium pattern (thin chevron) using Radiant Neon Ink in Electric Orange. Stamp in small areas varying the placement of the pattern on each sheet.
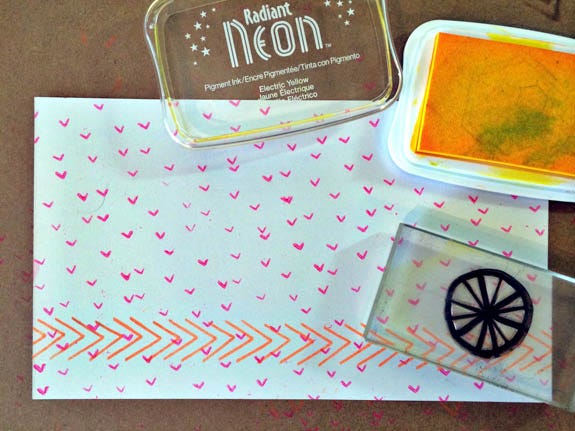
4. Next we move onto the largest of the stamps. Stamp the large image (hand-drawn circle with spokes) using Radiant Neon Ink in Electric Yellow. Stamp with random placement, making sure to stamp off the edge of the cardstock in a few places.
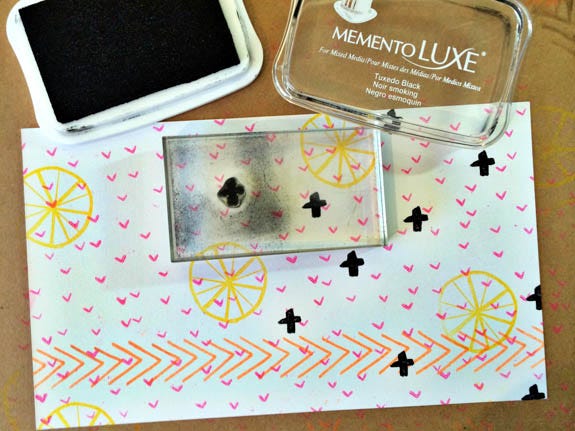
5. For a bold accent, use black ink to Stamp the small image (plus sign) using Black ink. Stamp with random placement, again making sure to stamp off the edge in a few places.
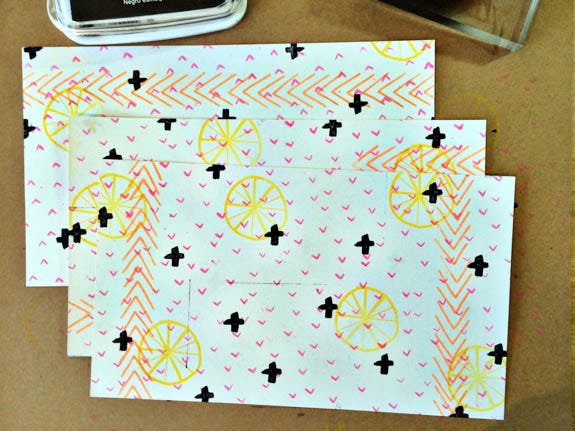
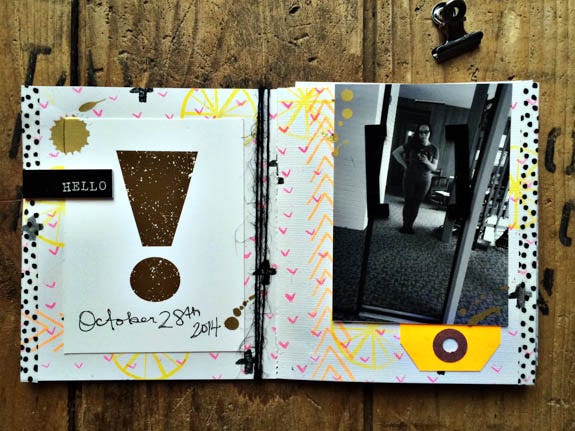
6. After the ink is completely dry on each of the three sheets of cardstock, fold each of the sheets in half. You are looking to create a crease in the center (as shown below) to make it easier to bind the sheets of cardstock together to create a stitched album.
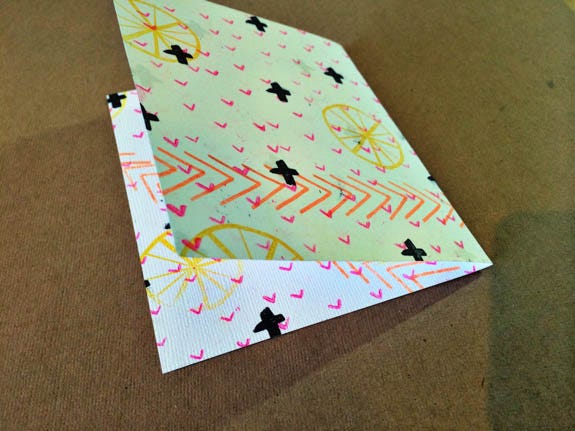
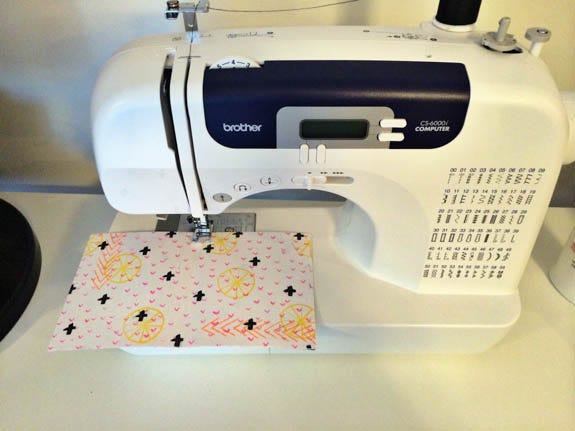
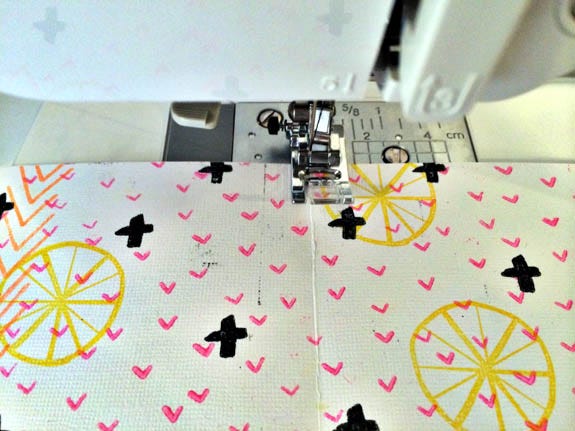
7. To start the binding process: stack each of the sheets on top of each other, lining up the creases. The cardstock sheet on the top will be the front cover/back cover of your album, so pick out your favorite sheet for the top.
8. Using a sewing machine, and a straight stitch, stitch along the crease to create the binding. Go over the stitch two or three times to reinforce the binding.
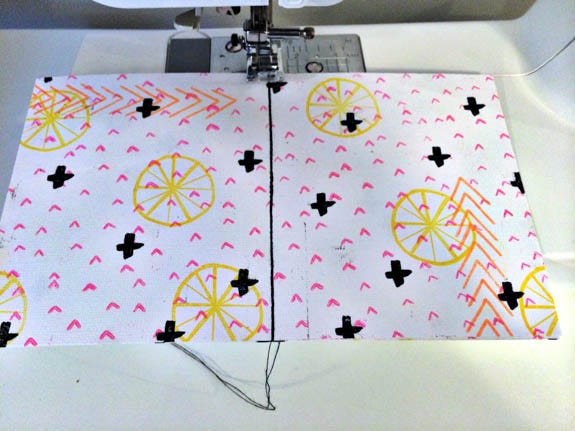
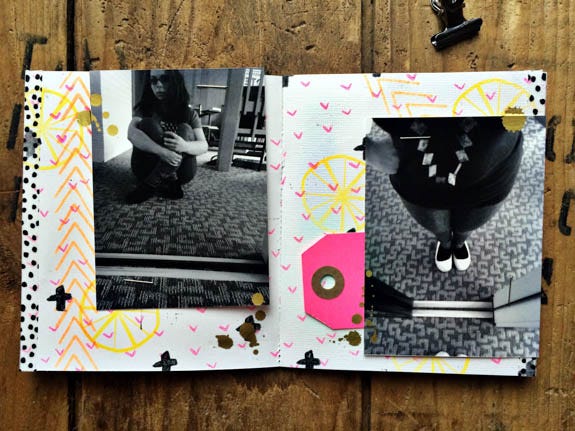
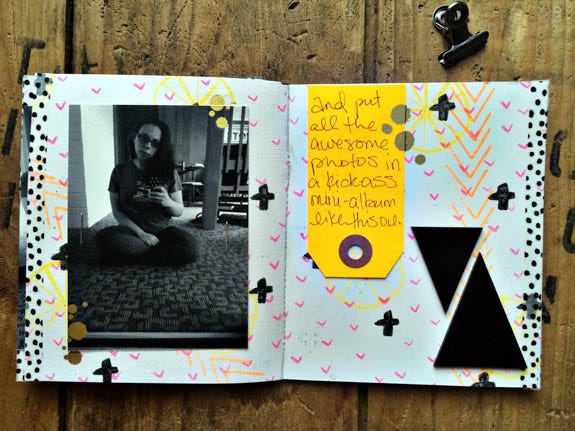
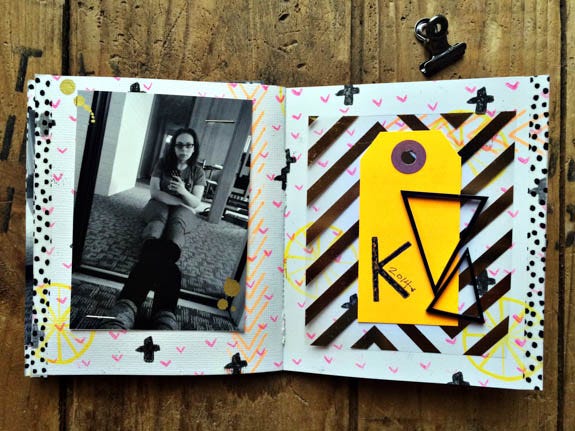
9. All Done! The album is ready for your story! Add black and white photos and embellish the album. This set up will give you ten inside pages, and a front and back cover. You can add or remove pages, but remember it will get harder to stitch through the binding of your stitched neon art-journal as you stack more sheets together.
Photos of the Completed Stitched Neon Art-Journal


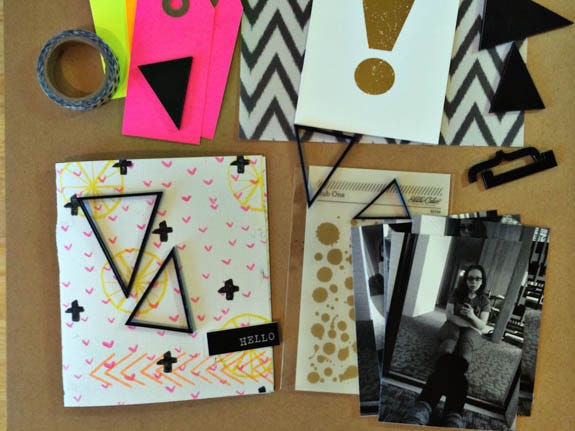
Supply List:
Imagine Crafts/Tsukineko Radiant Neon Ink in Electric Orange, Electric Pink, and Electric Yellow
Imagine Crafts/Tsukineko Memento Luxe Ink in Tuxedo Black
Pattern Making Stamps (Ashley G for Studio Calico)
White Cardstock
Paper Trimmer
Sewing Machine
Black and White 3x4" photographs
Neon Tags
Matching Embellishments