DIY Mini-Album | A Powerful Photo Narrative
Playing around with one of my favorite mini-album styles
Today I'm sharing a new DIY mini-album. It's a 4x6 inch paper album bound together with two binder rings.
I'm really getting into a groove making 4x6 two-ring mini-albums for events and little trips. This album shares the story of my July visit, to the Kara Walker Domino exhibit in Brooklyn.
Making the Album
The awesome people over at Tombow sent me a sample of their Tombow Xtreme Adhesive to test out, show off, and give you all my thoughts as a part of their StickyU program (they sent me a t-shirt and a diploma and it was adorable). It's marketed as a 'high performance' adhesive, meaning it's much stronger than a regular tape runner, while still maintaining the ease and efficiency of a traditional tape runner.
To test out the 'high performance' aspect of the adhesive I created a mini-album using sheets of patterned paper as the base of each page. Patterned paper isn't exactly the sturdiest of materials, so when making an album out of paper, it's important to use a good strong adhesive to bind two sheets back-to-back to create a base sturdy enough to stand on its own.
The Tombow Xtreme Adhesive worked perfectly for this project. It's definitely a lot stronger than a normal tape runner and it's pretty easy to use. It works best when you press firmly and evenly and release quickly. I'm thrilled with this adhesive. It's definitely more of a specialty adhesive for me -- I don't need this much power for all my projects -- but for the ones that really need to stick, I think this is going to be my go-to tape runner. Thanks Tombow!
I created this album with the Studio Calico Poet Society Scrapbook Kit & Dickenson add-on kits. Kits are an essential tool for my scrapbooking - it just makes it easier and the whole book will coordinate without much extra work.
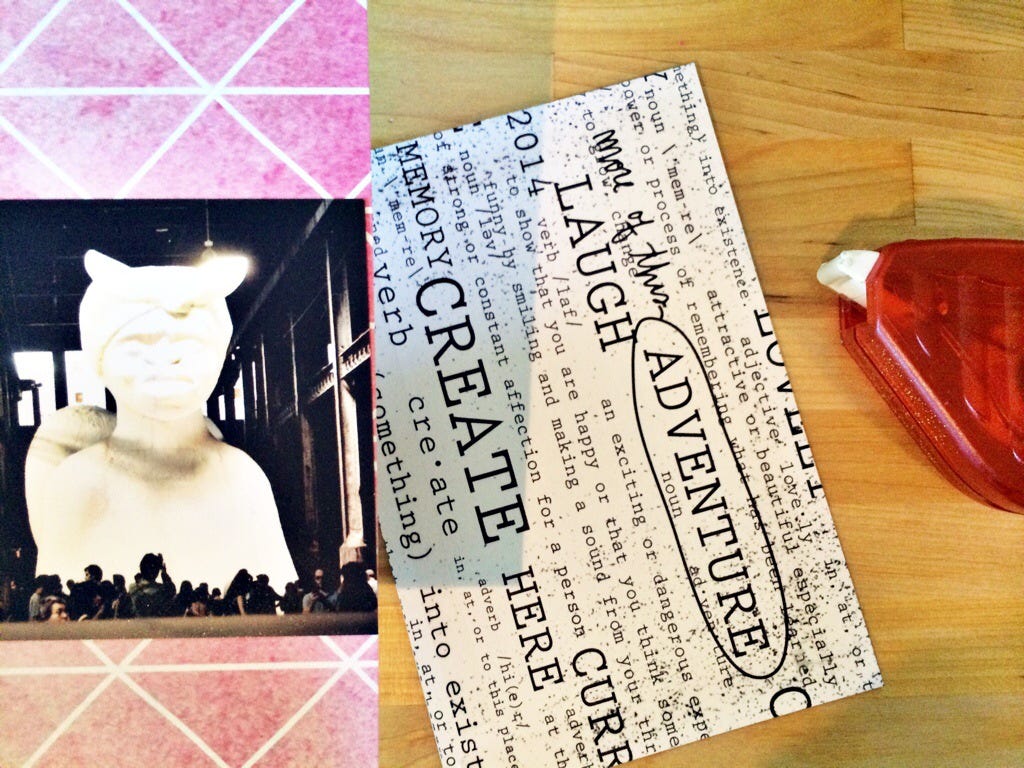
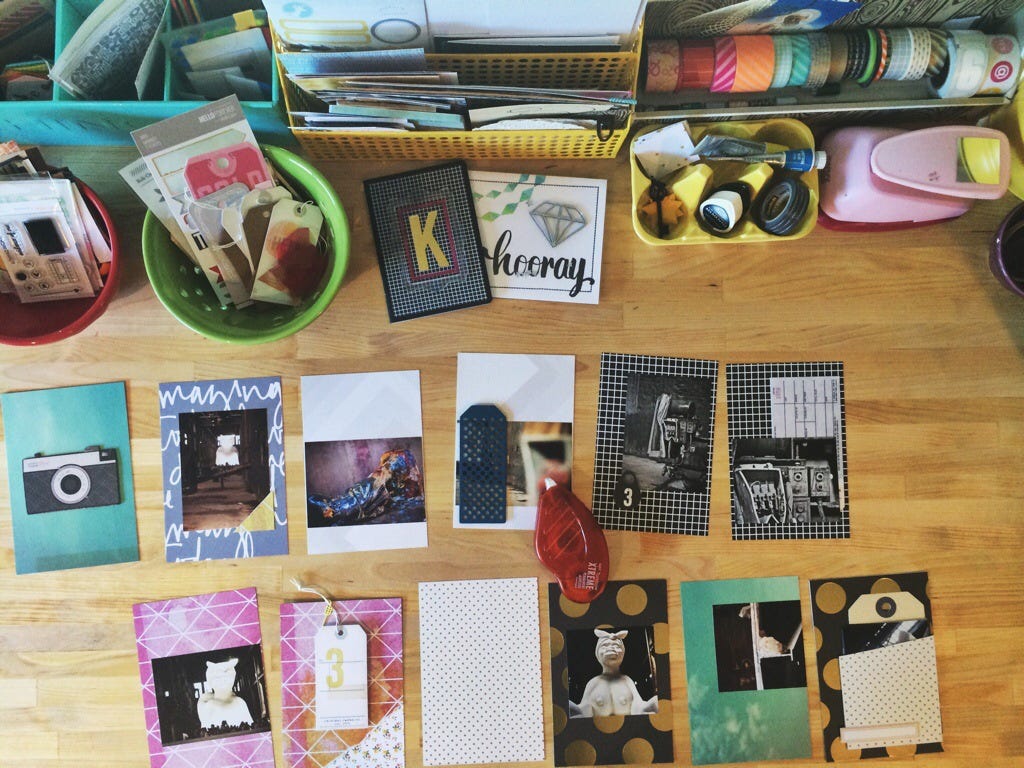
To start making the album, I cut down some 12x12 sheets of patterned paper into a stack of 4x6 sheets, and laid them out in the order I would be putting them together in the book. Each of these sheets would then be a mini-layout. I created a "storyboard" for my mini-album by laying out the photos on the sheets of paper.
The front cover was first, then the inside cover, then the second page and so on and so forth (see below).
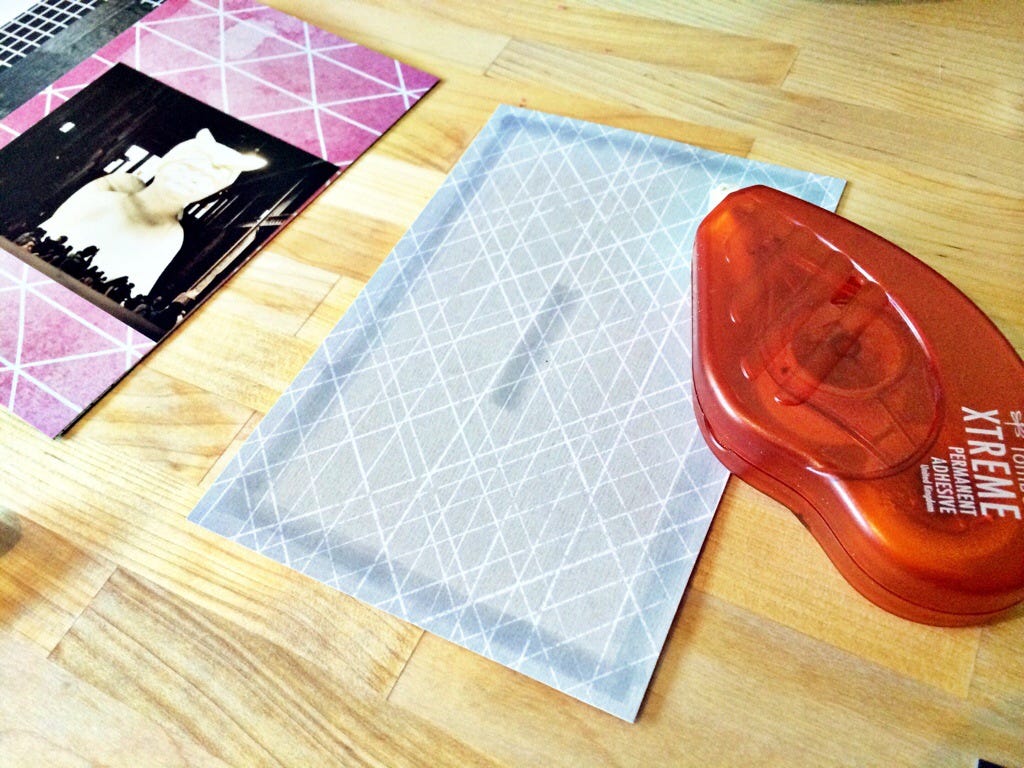
To bind the pages together, I used the Xtreme Tape Roller and placed a strip of adhesive around the outside edges and a strip right in the middle (as indicated by the shaded area in the photo below) and stuck the two sheets back to back.
Once I bound all the pages back to back, I used a hole punch to create two holes in each page for repeat this process for each of the pages. Add the binder rings to the album and it's ready to go. I added some embellishing and journaling throughout the album to compliment the story.
I kept the album as simple as I could--I wanted to really focus on the art itself, and since it was titled 'The Subtlety', I felt very strongly about letting the photographs tell the story.
This type of album is perfectly suited to any short story or weekend trip, where you have a bunch of photos that tell a story in chronological order. All you need is a few sheets of patterned paper and some extra strong adhesive and you're good to go.
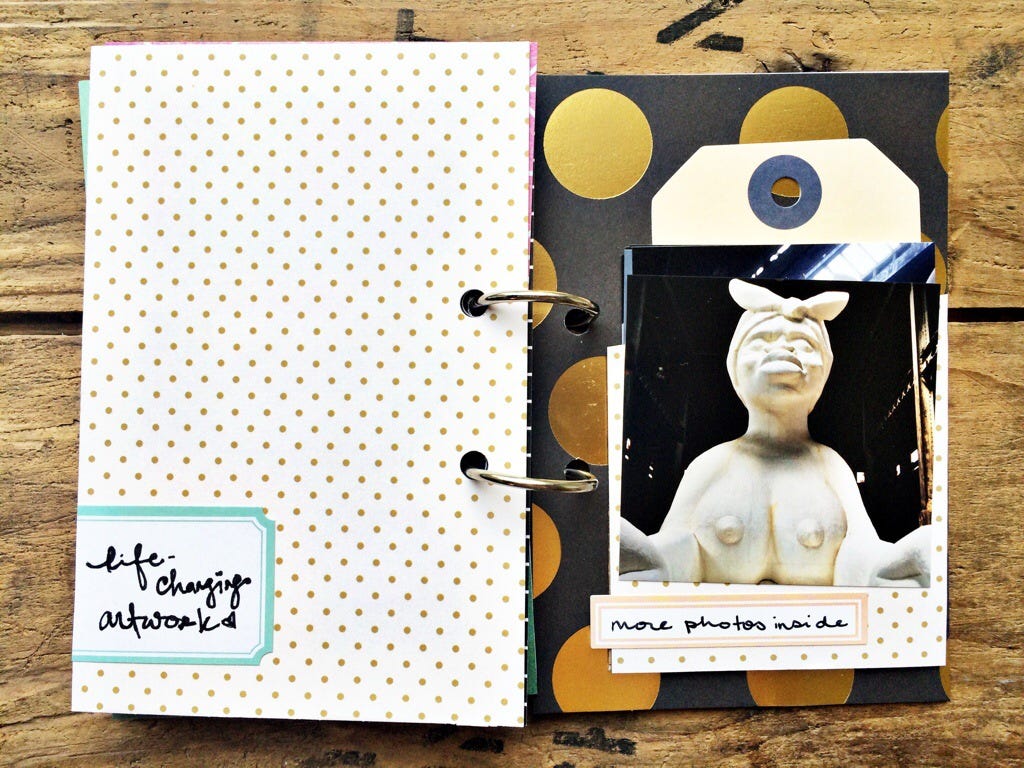
Here are photos of the completed album:
If you'd like to read more about the Kara Walker Domino exhibit, I blogged about the original experience here. If you have any questions about the album, or any part of my process, talk to me in the comments below :)


