December Daily | Foundation Pages
December is here, and I'm spending a bit of time each day working on my December Daily(tm) album. Last week I spent a long time talking about why I'm taking this project so seriously, and how I'm setting myself up for success. Today I'm sharing the actual physical set up of my supplies and the foundation pages I pre-made.
The biggest change I made this year was to make semi-finished foundation pages with no numbers. I've found in the past that when attaching numbers to a page -- and therefore pre-determining what my page will look like for any given day -- slows me down and forces me into a box in which I cannot tell my best story.
Supply Set Up:
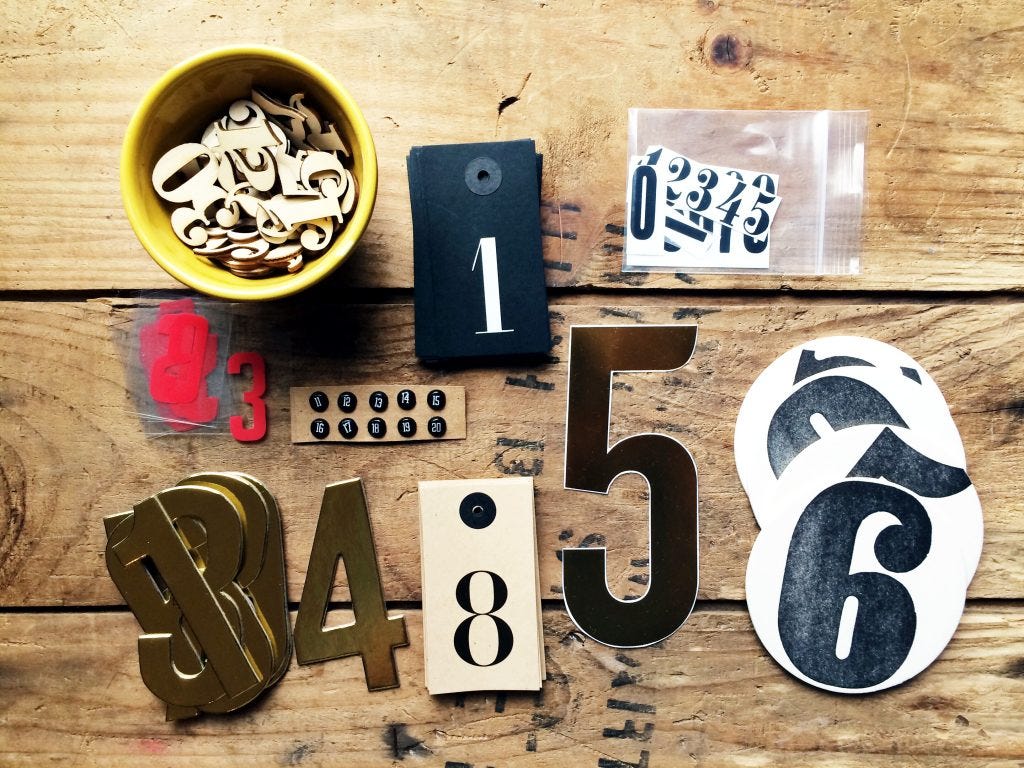
Numbers. As I said in my previous blog post, I didn't pre-number any of my pages, so I've gathered a bunch of different numbers. The big gold numbers and the wood veneer numbers are from the Ali Edwards December Daily Kit, the tags are from Ikea, the rest are numbers I pulled from my stash. I also created a high-quality numeral stamp set (pictured further down with the rest of the stamps) to use in this project. I wanted a basic set of numbers that I could use on any project.
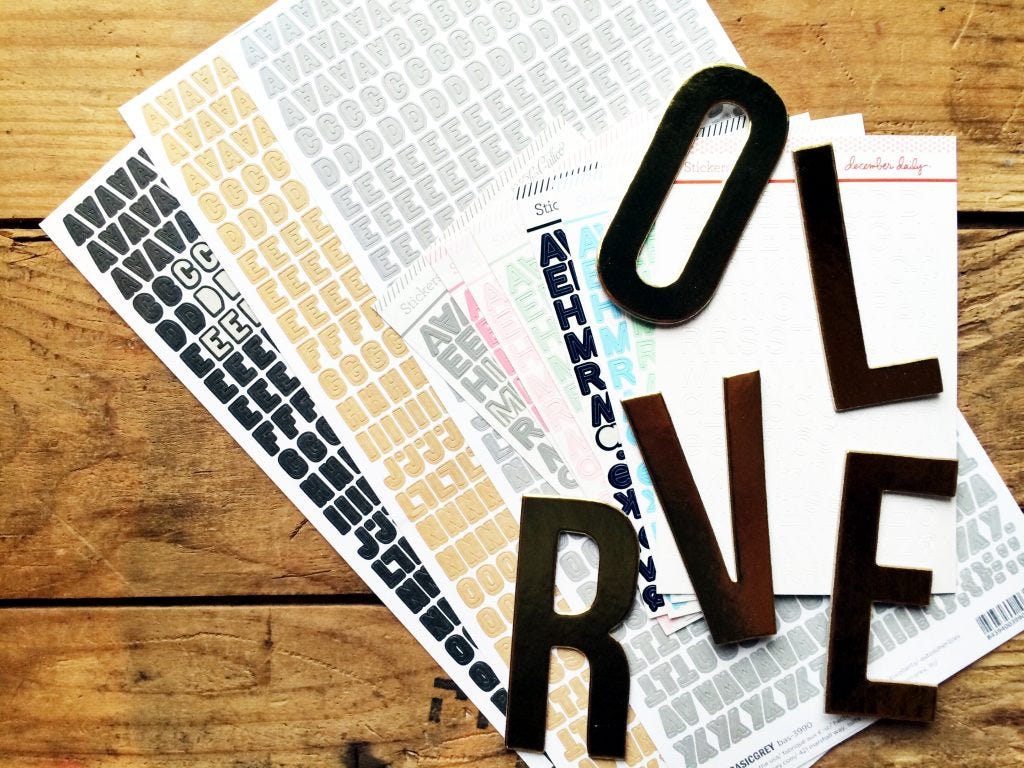
Alphabets. I also pulled some coordinating alphabets to use in my album. The large chipboard letters are from the Ali Edwards December Daily Kit, the rest of the letters are itsy bitsy -- the larger ones are Basic Grey and the smaller ones I pulled from previous Studio Calico kits.
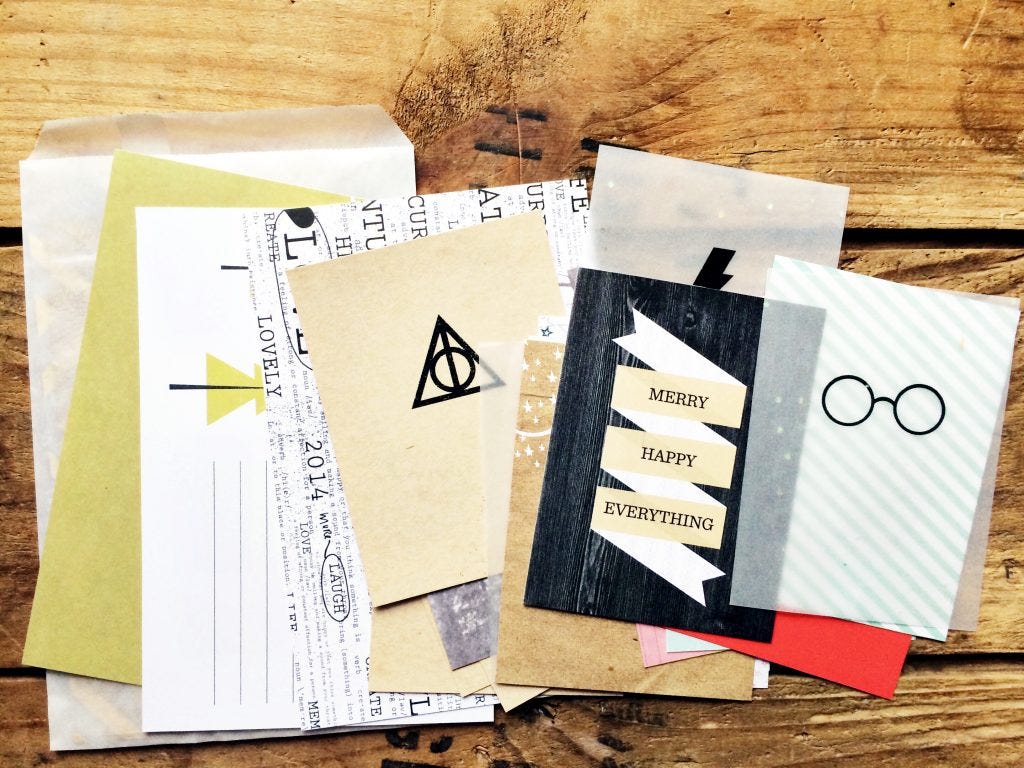
Journaling cards + paper bits. Most of the paper came from the Ali Edwards December Daily Kit, but I supplemented with my HP wizard journaling cards printed on kraft and vellum, and some random papers and journaling cards from my stash.

Tags and paperclips. I have a stash of tags and paperclips a mile deep -- so I pulled a few of each that would coordinate with the kit. The gold/kraft tags are from a previous Studio Calico kit, the white tags are from my shop, the paperclips are Studio Calico and Freckled Fawn. I also stuck my Currently List Sticky Notes in this pile -- as I'm using them to help me jot down my right-now story.

Stamps and Inks. I stuck all my stamps and ink pads on a plastic tray. This makes them easier to see, and I don't really care if the trey gets messy/inky -- I can just wash it. I picked out a couple of my favorite wooden stamps, my Currently Stamp set and the stamp set from the December Daily Kit.
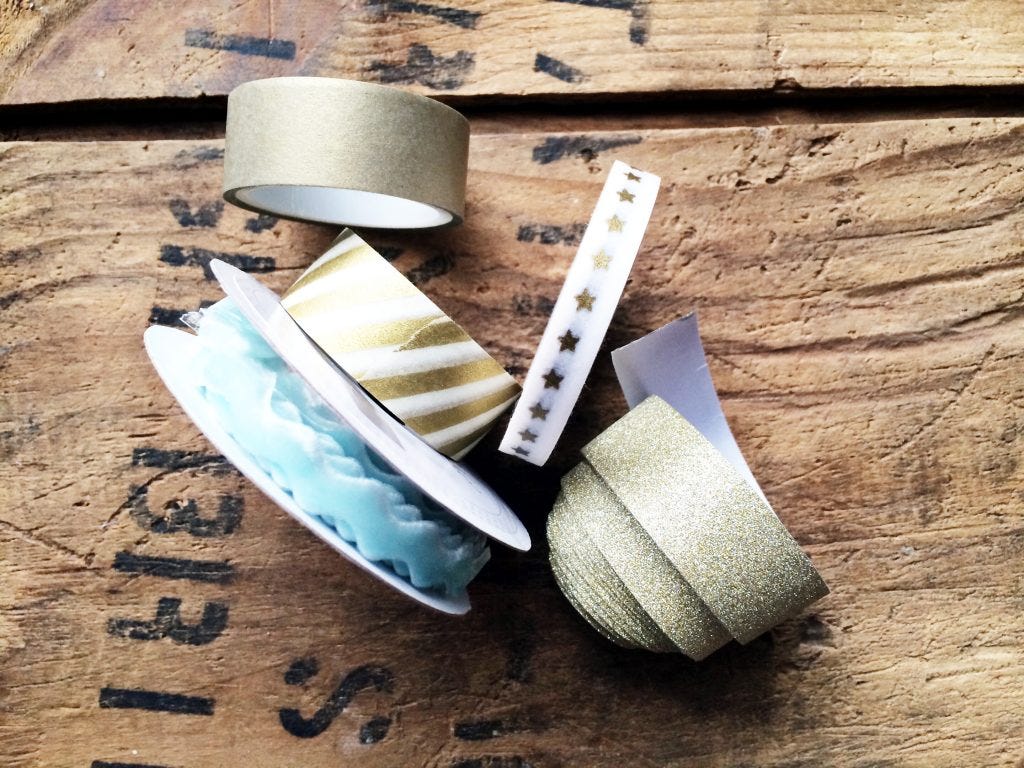
Washi Tape & Ribbon. I pulled my gold and glittery washi and ribbons to pair up with the ribbon from the kit.

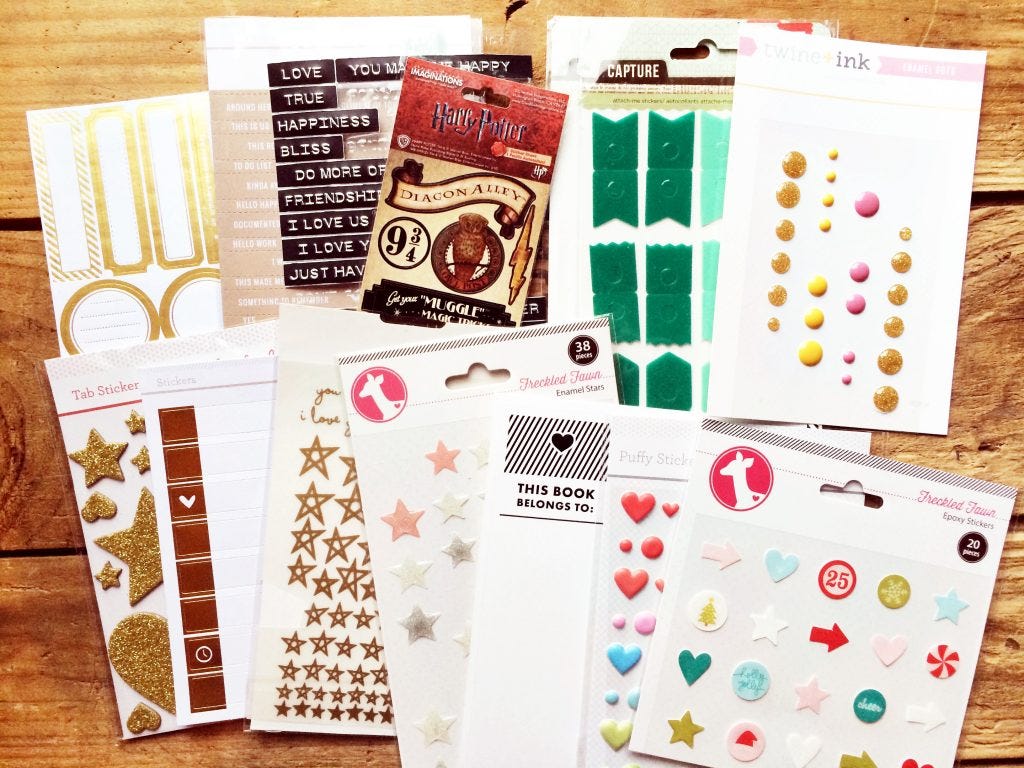
Stickers and other flat embellishments. These are pretty self explanatory. Aside from the kit embellishments, most of the other stuff came from my stash -- one of my favorite parts of this project is pulling out all of the really cool stuff that I've been saving up over the year. Because this is my favorite project, I'm going to pull out my favorite supplies, even if I don't wind up using them. I went with a vague theme of stars and brought in a bunch of metallic stuff to round it out.
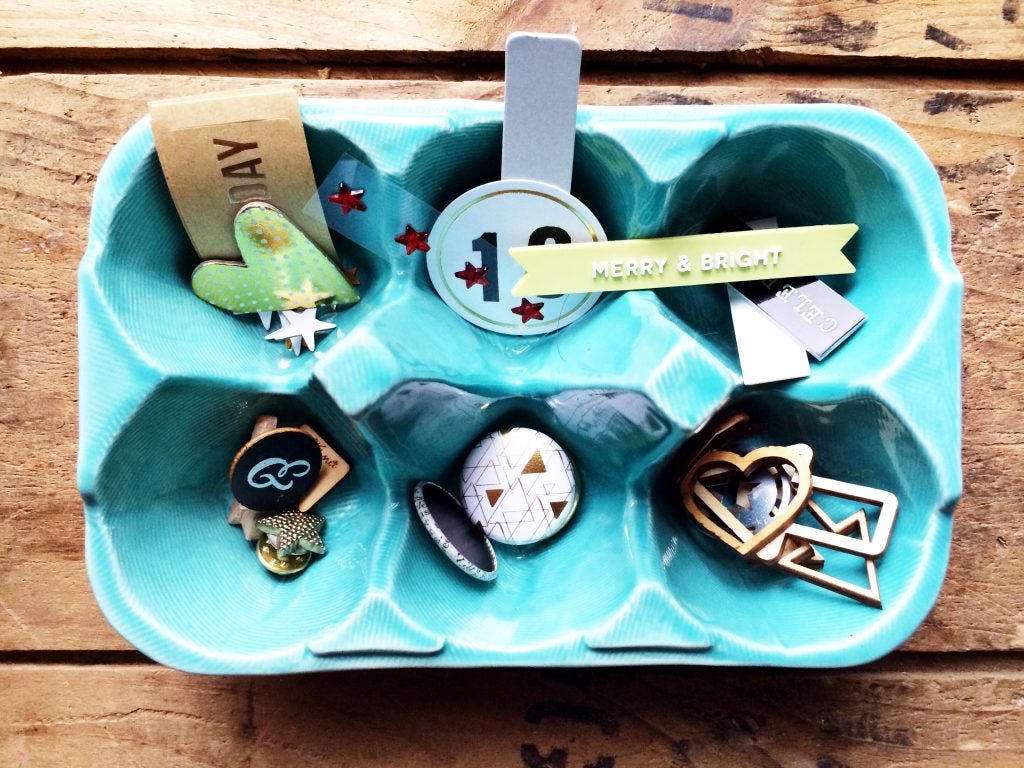
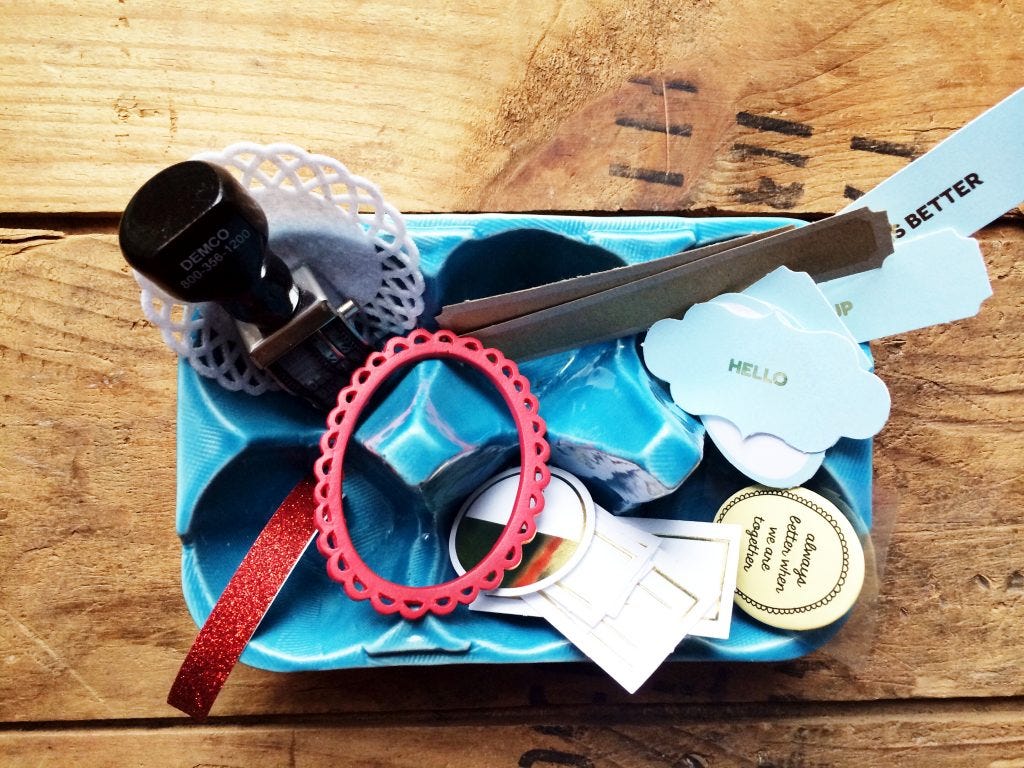
Random little embellishments. These anthropologie egg cartons are probably my favorite storage containers of all time. The little holes are the perfect size for tiny embellishments that might get lost in the huge pile of stickers and flat embellishments above. I'm much better at using supplies when I can see them. I'm not going to rifle through a million different things just to look for the perfect tiny star or flair -- having them out and visible makes me about 30132197 times more likely to use them.

Cart Storage: Top Shelf. This is how it all looks stored in the cart. I'm keeping all the embellishments up on the top.
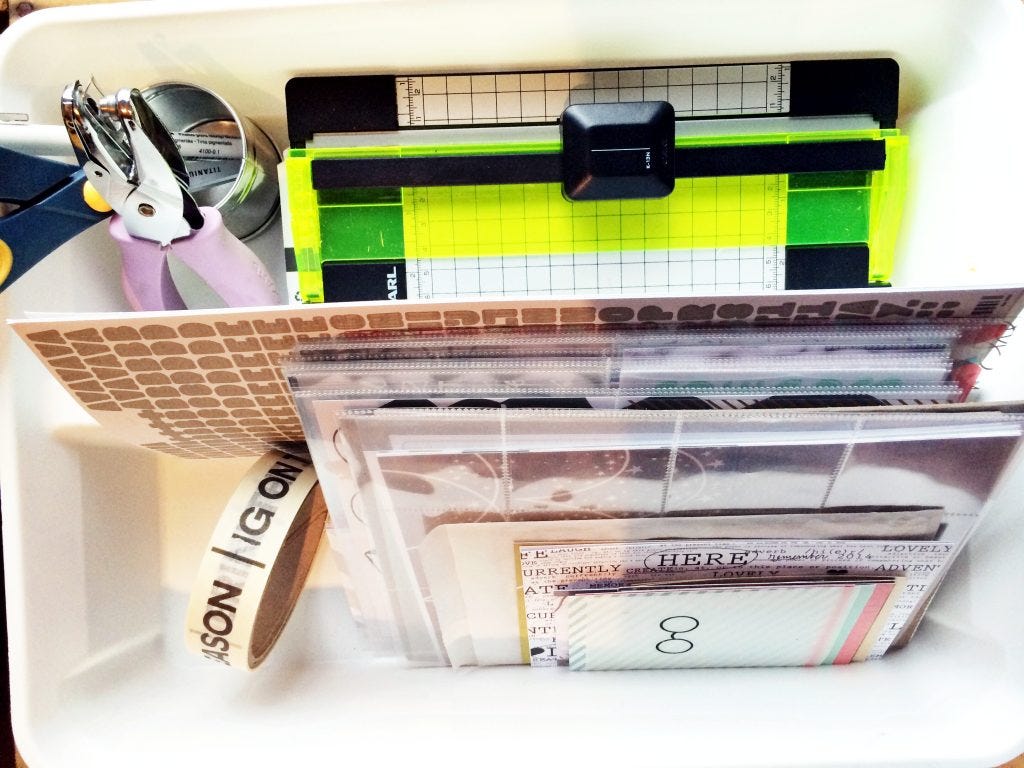
Cart Storage: Middle Shelf. Alphabets, page protectors, papers, general tools -- hole punch, six hole punch, paper trimmer, scissors, etc.
Bottom Shelf (not pictured). Holds my album when I'm not working on it, and whatever else I don't feel like putting away at the moment
Foundation Pages:
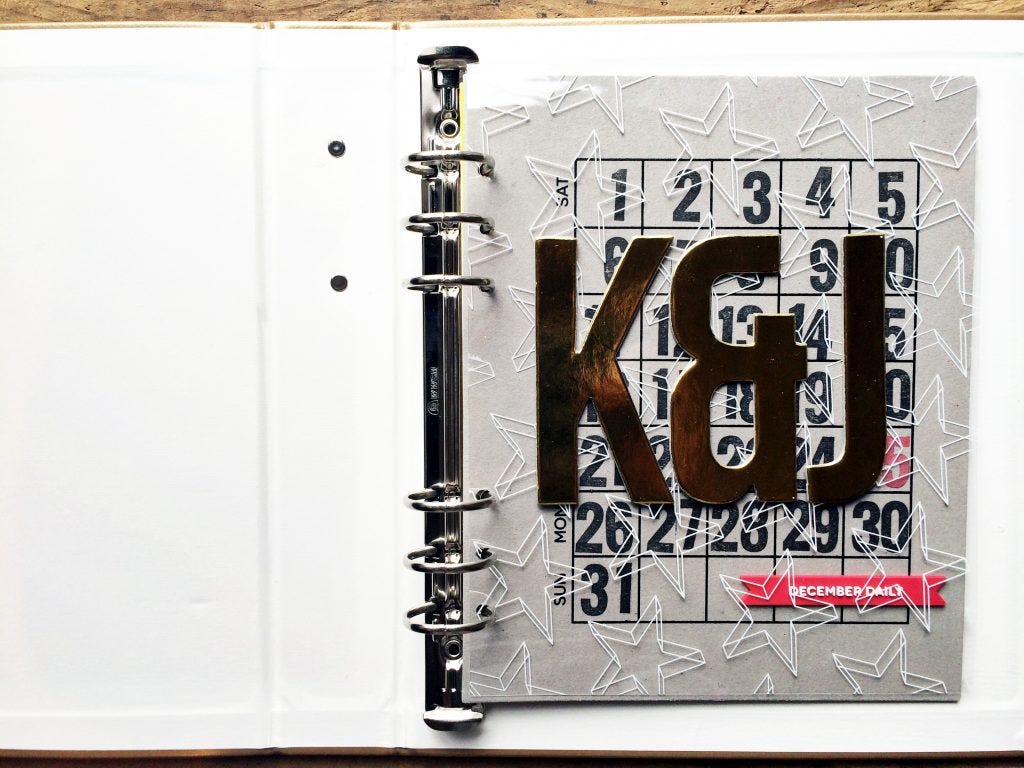
Inside Cover Page: Kit transparency punched with a six-hole punch and gold chipboard K&J letters adhered to the top with a heavy duty tape runner (I was super thrilled when I saw that this chipboard set had a giant ampersand).

Chipboard Calendar Page: punched with six hole punch (I had to use a crop-a-dile tool to cut all the way through the chipboard). This is also from the kit. I chose to keep it turned on its side and, stamped 1-31 with my new numeral stamps. I created these high-quality stamps so that I would have a set of numbers that I could turn to for any project. I know that the rubber isn't going to fall off, they aren't going to wear out, and I can use them thousands and thousands of times -- I'm a firm believer in spending extra money to get a quality product that I'm going to get a lot of use out of.
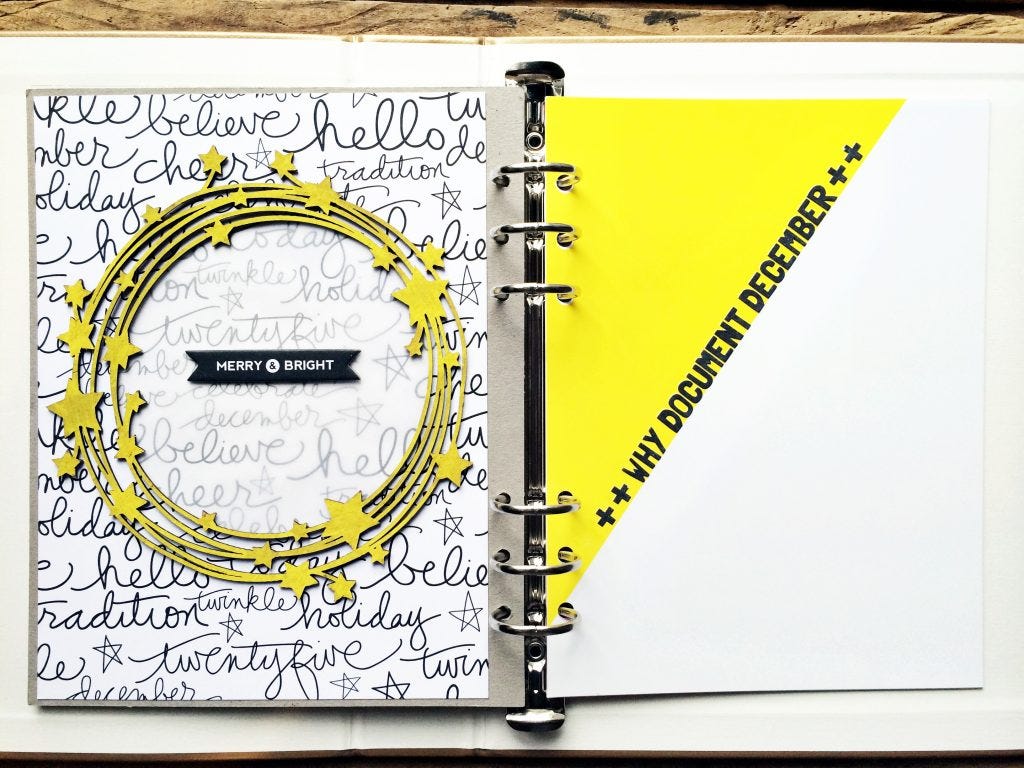
Intro page: On the left side I adhered a sheet of 8x6 patterned paper (from the kit) to the backside of the chipboard calendar page. I used a chipboard star frame, painted yellow with a paint marker, and added a sheet of vellum underneath to make the 'Merry & Bright' embellishment stand out more against the patterned background. On the right side I added black letters on a diagonal to another sheet from the kit -- I'm planning on adding a long bit of journaling about why this project is important for me. I'll probably pull some of my words from this post and edit it to fit in the space.

Pink Calendar Page: My last intro page also came from the kit -- even though I put the chipboard calendar page in the front of the album, I wanted a page that would show the actual calendar for the month -- which dates fall on which days. I added a strip of red glitter tape to the left-hand side of the calendar to make the reds pop off the page.
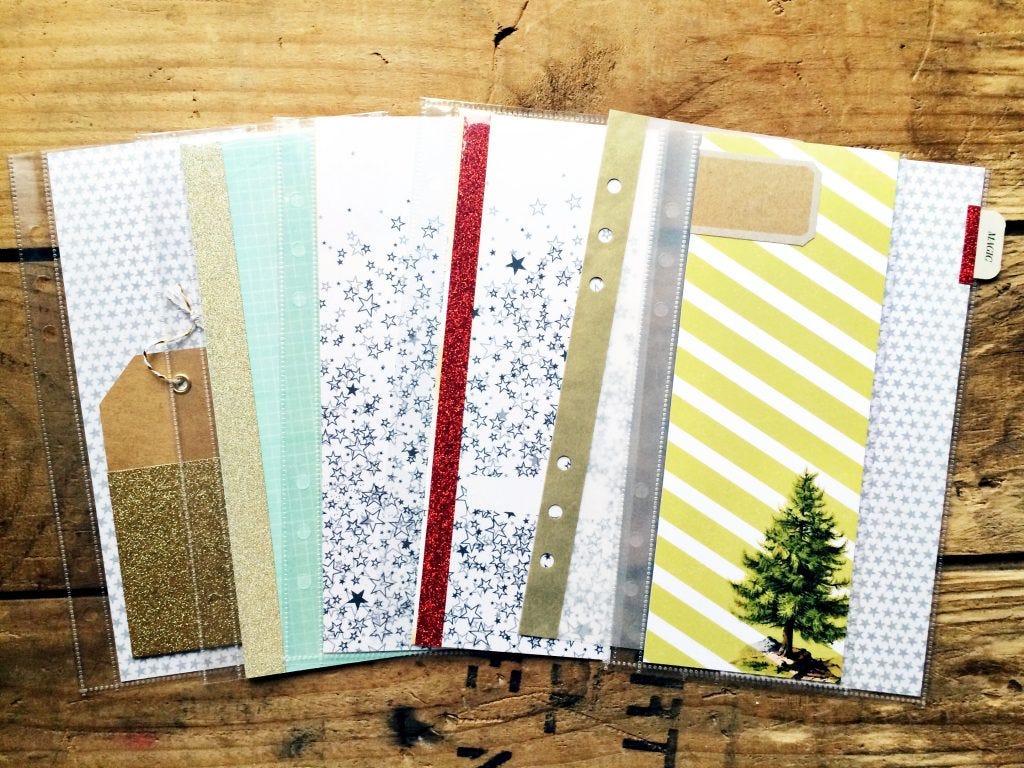
3x8 Page Protectors: I took these page protectors from my Week in the Life album kit. If you don't randomly have leftover 3x8 page protectors, these could be made with a sewing machine or washi tape by cutting down a larger page protector and binding the cut side.
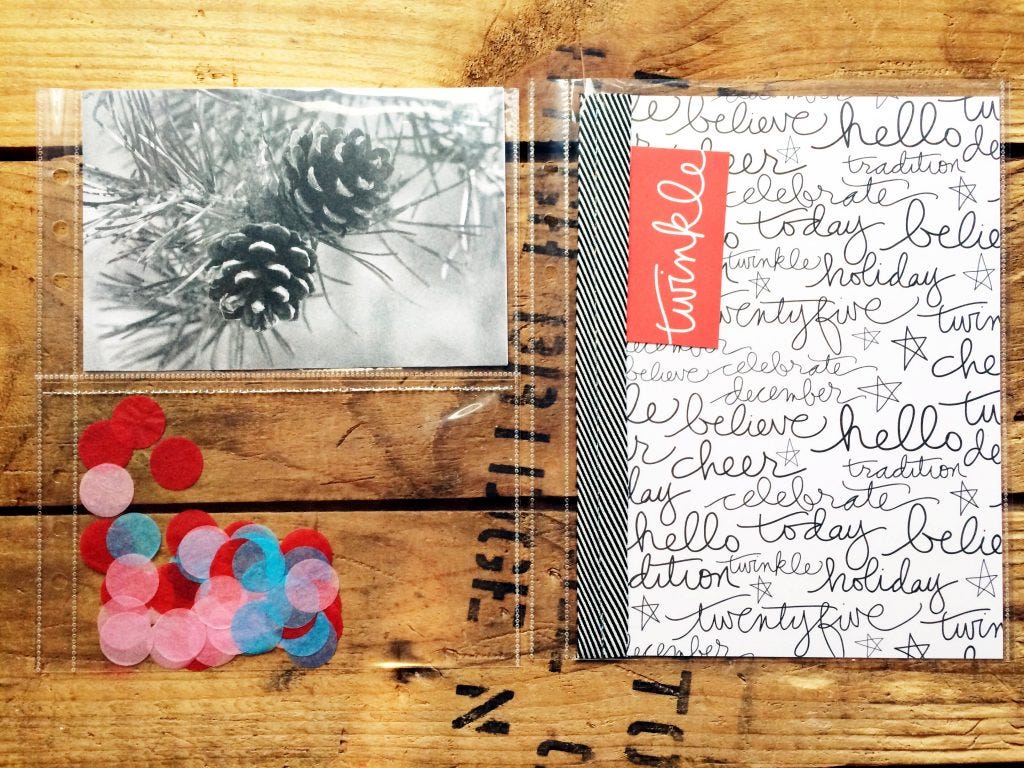
Left Side: Two pocket page protector with a 4x6 card on top (from the kit) and a pocket with tissue paper confetti from the kit. I used metallic silver thread to sew the top of the pocket shut so the confetti wouldn't leak out. Right Side: 8x6 page of patterned paper with sewn ribbon edging.
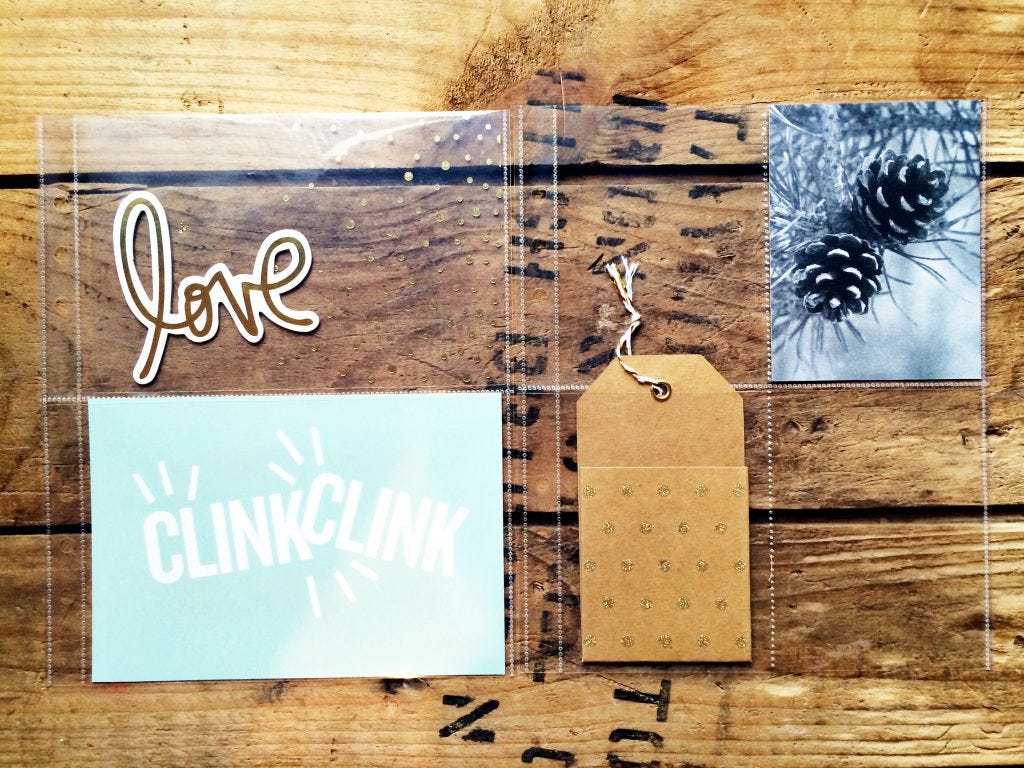
Left Side: Gold dot transparency and chipboard piece (Heidi Swapp?) from my stash on the top and a 4x6 card on the bottom. I'm envisioning this page being used for my Sally Draper's Christmas Cocktail Party, as that's pretty much the only time with alcohol in my life -- when we're having parties with other people. Right Side: I left two of the pockets empty and added a journaling card and a thick gold glitter/kraft tag pocket. I may or may not use these pages together, but it helps me to have a cohesive theme throughout the album.
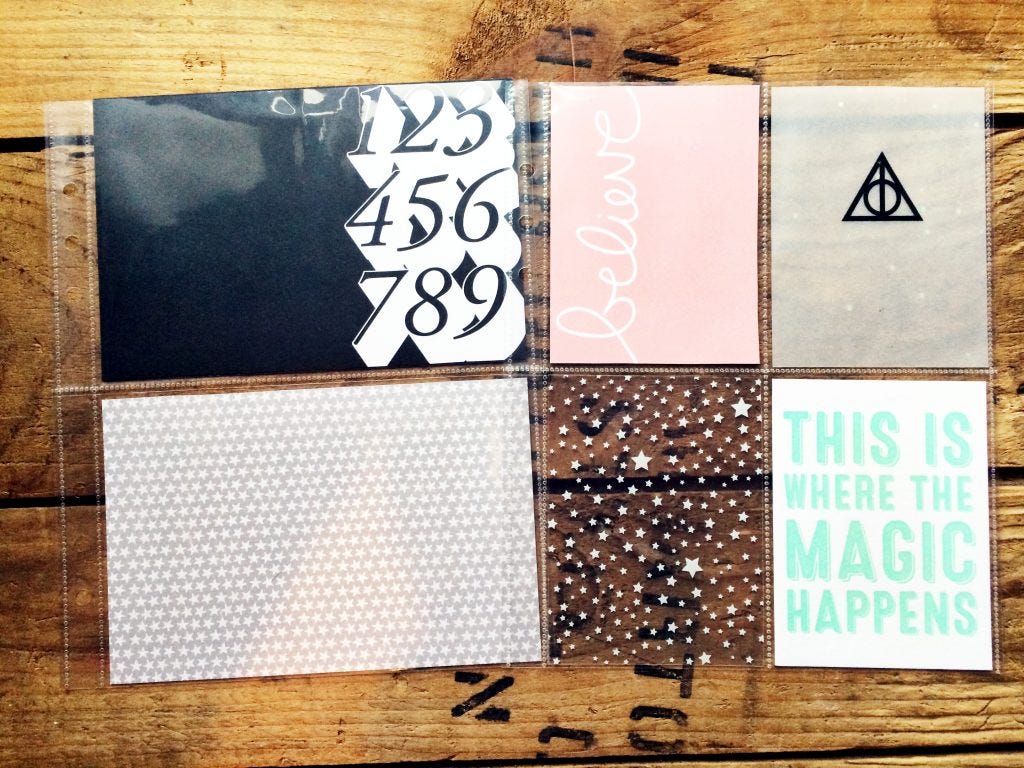
Stars and Magic | Left Side: Two 4x6 journaling cards -- numbers on the top and stars on the bottom. Right Side: I pulled a couple of different 3x4 journaling cards for this page (this page on the right is what I used for Day One); the pink believe card came in the December Daily kit, the stars card from Week in the Life kit, Magic letterpress card from Kelly Purkey, Deathly Hallows card is a free printable you can download here.

And finally some assorted envelopes punched with my six-hole punch.
I'll be sharing bits and pieces of my album here on the blog a few times throughout the month (just click on the Documenting December tag to see all the posts), but if you're looking to follow along on a more regular basis -- make sure to get out my instagram feed.

