


I was cleaning up the studio yesterday, while in the middle of rearranging the entire house, and I came across these great rubber stamps that were just kinda hanging out with some other tools. They were definitely not where the stamps belong, but I’ve blocked off where my big stamps go last night with a few boxes, so I just threw it on my desk to deal with today.
So, I decided to make something from what was in front of me instead of taking the time to move everything to put them away. I didn’t want to just stamp with regular inks, so I pulled out my gel plate and picked out some pink paint with a high lightfastness—hoping I could maintain some of the color after adding more layers to the back. It worked out pretty well considering I added some really dark colors for my second layer.
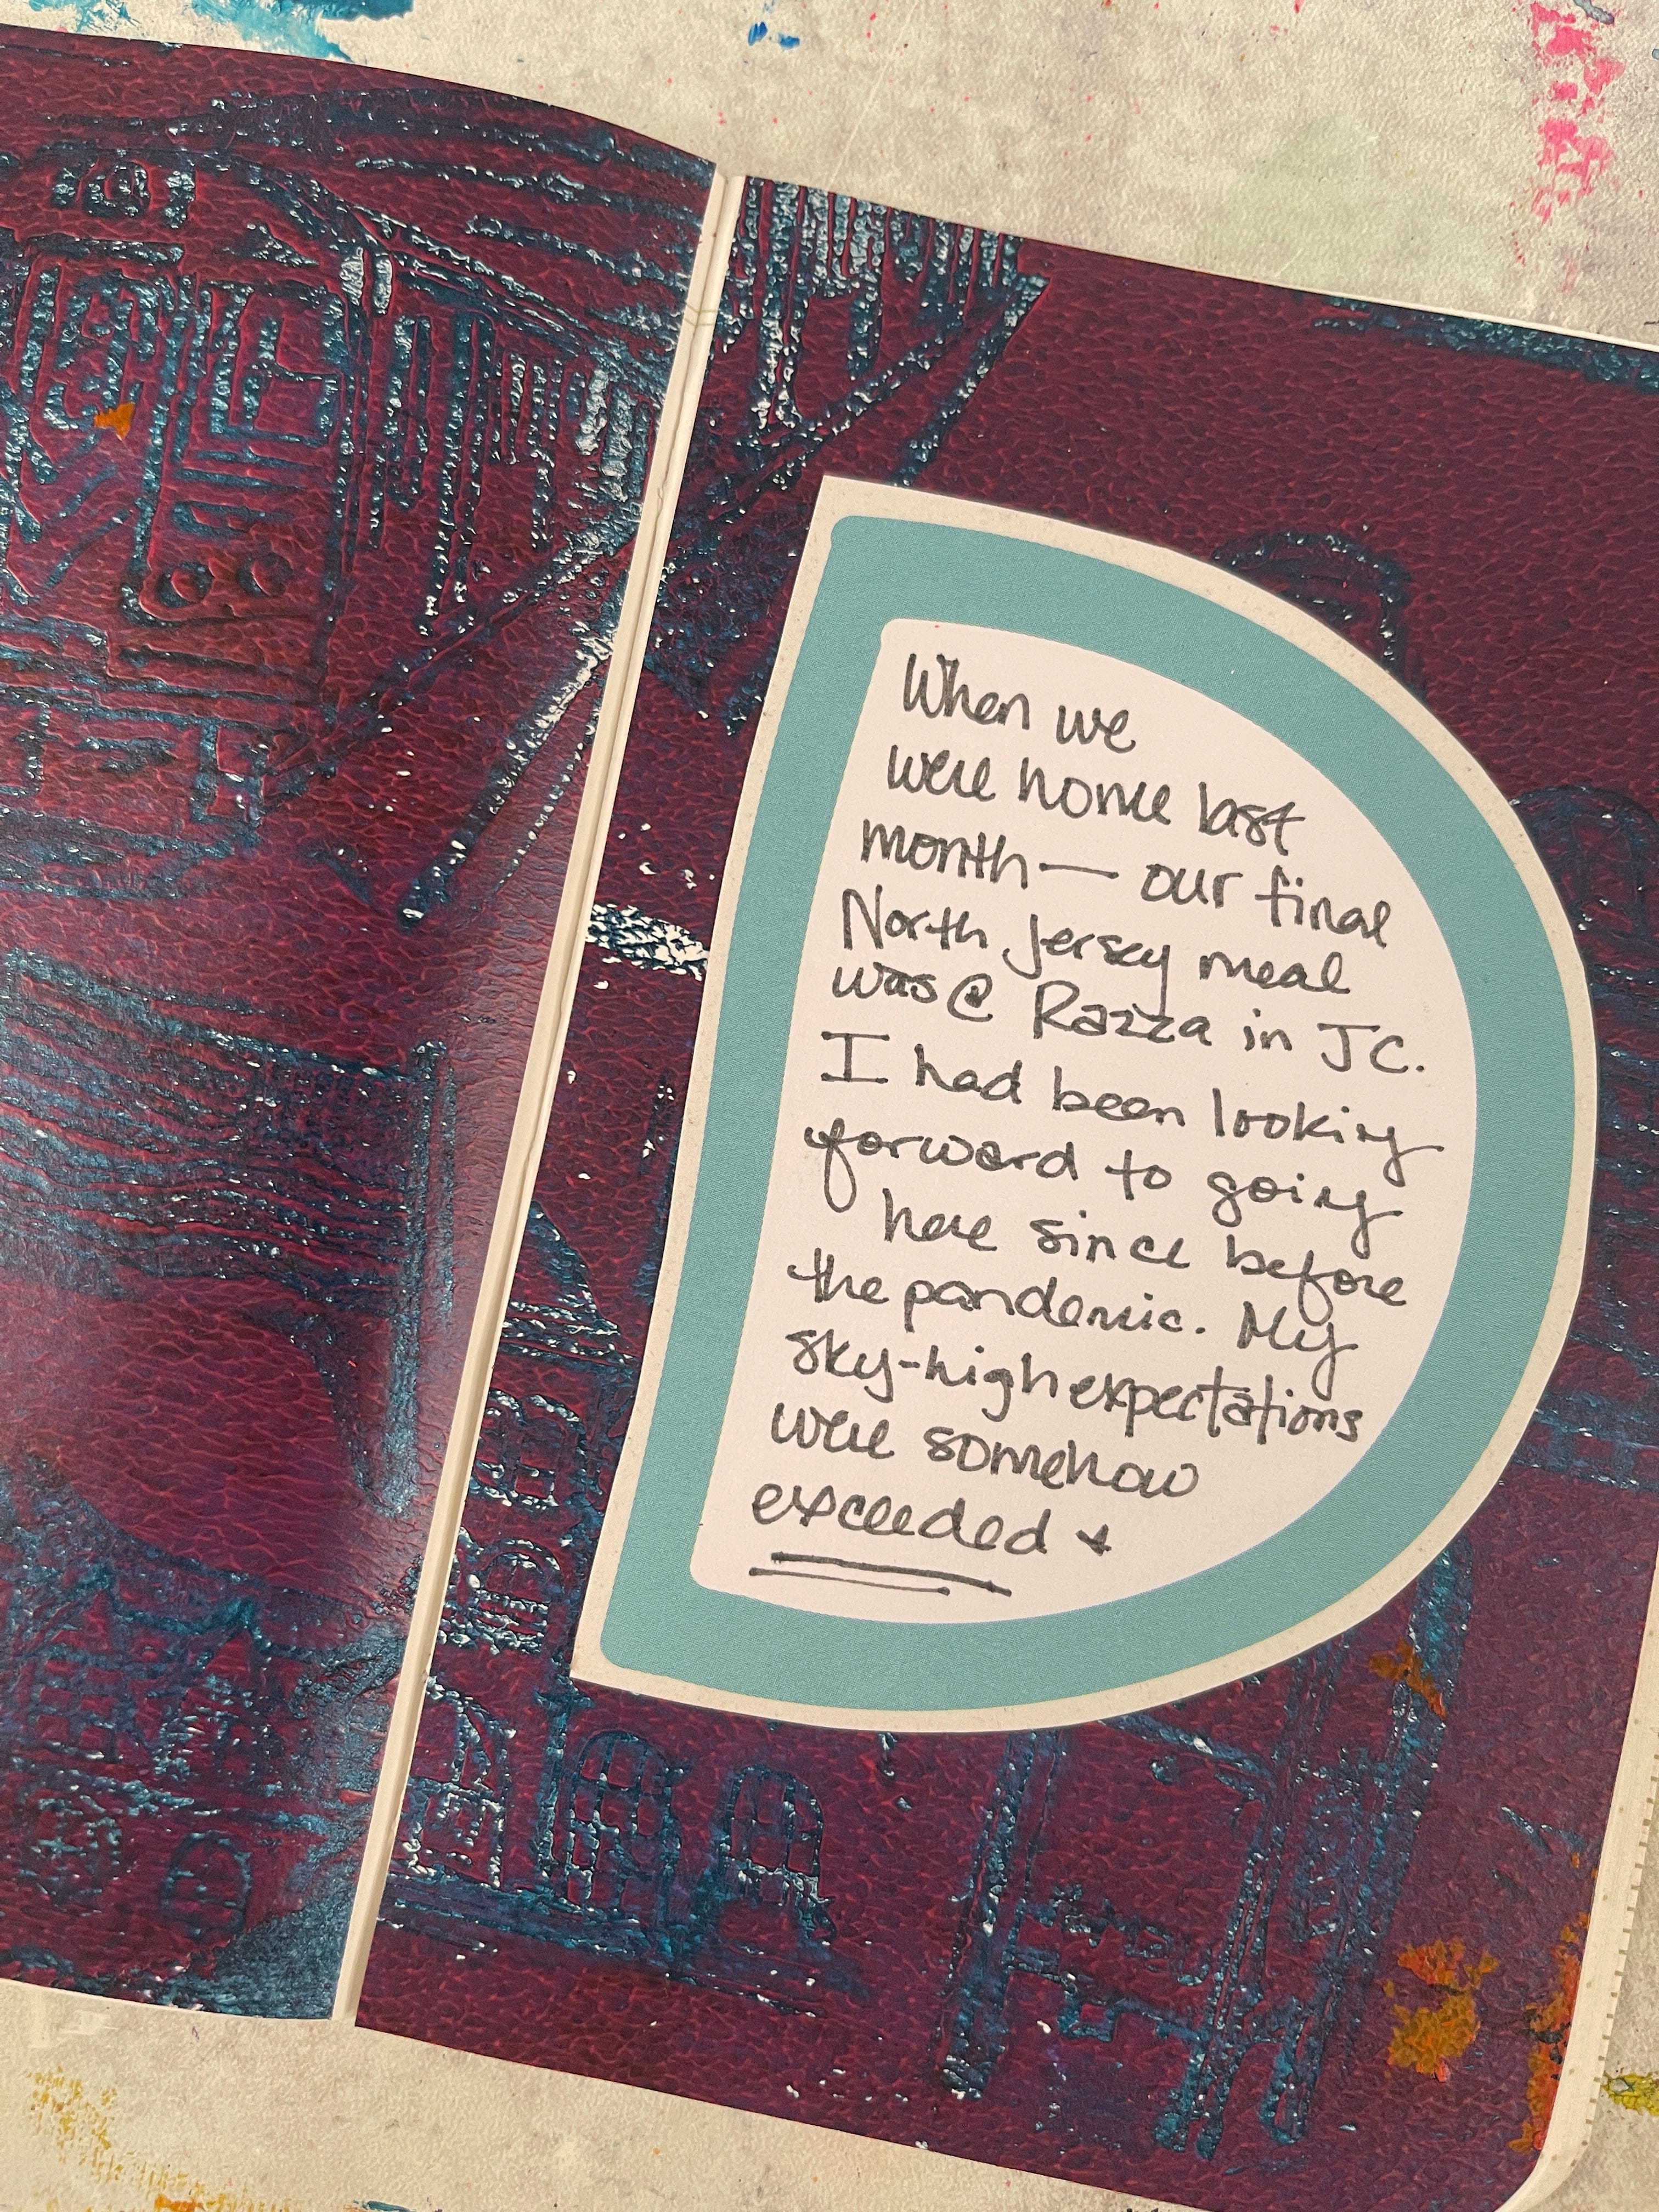
I finished up the page with a story about the best pizza I’ve ever had, last month in Jersey City—where the stamps are illustrating—when we were back home. I didn’t put anything on the opposite page so we could see as much of the stamping as possible.
Technique of the Day
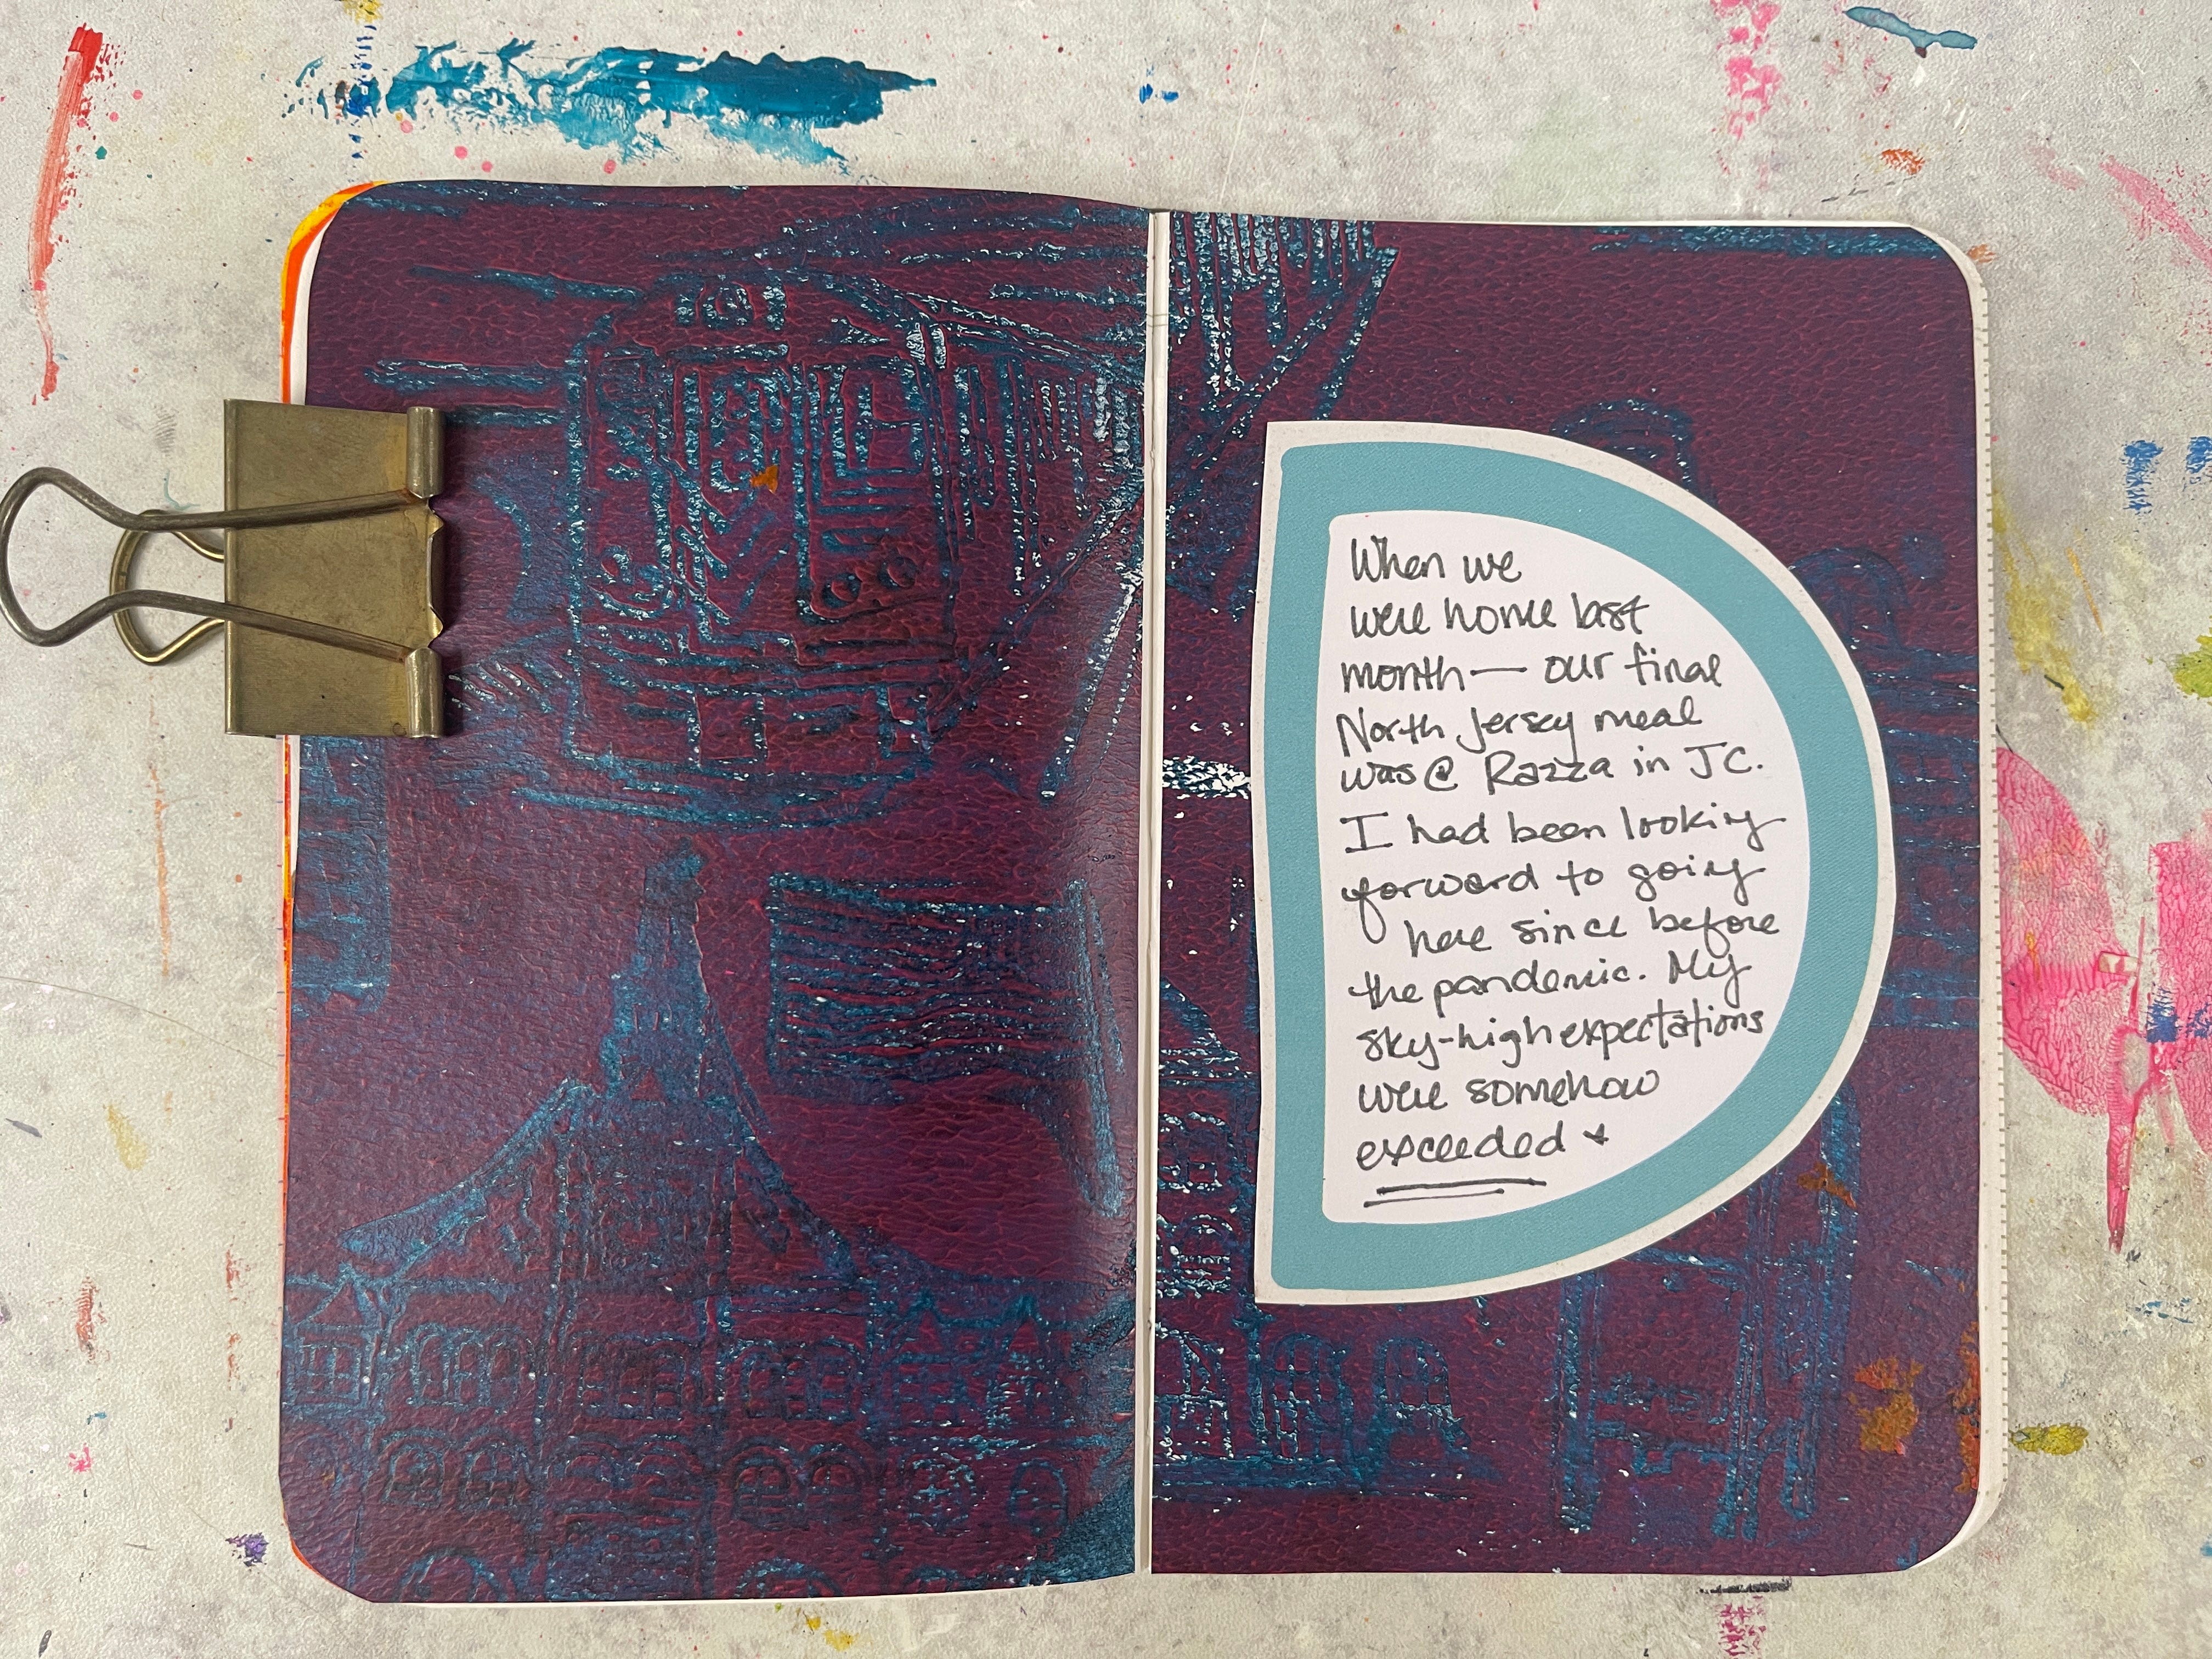
To make this page happen, I grabbed the gel plate, rolled the pink paint out, and pressed the stamps into it—experimenting with the stamps to make a pattern, almost like a reverse stamped patterned background.
I wanted to make sure the images were completely dry before putting on the second layer. I pulled out my Ranger heat gun to make that happen a little faster. While I was letting the paint dry, I replaced the adhesive inside my ATG tape runner, so if you need to know how to do that yourself, check out the middle of the video.
For the second layer of paint, I mixed up a metallic teal and payne’s grey. I wanted a dark color to peek through on those stamped images. I used the heat gun on the second layer as well, and after a few minutes, pulled the print. I’m thrilled with the result. The pink became a little more purple, and a bit darker—but we did add very dark colors behind it.
I trimmed it down, glued it into the book with my new ATG adhesive (I love a new adhesive roll), and finished up the page with a journaling card and some journaling.
Supply List
Photo — Persnickety Prints
Journaling Card — Ali Edwards
Stamps — Nat Kalbach
Heat Gun: Ranger
Trimmer: Tonic Studios
Gel Plate: Gelli Arts 8x10, 5x7, 3x5
This post may have affiliate links.
Tips & Creative Wisdom
Let the Story Sneak In
Even a technique-heavy page can hold a memory. That little journaling card about pizza turned an experiment into a keepsake.
Pro Tip: Add one quick note about what you were doing or thinking that day—it turns your art into your story.
**If you’d like to unsubscribe from these Daily Pages emails, but continue to get other emails, click here and learn how to update your settings to best suit your needs.

