

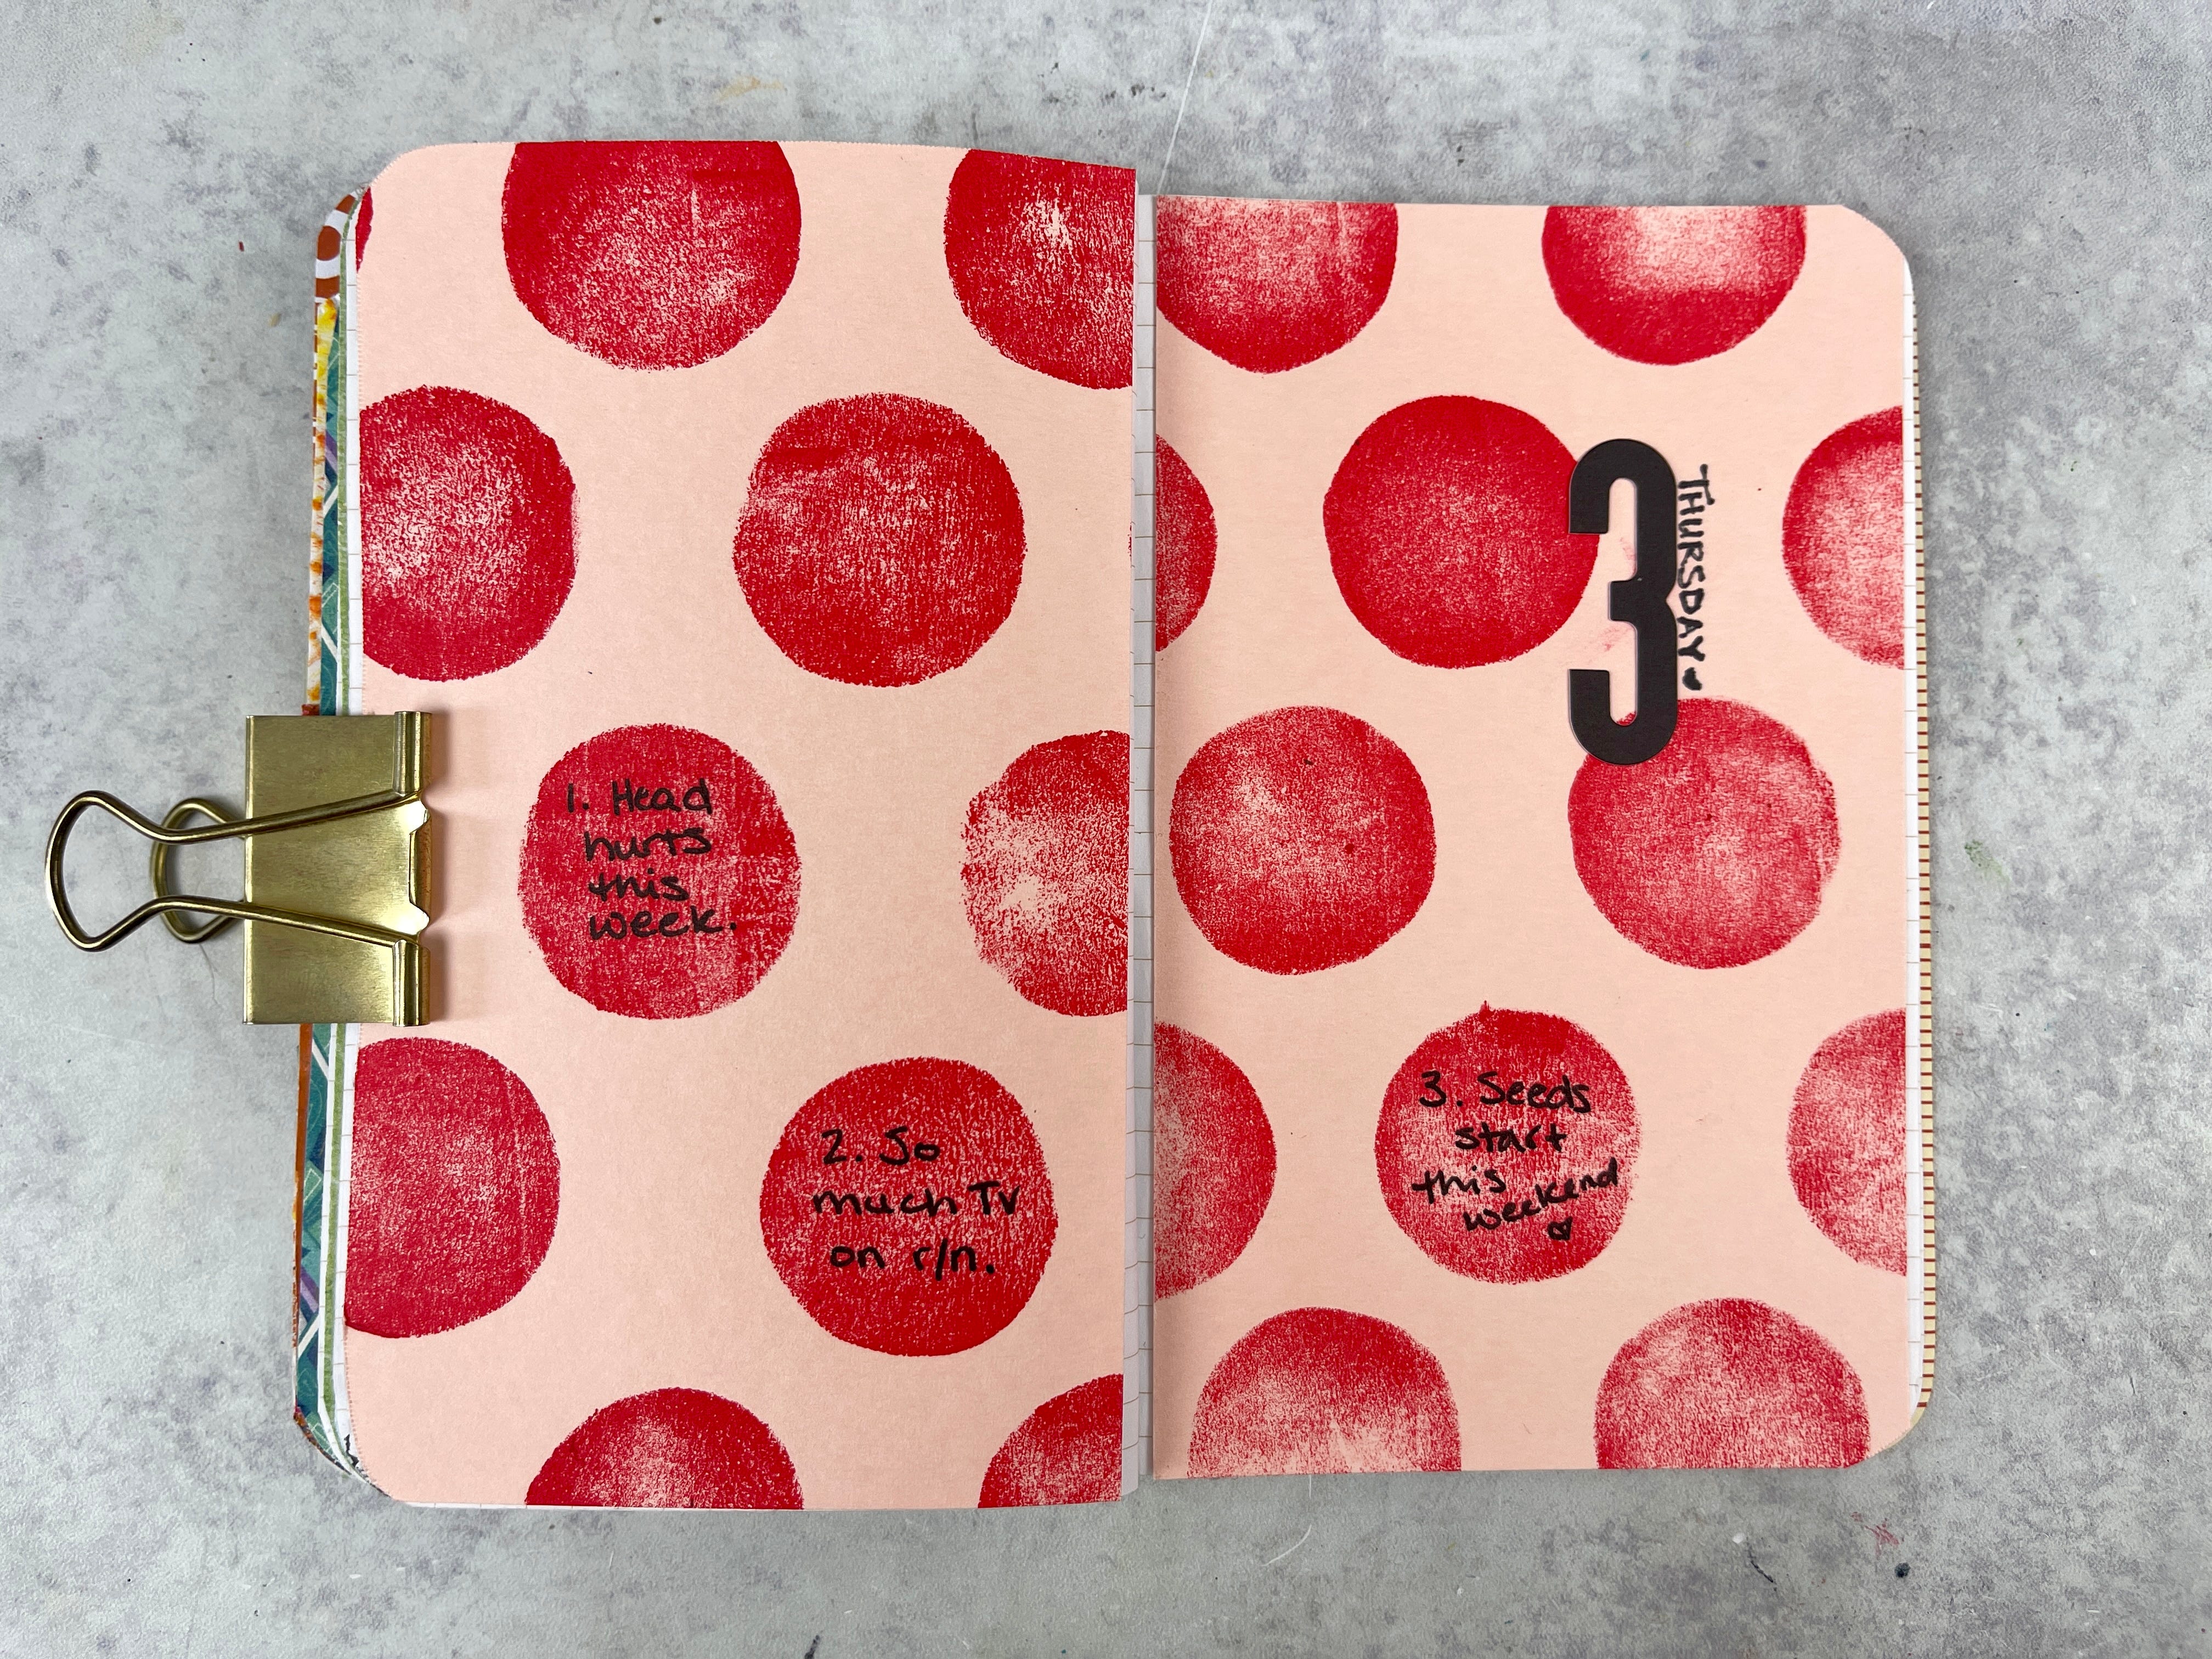
Daily Pages 03/07/24: Experiment -- DIY Stamp with Craft Foam
This was so much fun. I'll be doing this over and over again.
Behind the Page
I saw a gelli printing instagram video last night using craft foam to create a background stamp. I think it was from Birgit Koopsen , but I can’t find the actual video. I knew it was something I wanted to try as soon as possible. So this morning, I got myself set up and made a DIY stamp out of some children’s craft foam and a sheet of cardboard for this page. Watch the video below to see how I put it all together.
Technique of the Day
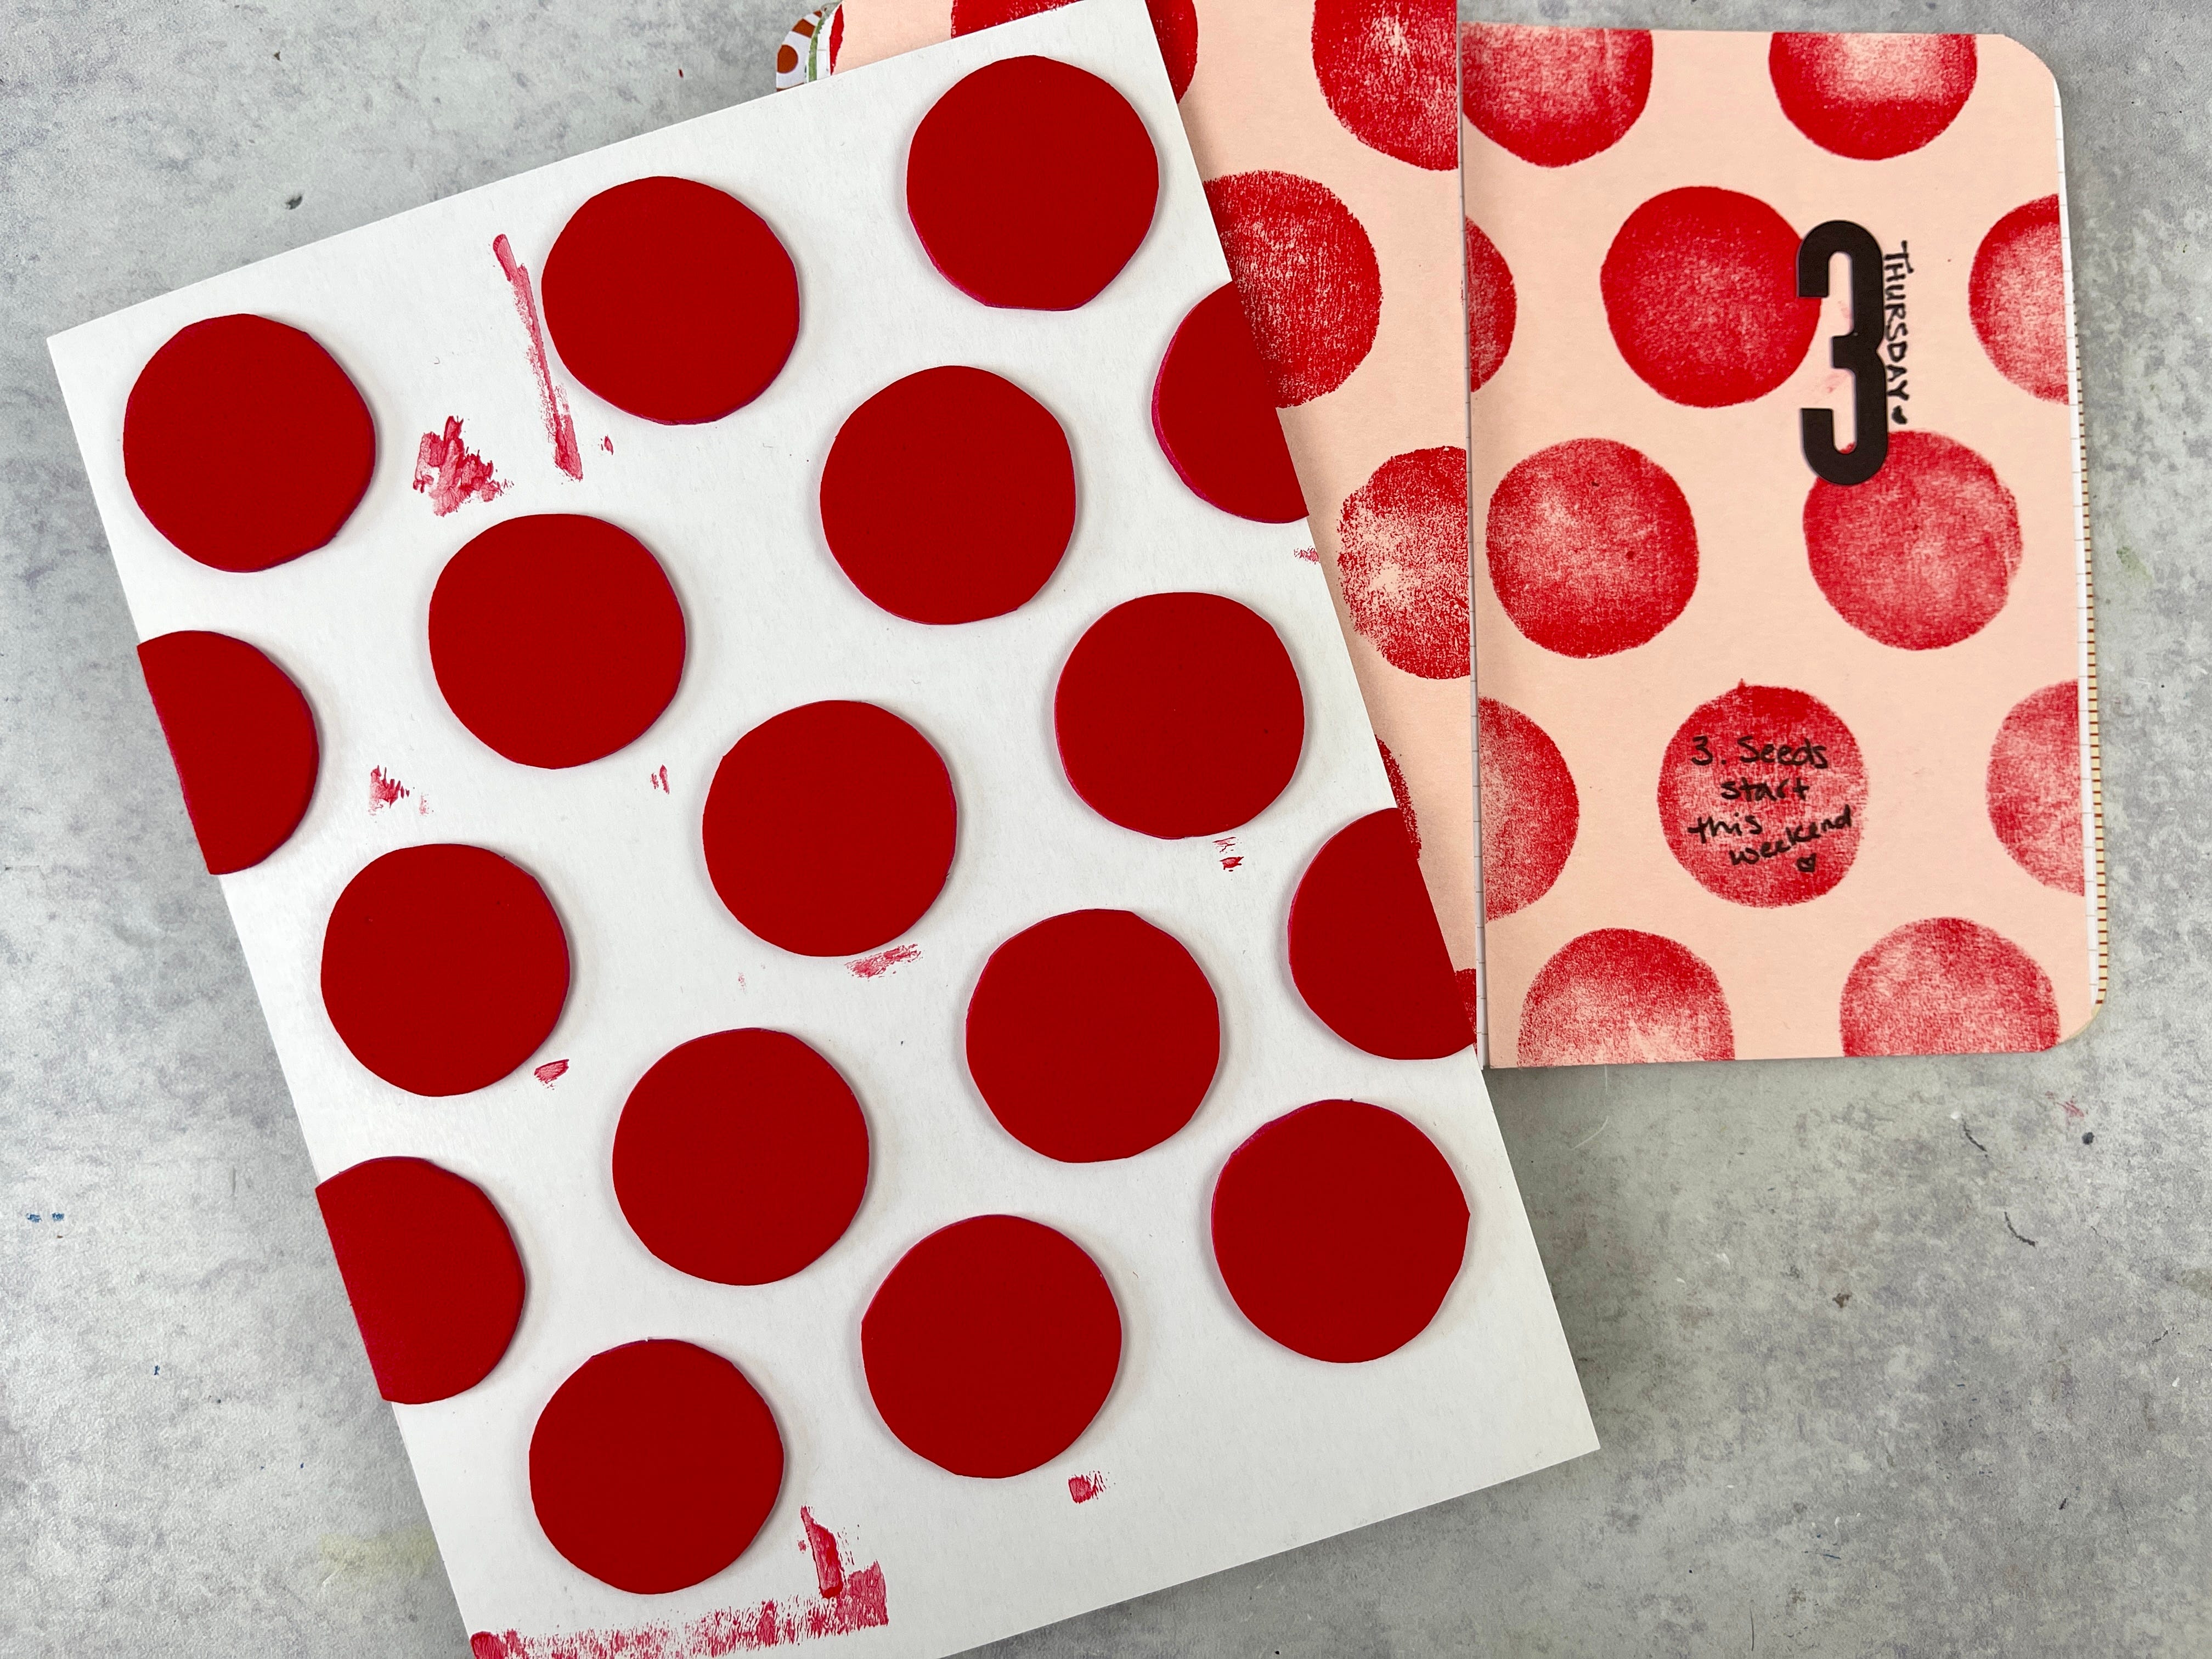
I created this DIY stamp using children’s adhesive foam that I got in bulk at Michaels. I used washi tape to trace some circles, hand cut them, and arranged them on a sheet of cardboard to give myself a firm backing.
Reflections & Insights
I found that that foam did a much better job of stamping on the second go around. Once the foam was thoroughly covered in paint, the paint stuck onto the foam easier. So, in the future, for best results, I’ll be priming my foam with a thin layer of paint.
How It’s Made
Check out this quick video of how I created today’s page. Full video below for paid subscribers.
Supply List
Adhesive Foam — Michaels generic brand
Paint — Liquitex Acrylic Basics
Number Sticker — Paper/Person
This post may have affiliate links.
Tips & Creative Wisdom
This was so cool. I can’t wait to try this out with my silhouette or my manual die cut machine. I’ll be able to make much cooler backgrounds than hand cut dots (even though these hand cut dots came out amazing!). This is an easy technique for anyone to try. I hope you’ll check it out for yourself.
**If you’d like to unsubscribe from these Daily Pages emails, but continue to get other emails, click here and learn how to update your settings to best suit your needs.
