Find Your Voice 2015 Workshop | Lesson Three: Who Are You -- The Storyteller
It's here! It's time! My six-week FREE storytelling workshop Find Your Voice 2015 is in full swing and Lesson Three is now available in the Find Your Voice Classroom ar rukristin classes.
Register for FREE at http://rukristin.com/findyourvoice
This workshop started on July first, and over the course of six weeks I'll be sharing my album with you here on the blog and in the Find Your Voice classroom. Lessons are available in the classroom, along with contributor projects, discussion forums, scheduled live chats, and a great support community.
A new lesson is released each Wednesday and includes a downloadable PDF of thought-provoking content, a printable follow-along worksheet, a creative challenge inspiring you to take what you've learned and turn it into something tangible, and support from an incredible community of humans from around the world.
Today I'm going to share a little bit more about the project I created for this lesson's creative challenge. There is no correct way to put together your creative projects -- whatever inspires you is the right way to do it.
Lesson Three: Who Are You -- The Storyteller
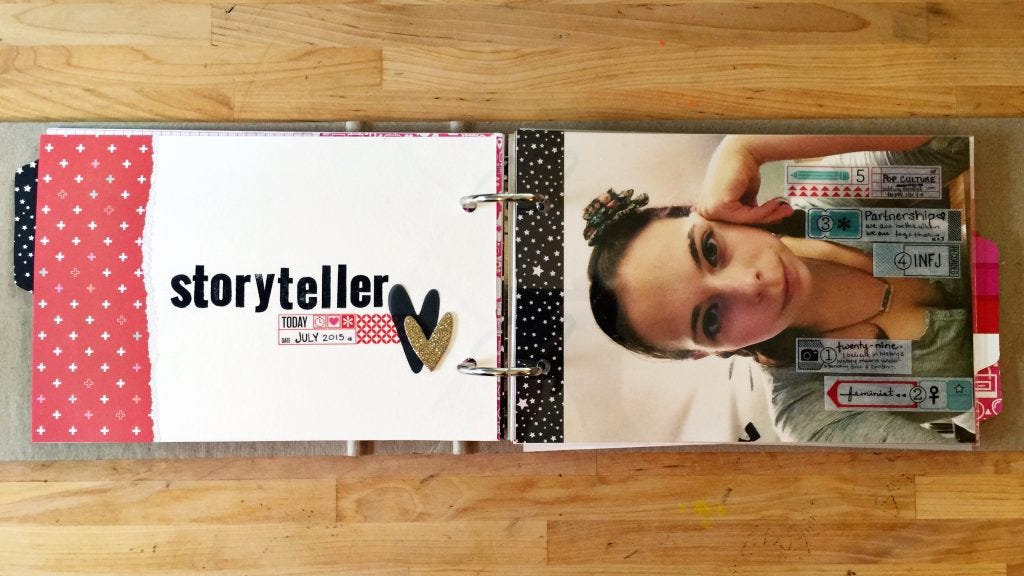
The challenge for Lesson Three: Who Are You -- The Storyteller is to document your storyteller profile.
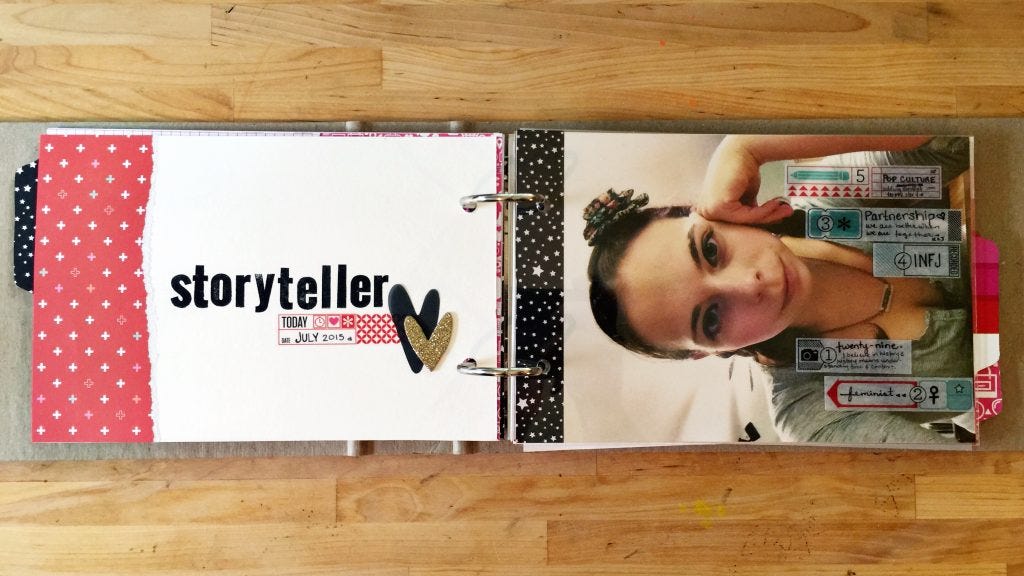
For this spread I to focus on a couple of key important parts of who I am as the storyteller. I used a clear acrylic page to create an overlay that laid right on top of my oversized photo.
Throughout the album I'm using a double page spread for each challenge. This spread is made up of a watercolor paper left side and full size photo pasted onto watercolor paper right side. There is a full acrylic page in the middle, which I decorated so that the embellishments lay over the right side.
A few thoughts on this spread:
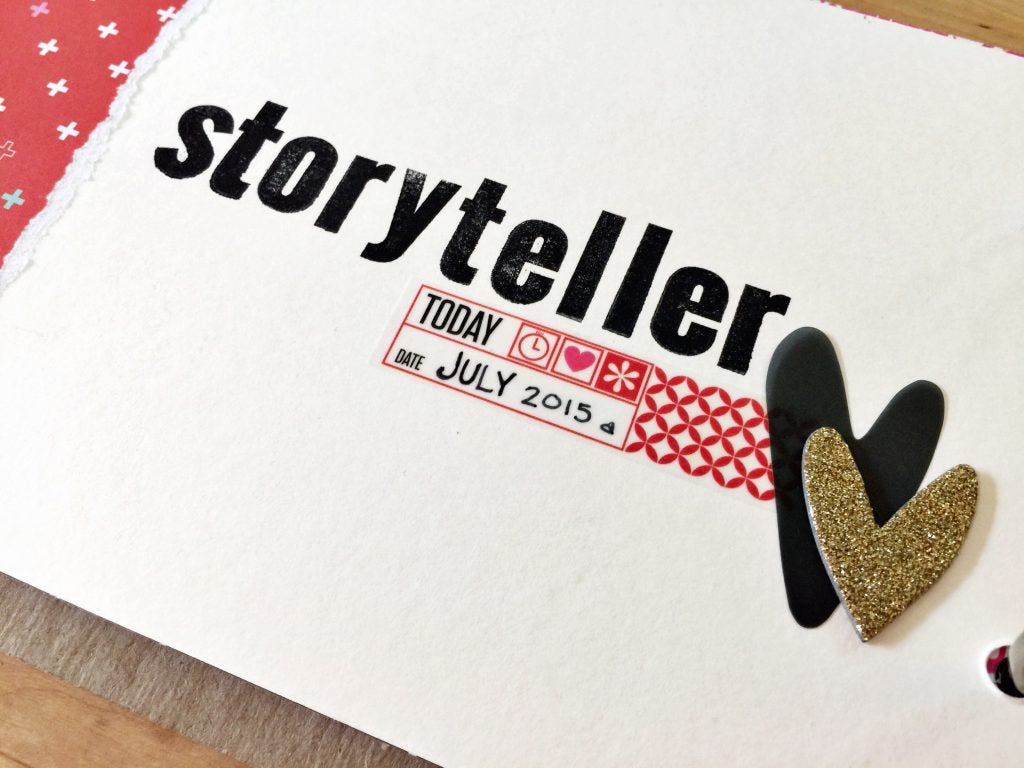
After adding a torn sheet of patterned paper on the left hand side, I stamped the 'storyteller' title using my BASICS alpha stamp set and StazOn black ink in the center of my watercolor page.

To embellish the title, I added a strip of printed washi tape stickers (the same ones I used on the reverse acrylic page) and added this month's date. I finished up with vellum hearts and a gold glitter heart.
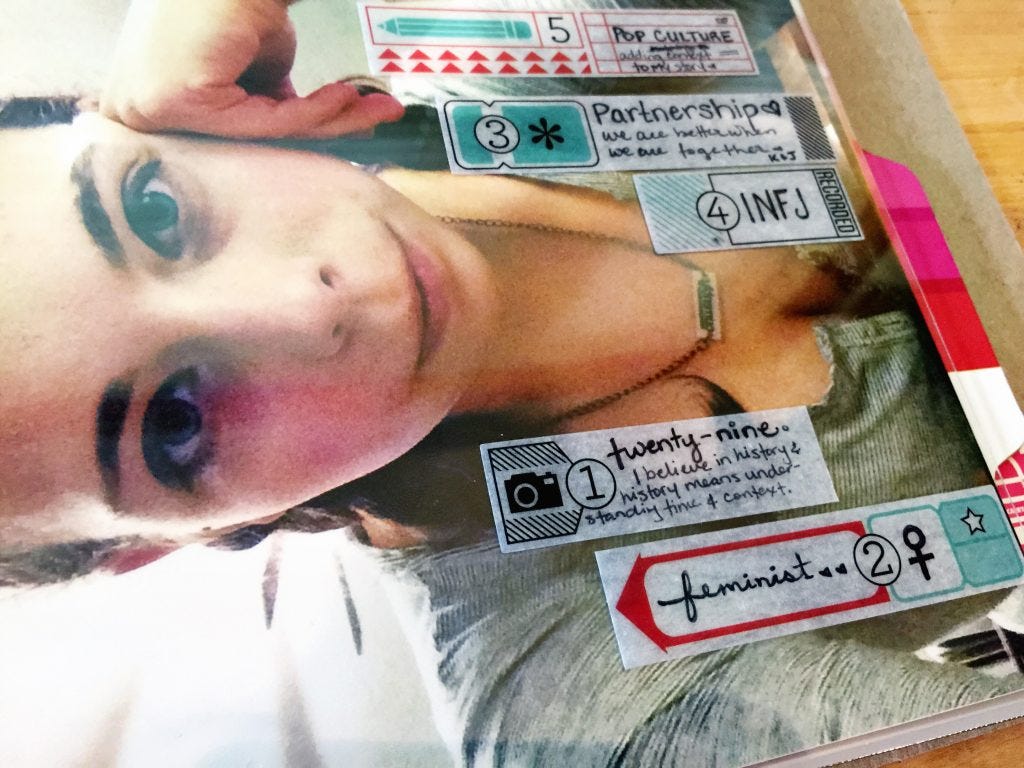
I added washi tape sticker strips on top of an acrylic page to contain my journaling for this spread. I chose the stickers numbered 1-5 and added them to the right side of the acrylic page.
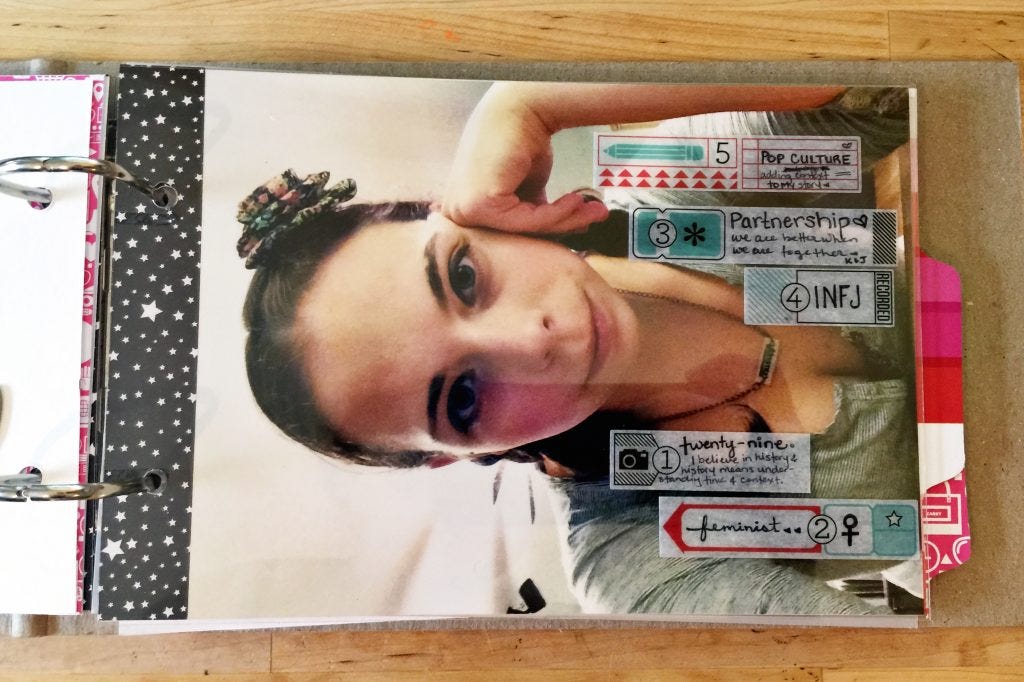
One of my favorite (and easiest ways to start) ways to use acrylic/clear pages is to add them over a large photo. For this spread, I laid the acrylic page on top of the photograph and decorated the acrylic page the same way I would decorate the page below (the photo).
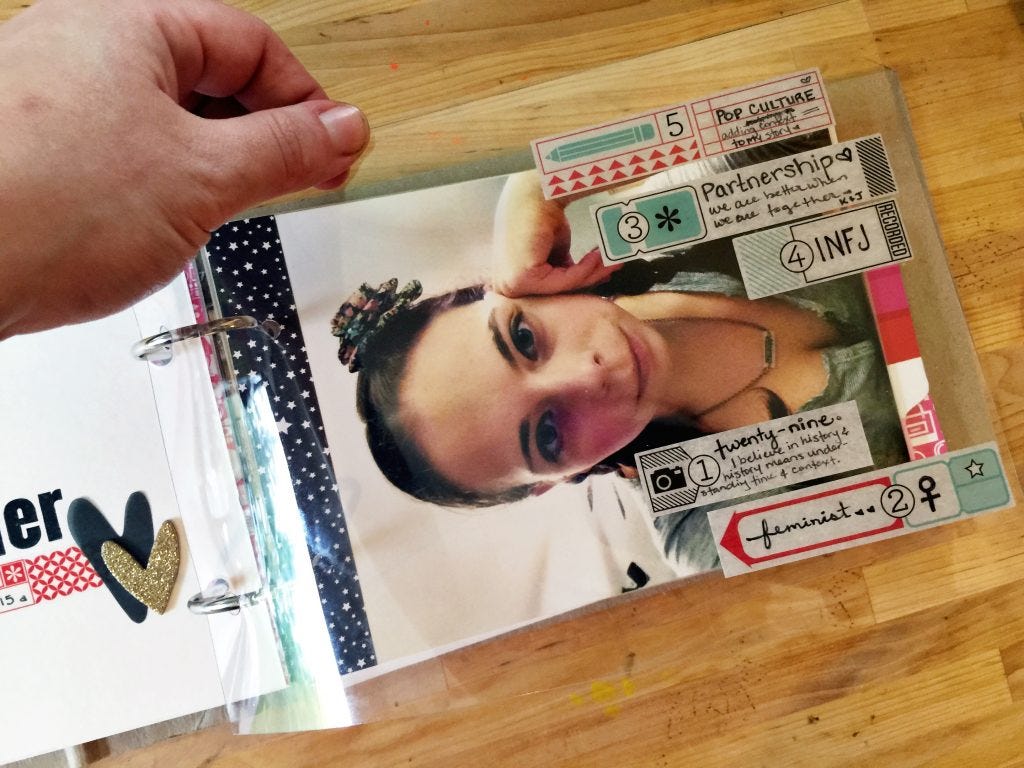
Acrylic pages are perfect for layering. Sometimes it can get overwhelming pretty quickly -- all that extra clear space to do whatever you want with. My best tip: keep it simple. In this spread, I chose to only decorate the acrylic page with the washi tape stickers.
I'm not super concerned with the backside of the acrylic page. I like that I can see through the washi tape journaling. If this bothers you, cover up the backside with patterned paper, or additional washi tape.
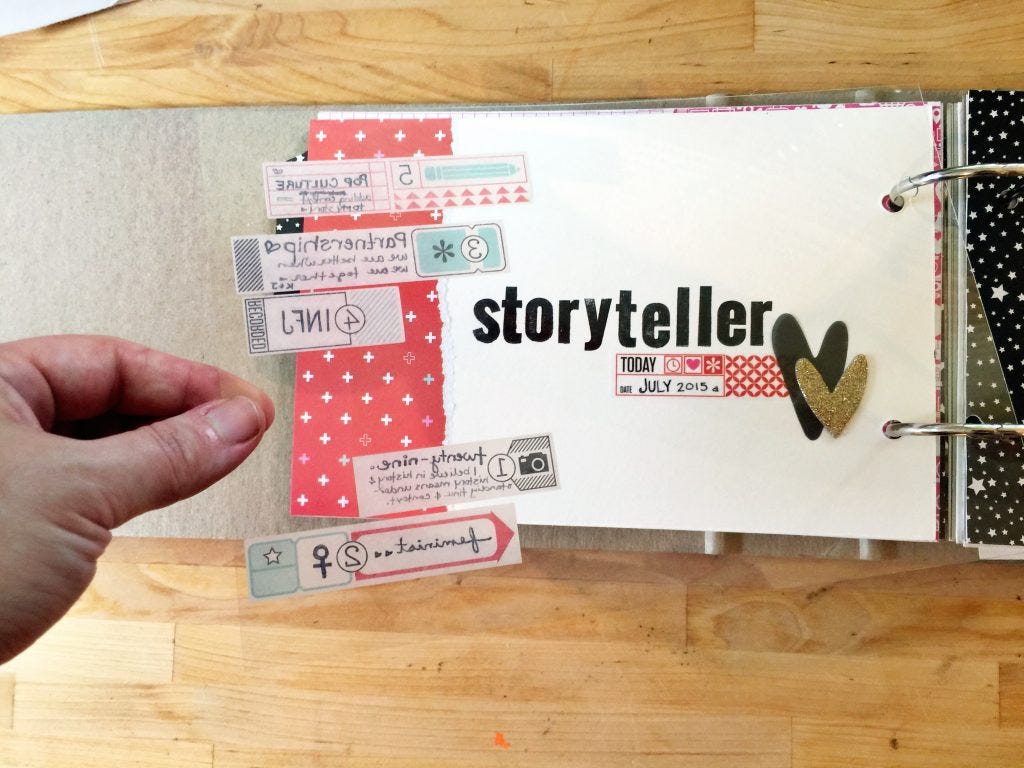
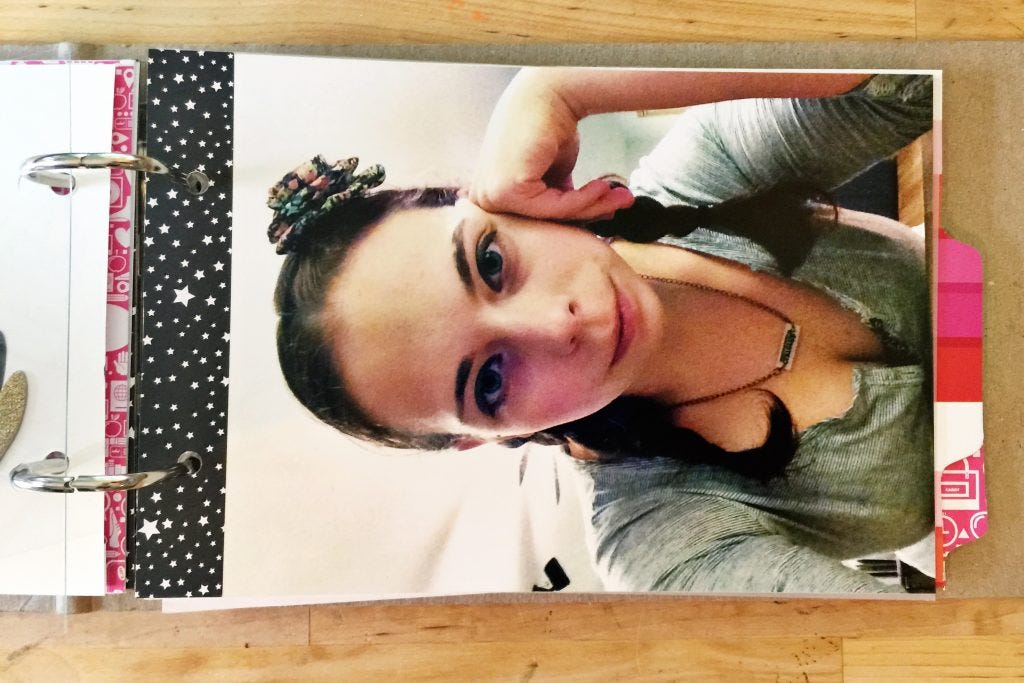
I used a full size photo on the right side. The watercolor page was a little big larger than my photo, so I added some patterned paper on the left side above the photo.
I chose to flip my photo on its side for two reasons -- one, I've had this photo on my desk for a few months and I've really been wanting to use it in a spread. Two, I like rotating things to subvert expectations. When the picture is on it's side it's not just another selfie shot of me, it's a little more abstract, but keeps still the composition interesting and the subject matter true.
I also really liked that it was lighter near the left side and darker on the right -- it made it perfect for the acrylic page I layered on top with the journaling.
Layout Tips:
Tear patterned paper for added texture. While my style lends itself to sharp lines and white space, I chose to tear the patterned paper on the left page of this spread and leave the exposed white paper underneath. I like how the torn paper looks as the spread transitions from patterned paper to watercolor paper.
Lay down acrylic pages directly on top of the next page in your album. Add embellishments to the acrylic page in the same way you would add those embellishments to any other page. Start simple and try to build up the layering as you go.
Sharpie ultra-fine markers are great for journaling on the slick washi tape sticker surface. Doodle on scrap paper to keep the ink flowing throughout your project.
You are the storyteller and you are the best person to tell your story.
This is FOR YOU.
The Album:
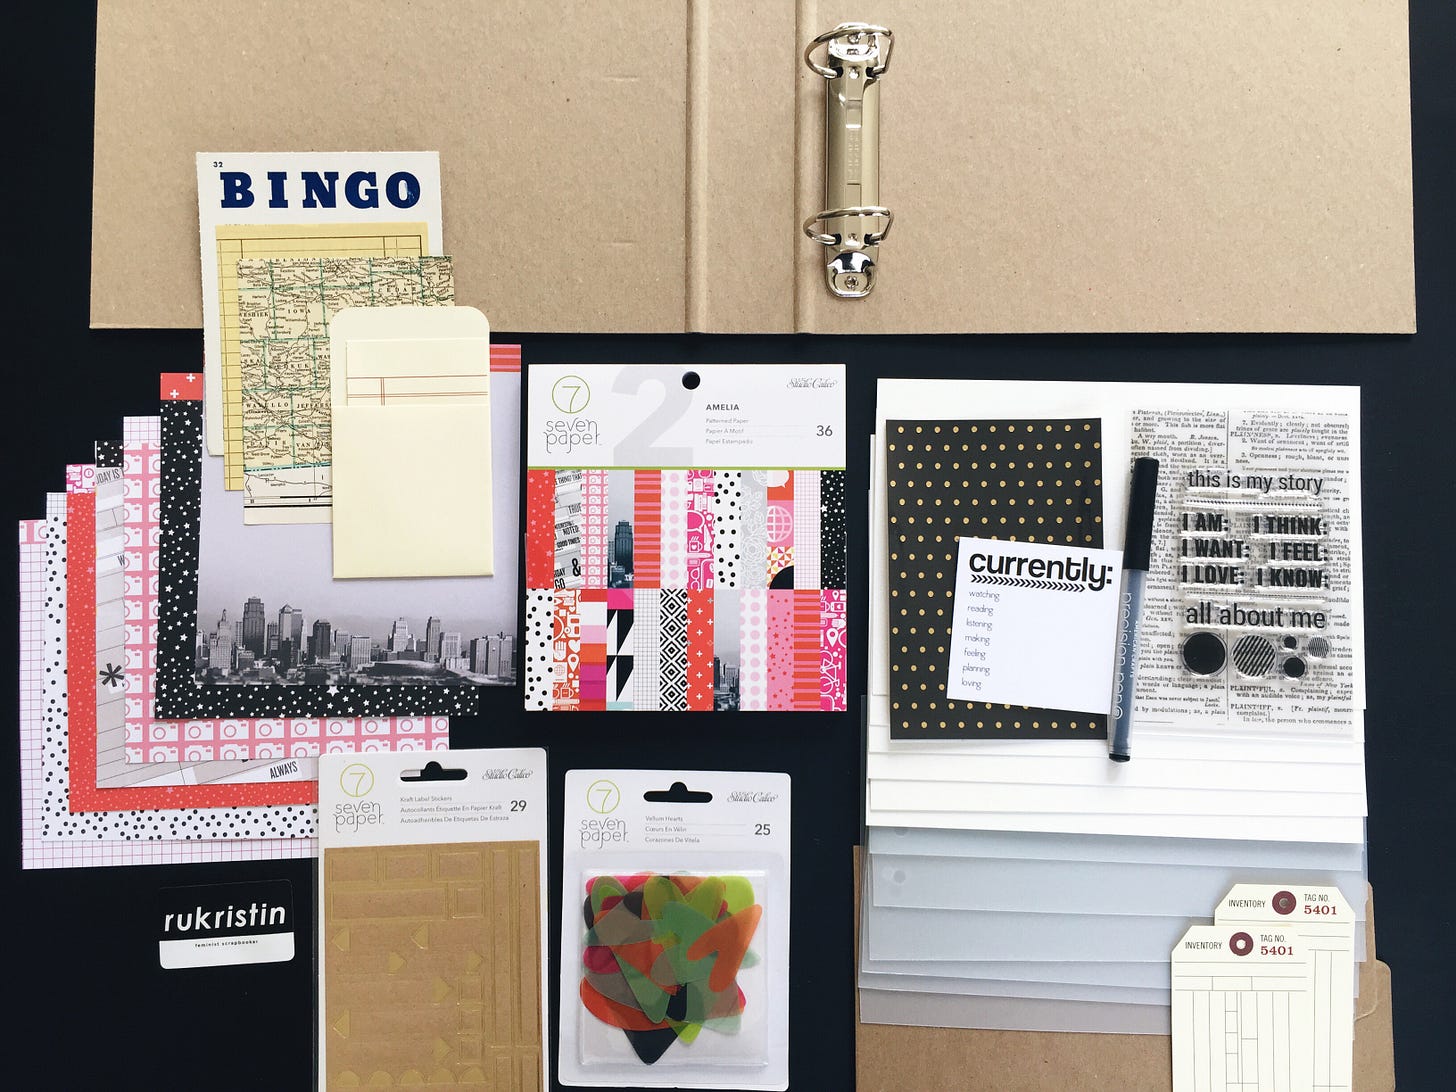
I'm using the 6x9 binder in the Find Your Voice main kit as my album for this workshop. While you definitely don't need to create a separate album for this workshop, it's nice to have a single finished product when we wrap up the workshop. If you'd like to see how I started this album and the content for lesson one, check out this blog post.
Share the News:
Grab the badge below (right click and save) and show it off in your sidebar or post it to instagram and facebook. Let all your friends know that you're spending the summer Finding Your Voice and they should join us. Send them to http://rukristin.com/findyourvoice to register for free registration


