

5 Essential Tips for Creating a Memorable Travel Album
Create an album worthy of your trip with these simple tips

Hey friends!
Have you ever returned from a trip with a camera full of photos and a bag full of keepsakes, wondering how to capture all those incredible experiences in an album? If so, I've got you covered. These are my top 5 tips for putting together a travel album that will showcase your journey in a way that's both meaningful and fun. Let’s get into it!

1. Collect Your Keepsakes
First things first - gather all those little items you collected during your trip. Ticket stubs, maps, brochures, and anything else that brings back memories from your travels. If you’re anything like me, you’ll have a big ziplock bag of all sorts of stuff when you get back.
Pro Tip: While you’re on your journey, just collect. Don’t worry about figuring out what you should or shouldn’t keep, what’s going to look good in your album, etc. Just collect it all in one place and give yourself time to go through them and process all your bits and pieces when you get home.
Ephemera/memorabilia — or as I like to call it, bits of life — add a real sense of place and time to your album, making it more engaging and personal. They're not just filler; they're the small details that can add rich context to your story or even tell a story all on their own.
2. Include the Good and the Not-So-Good
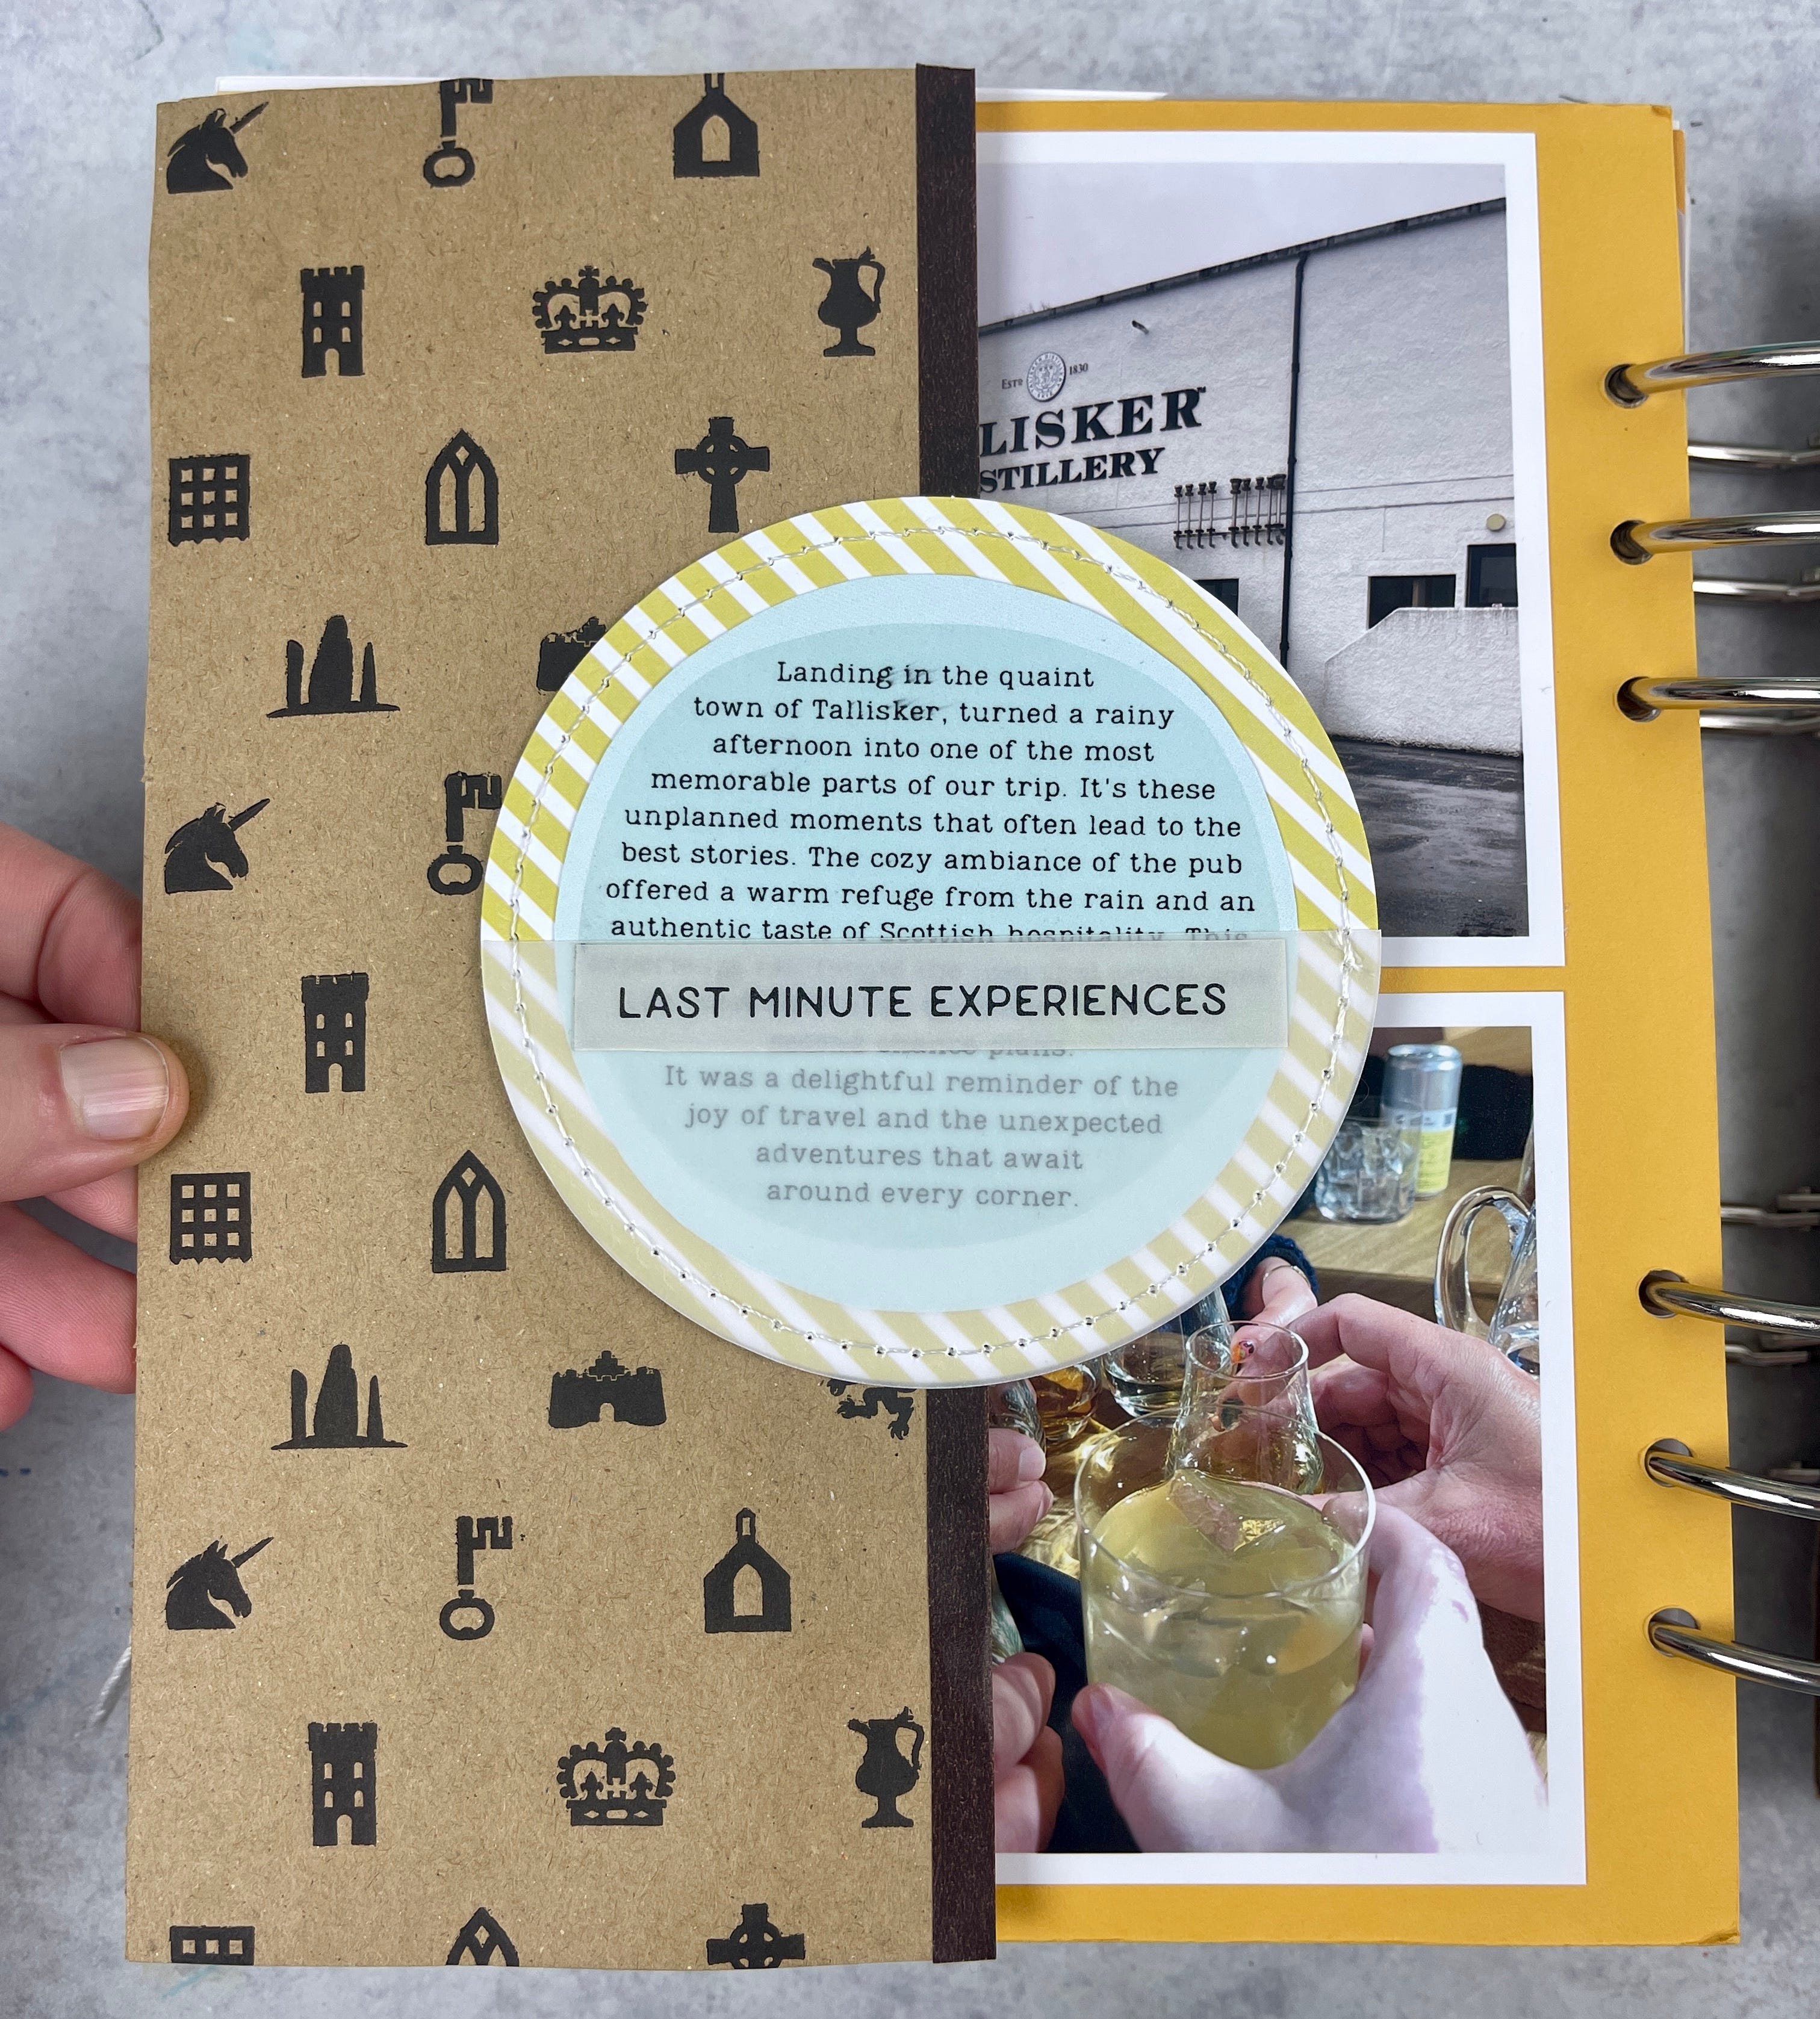
Real talk: travel isn’t always smooth sailing…and that’s perfectly okay! Those unexpected moments often turn into the most memorable stories. The best travel albums have a mix of ups and downs (because that’s the reality of life). Taking rainy pictures and sharing your indoor stories are just as important as seeing the landmarks and capturing the perfect sunset.
When putting together your album, don’t shy away from including the rainy days and the mishaps. Journaling will help to give context to your photos, turning each of these experiences into little stories that help you to remember the time you had on this trip.
3. Experiment with Different Materials
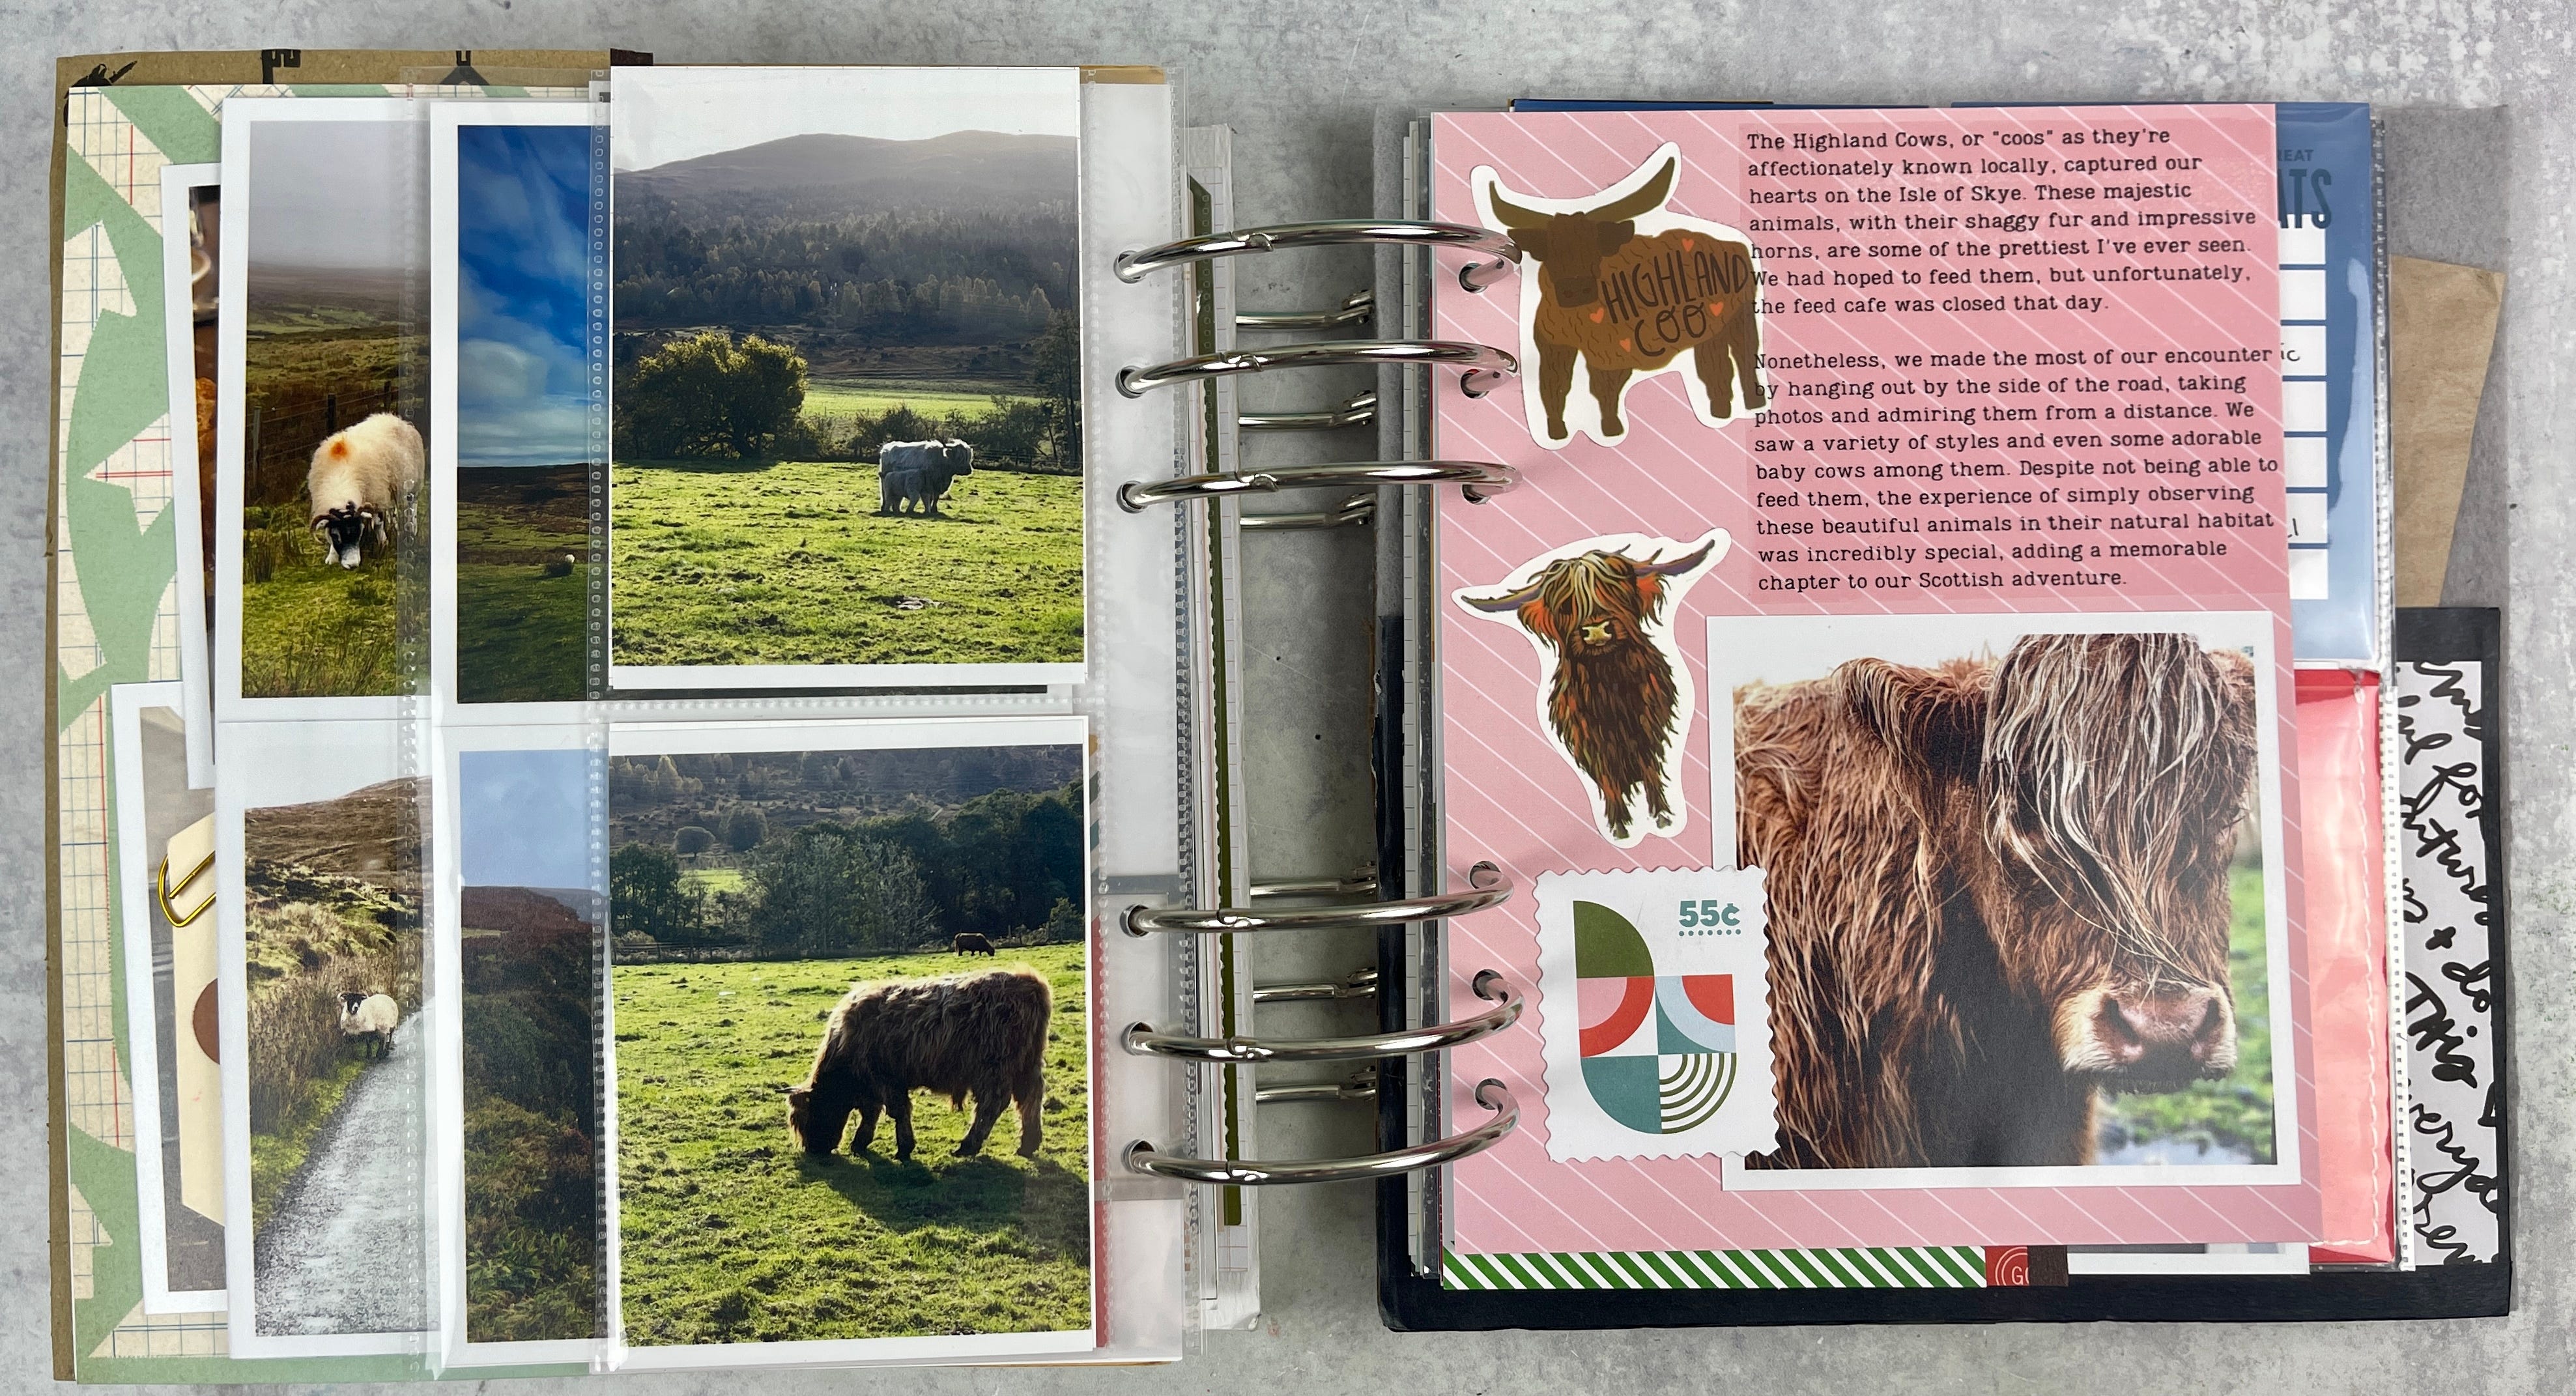
Your travel album doesn’t have to be limited to just photos and paper. Feel free to get creative with materials. Add a piece of fabric from a market you visited, some dried flowers from a park, or even a sprinkle of sand from a beach (shaker pocket anyone?). Mixing media adds texture and color to your pages, making your album a multi-sensory experience that’s even more enjoyable to handle and flip through.
4. Choose a Layout That Suits Your Story
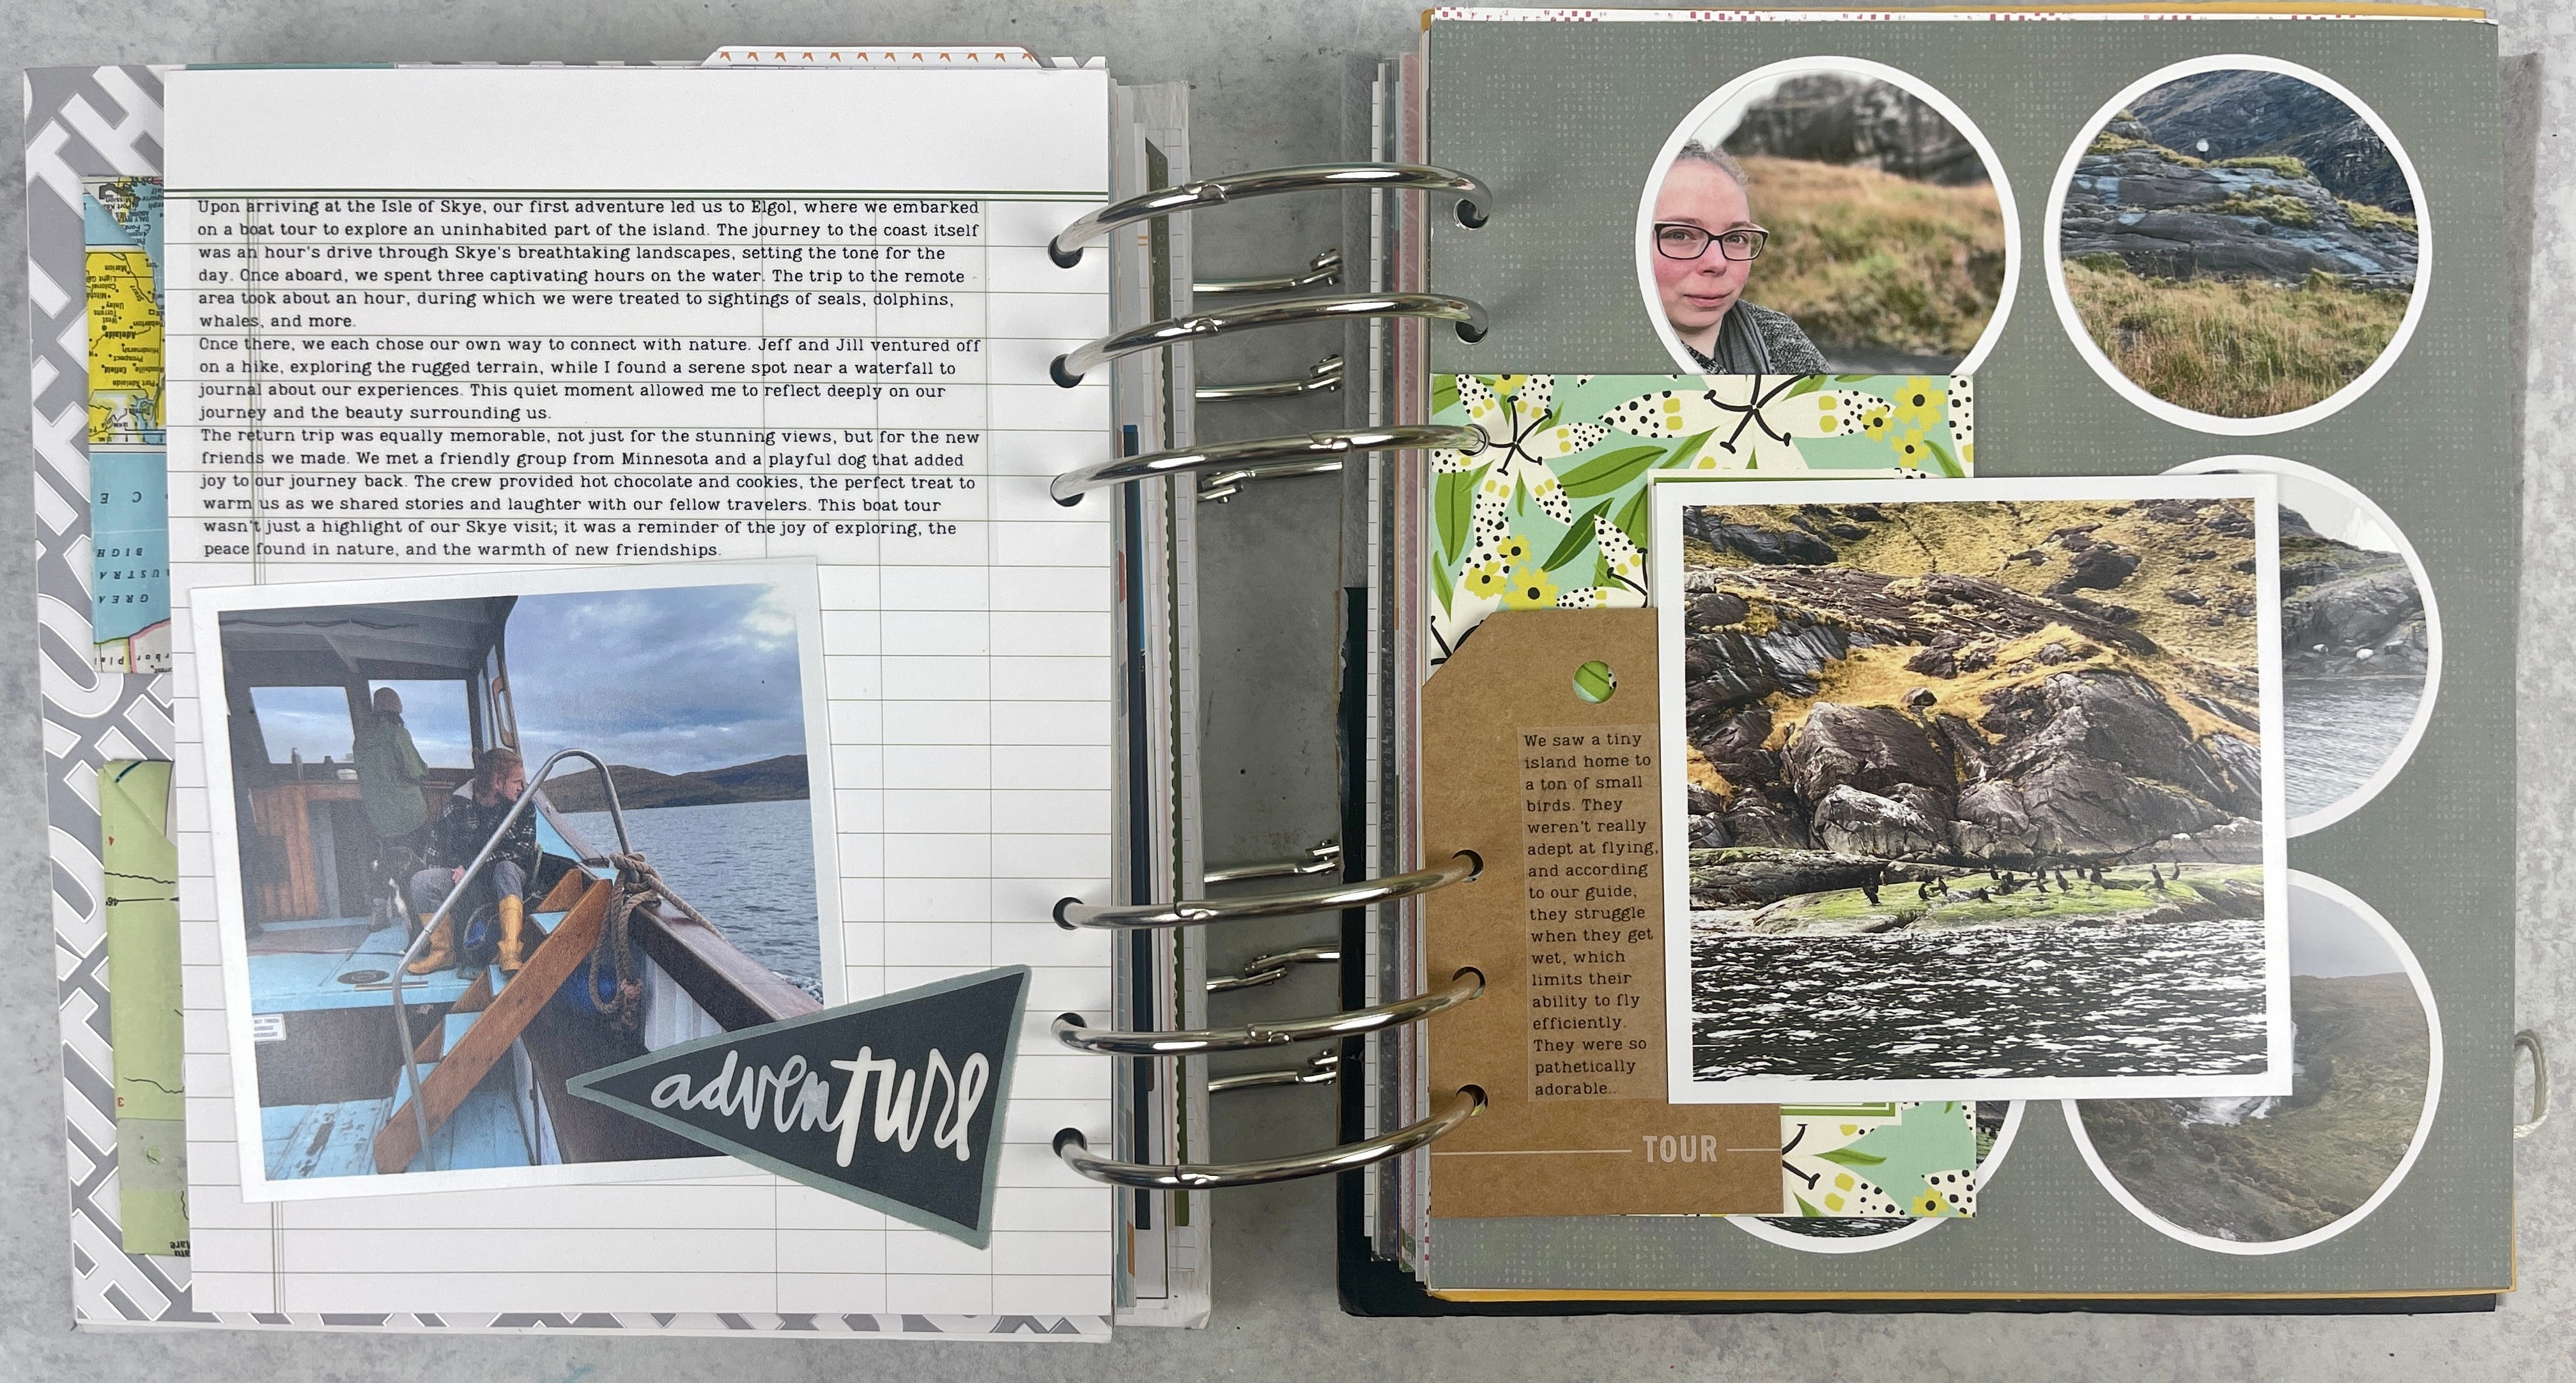
There’s no hard rule that says your album must be in chronological order. Think about what layout makes the most sense for your story. You might want to organize your album by city, by the types of activities you did, or even around a theme, like food or architecture (or cows). The best structure for your album is the one that feels right to you and helps you share your experiences in a coherent and engaging way.
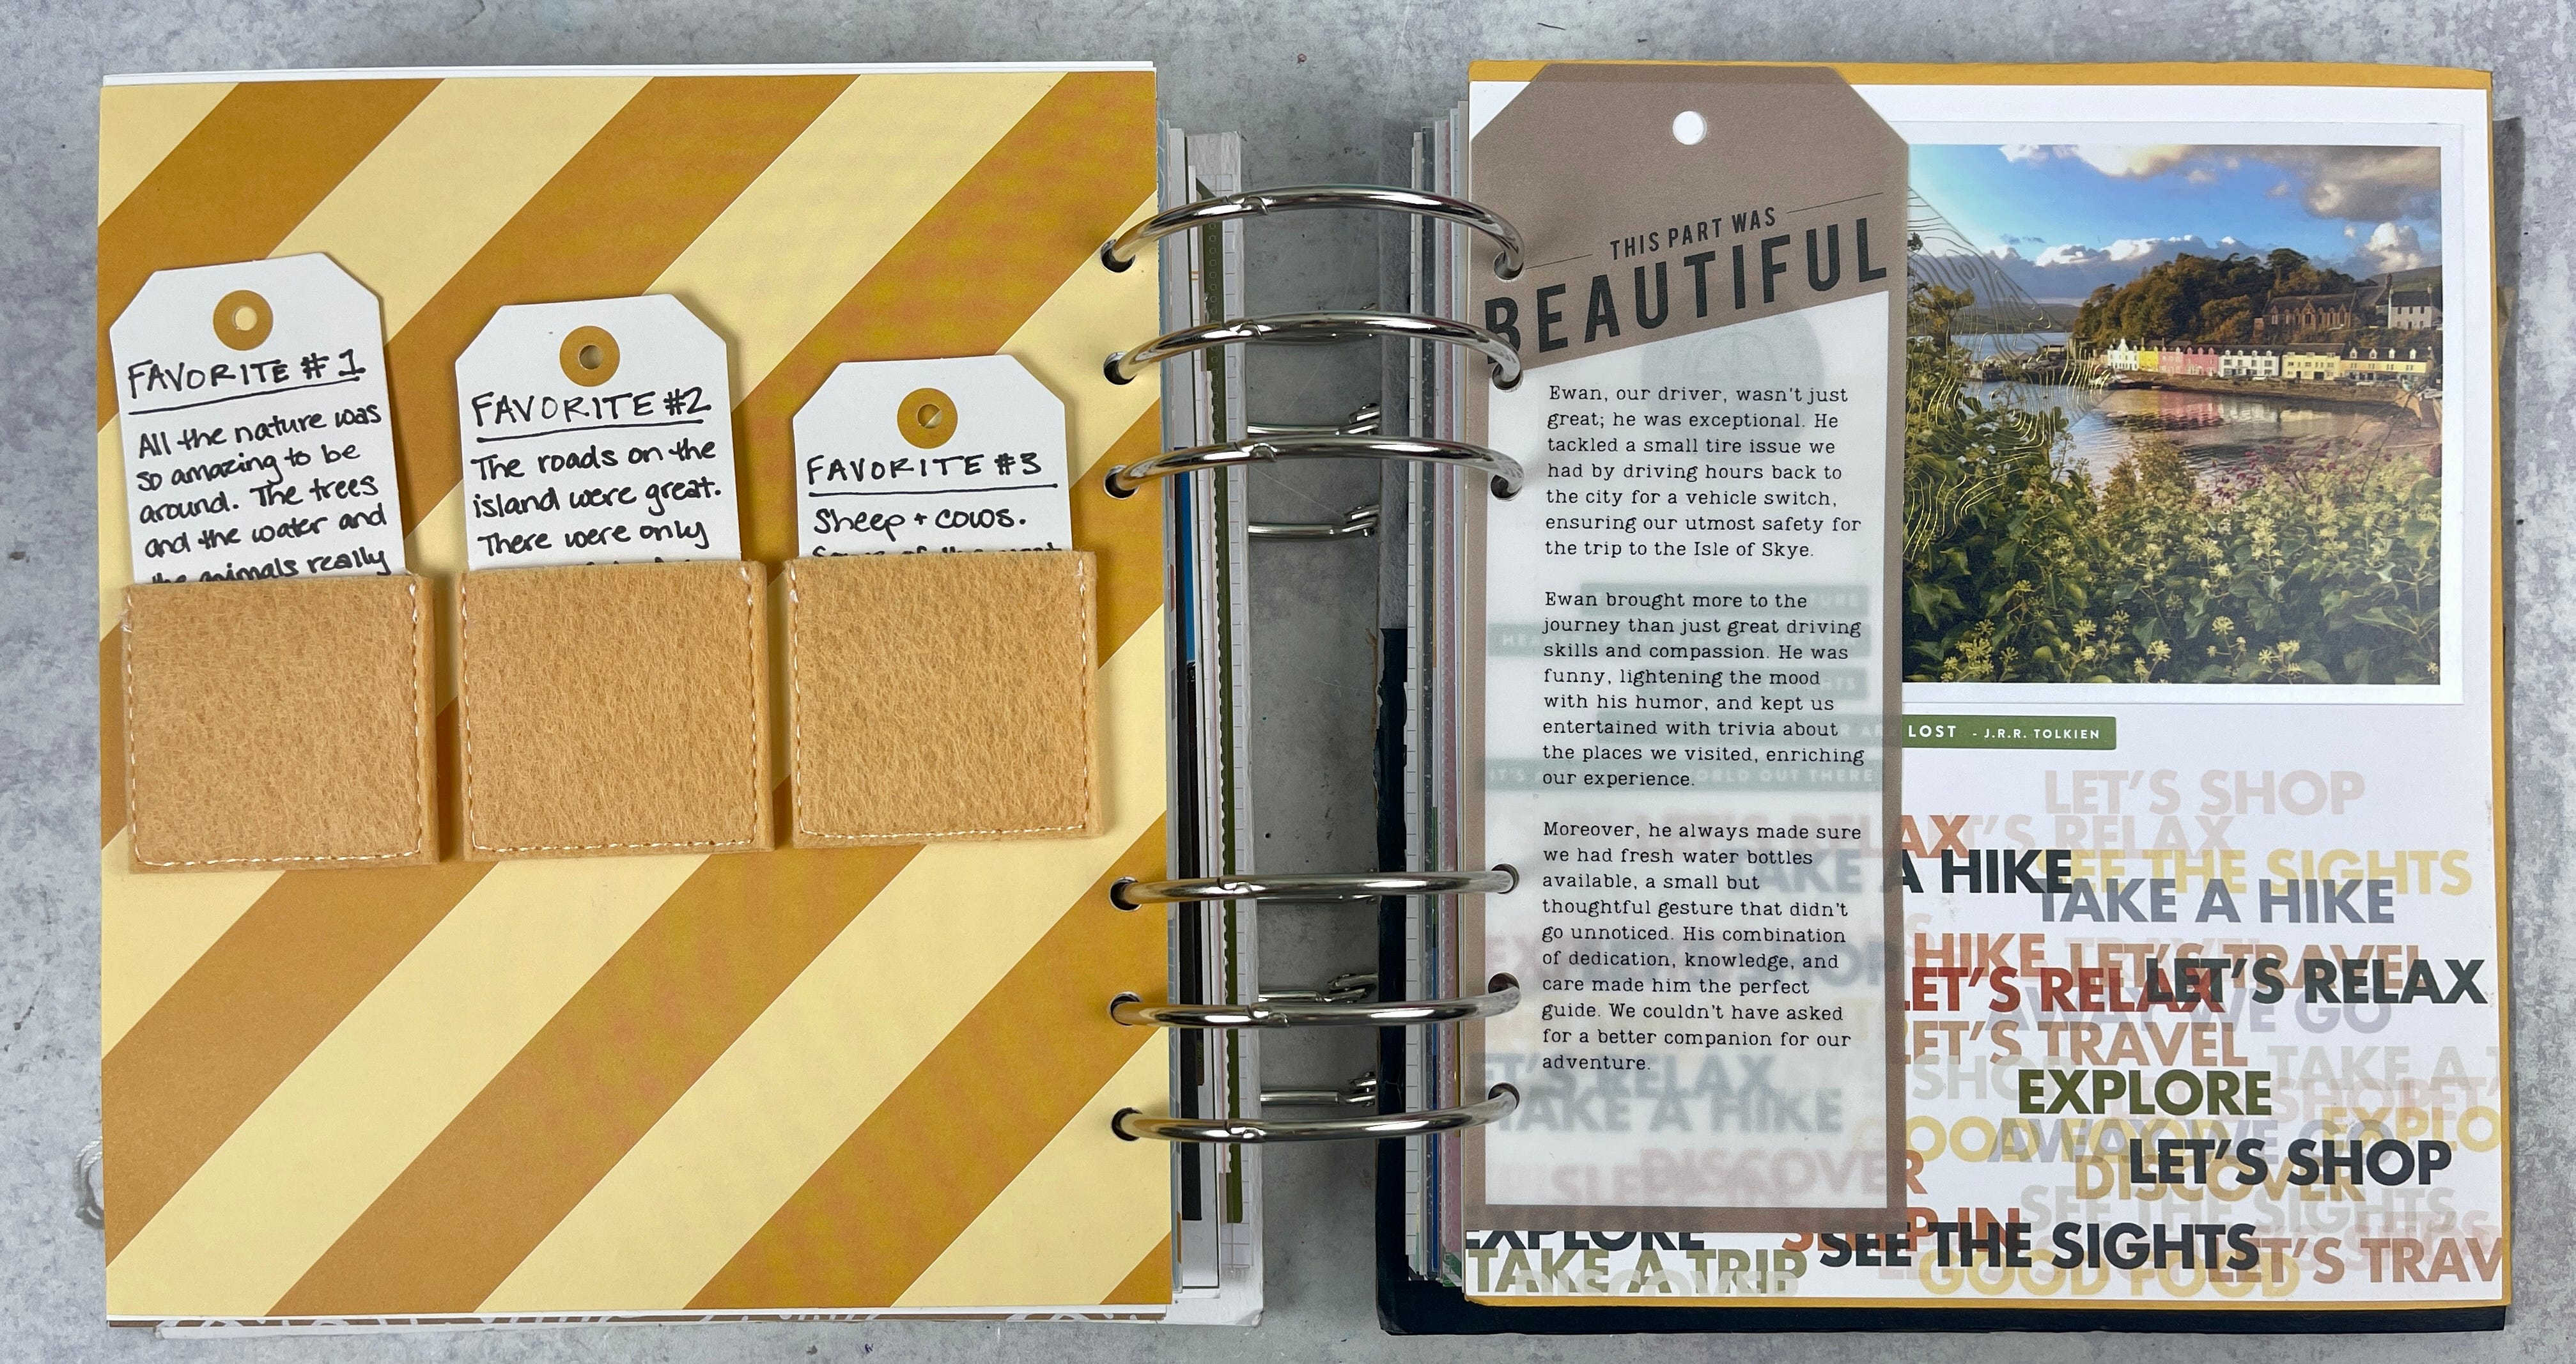
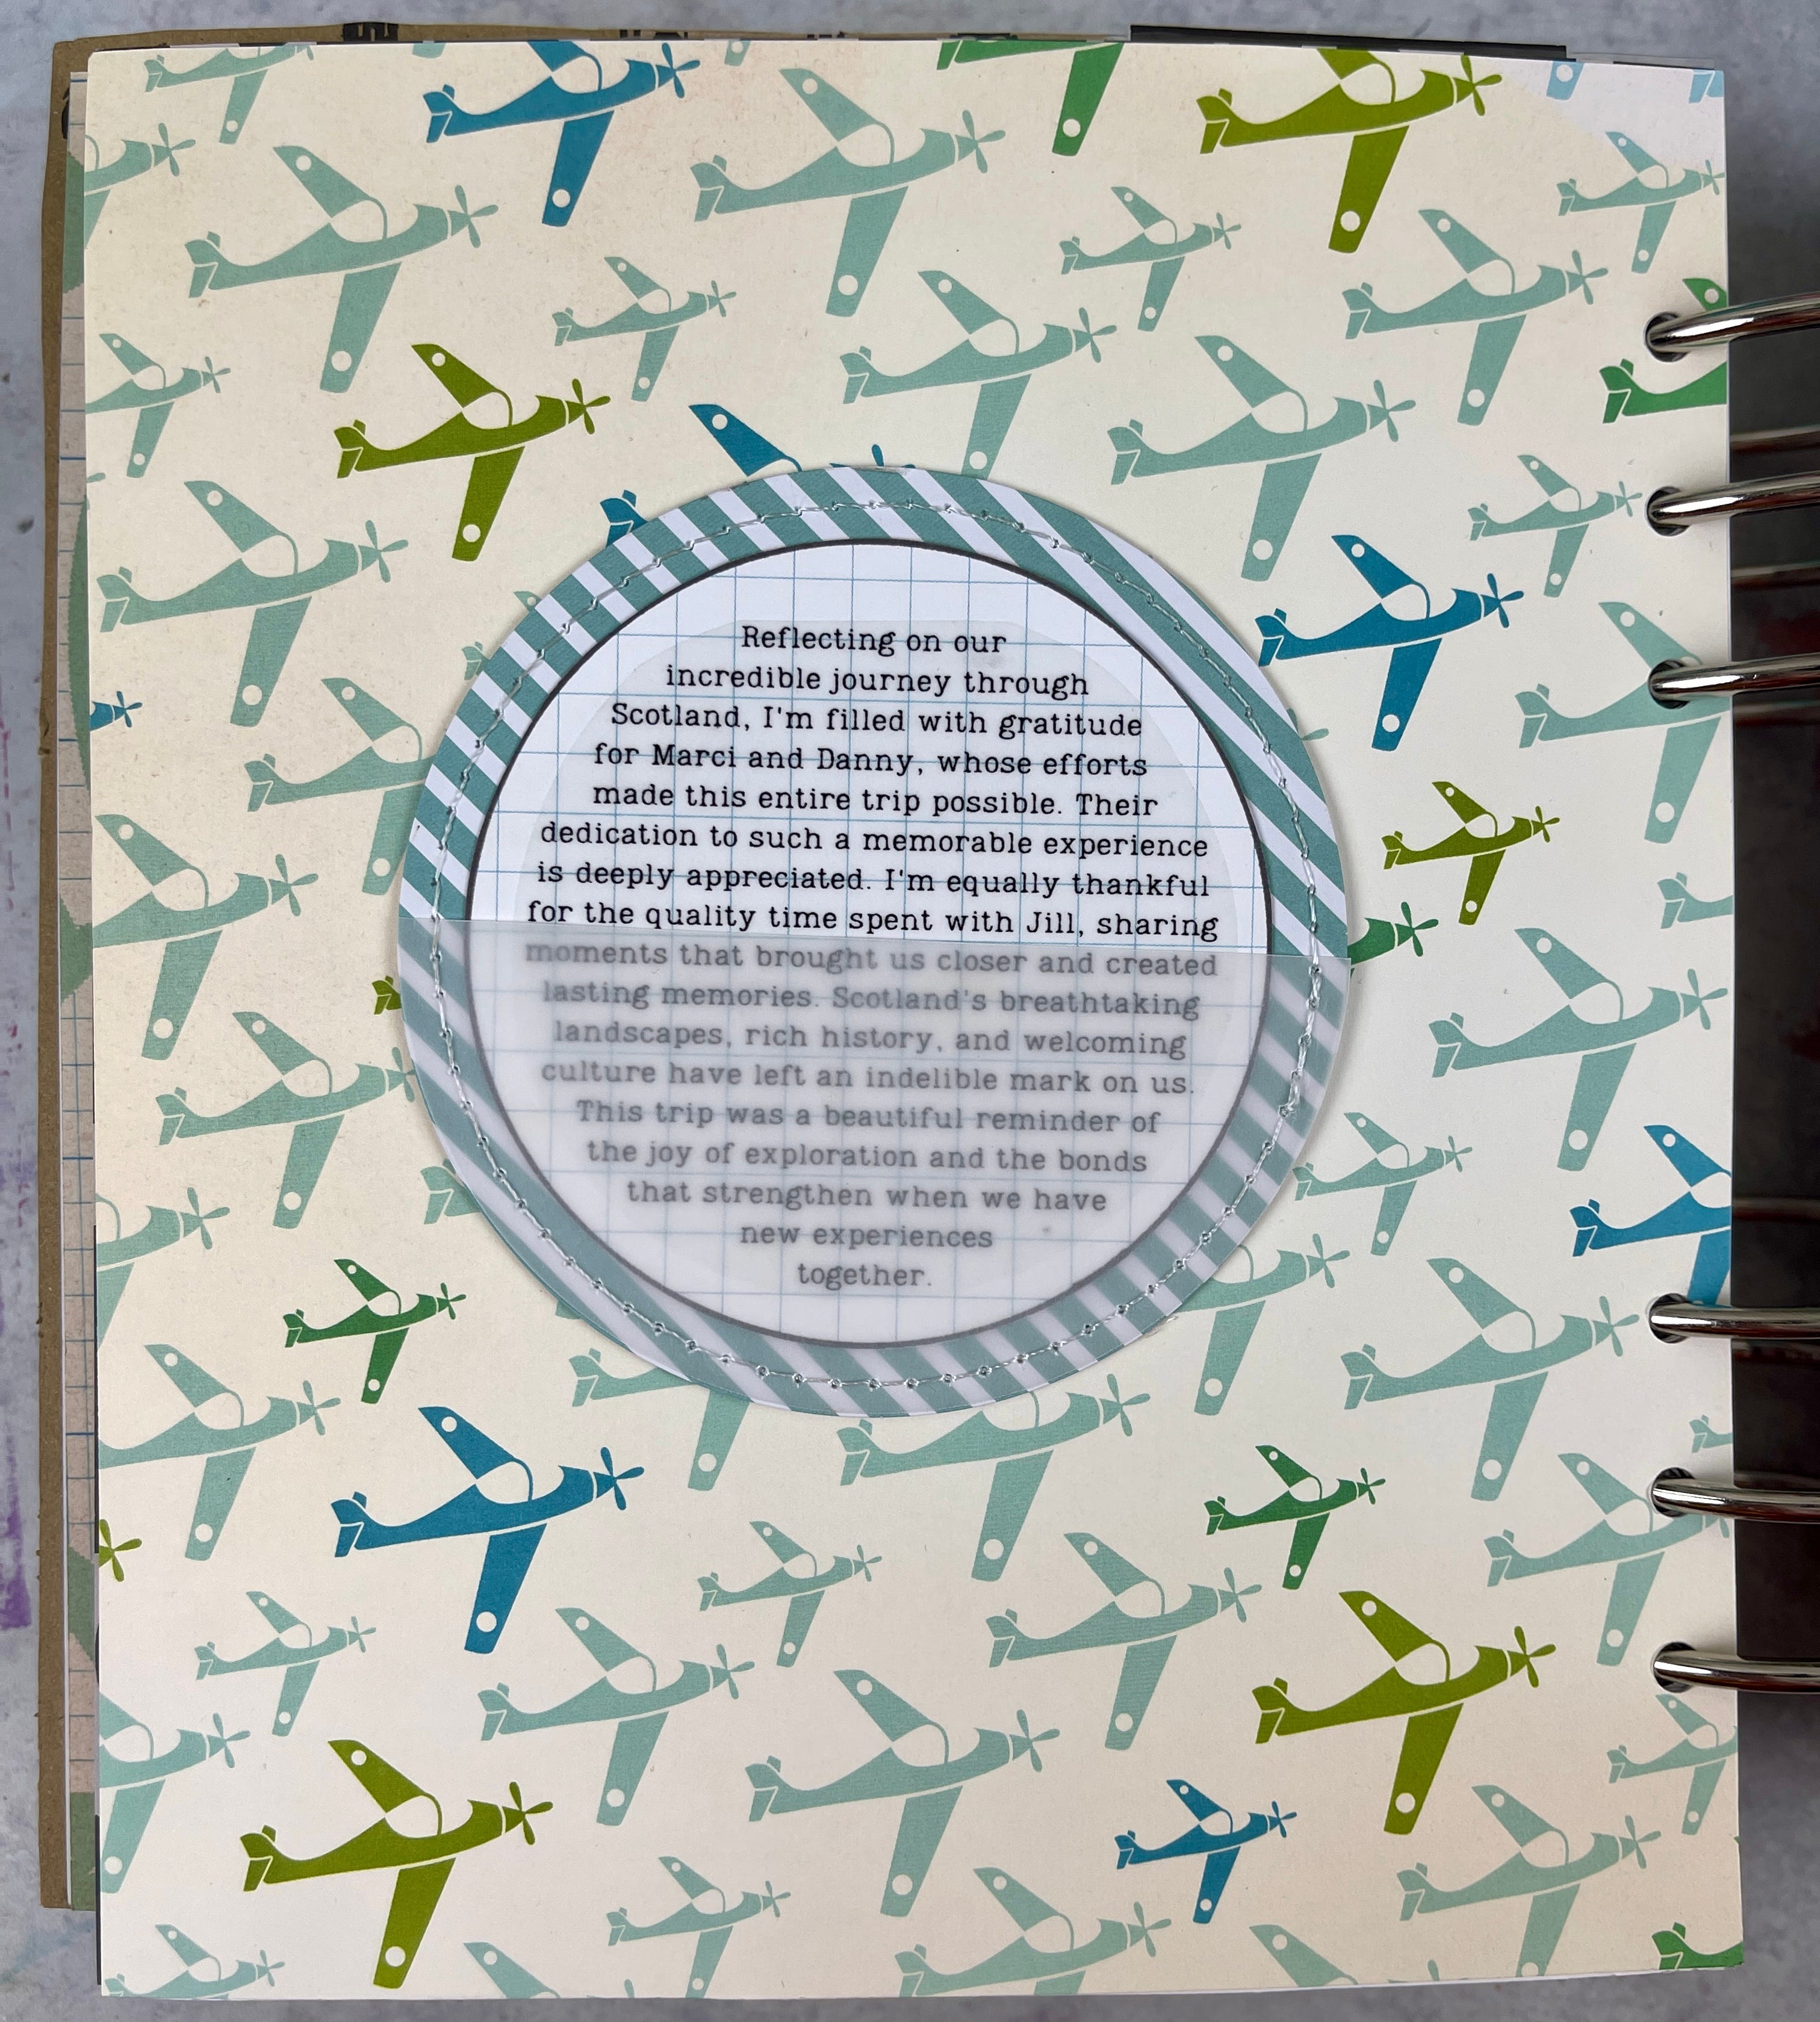
5. Add a Section for Reflection
After you’ve put together your album, leave a little space at the end for some final thoughts. This could be a summary of what you learned from your trip, how it changed you, or what you’re looking forward to on your next adventure. This reflective section rounds off your travel album by tying all your experiences together and giving you a moment to ponder the journey as a whole. Take some time to really think about why this trip was important enough to create this beautiful album.
Your travel albums will be an exciting way to relive your adventures and share them with others. By following these tips, you'll be well on your way to making an album that not only captures the sights you saw but also the feelings and experiences that made your trip truly unforgettable.
You can check out the full run-down of this Scotland album in the post below.
An Epic Album for an Epic Trip

Hey friends! I'm thrilled to finally share a piece of my heart with you—my Scotland travel album. If you've ever found yourself staring at a pile of photos, tickets, postcards, and other bits, wondering how they could ever capture the essence of your journey,
So, grab those bits of life, sort through your photos, and let’s start crafting an album that tells the amazing stories of your travels. Happy scrapbooking!